|
|
|
Jensen Monday Club |
|
|
|
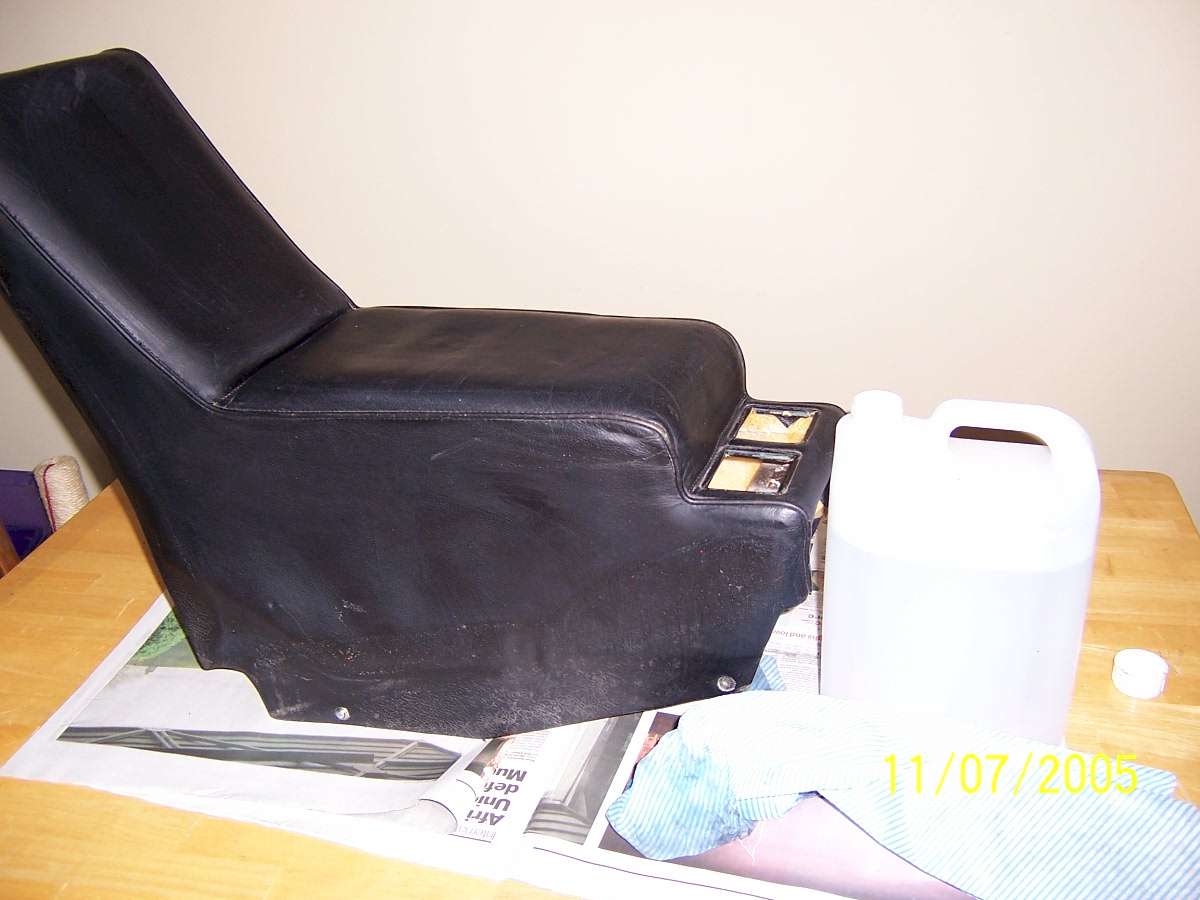
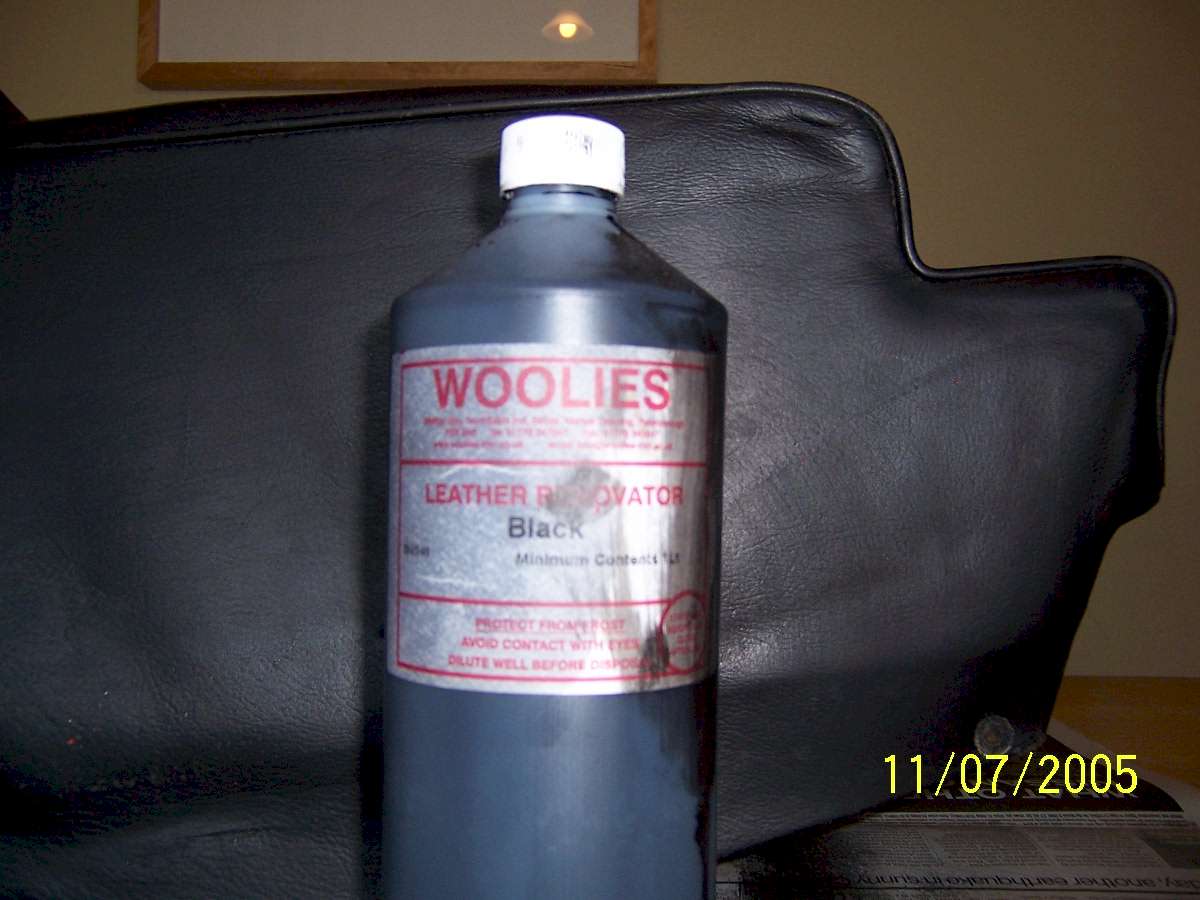
The interior of 136-8779 was starting to look a little tired, and as the cost of a full re-trim would make the Sultan of Brunei's eyes water, a restoration seemed to be the answer. Jensen owners on the British Steel e-mail list had recommended 2 restoration kits. The first is the UK based company Woolies, the other is the US based Leatherique. Both kits come highly recommended, with the Leatherique kit coming out slightly in front. The main advantage of the Leatherique kit is they make a crack filler paste, which Woolies do not. That would be useful for badly dried out leather with deep creases. As I am UK based, and was looking at having the badly creased or split panels recovered, I went for the Woolies kit. They actually make a "Jensen Kit", which is enough for the large amount of leather in a Jensen. Owners on the e-mail list also recommended 2 other items for the restoration:
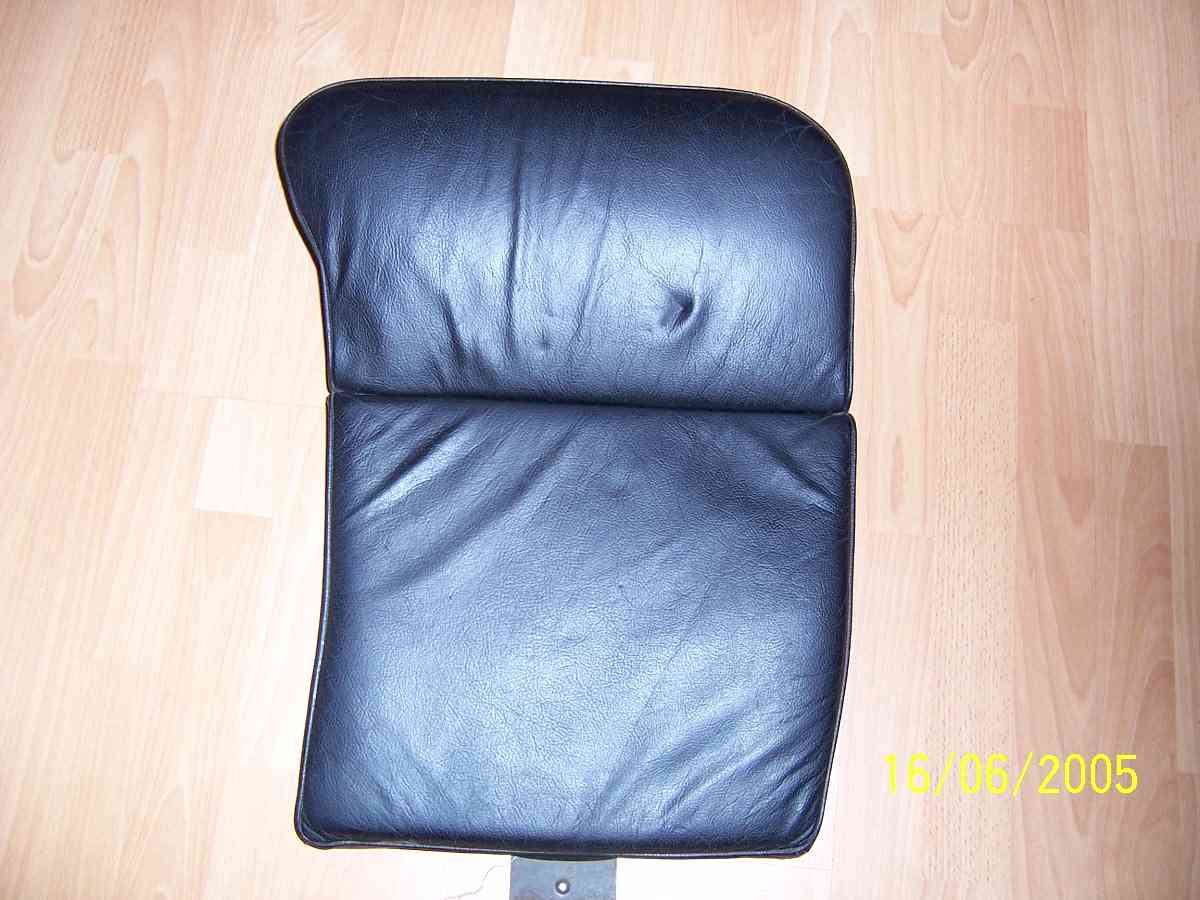
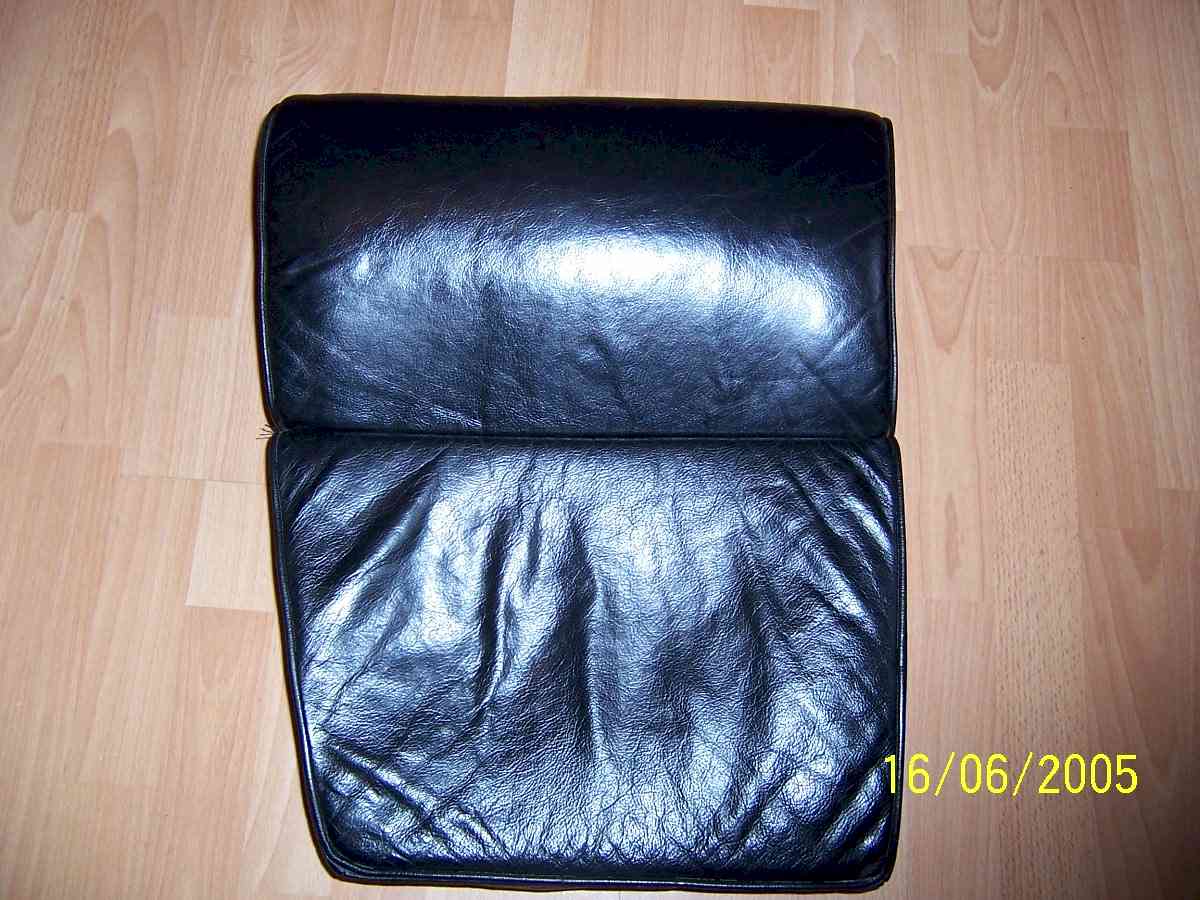
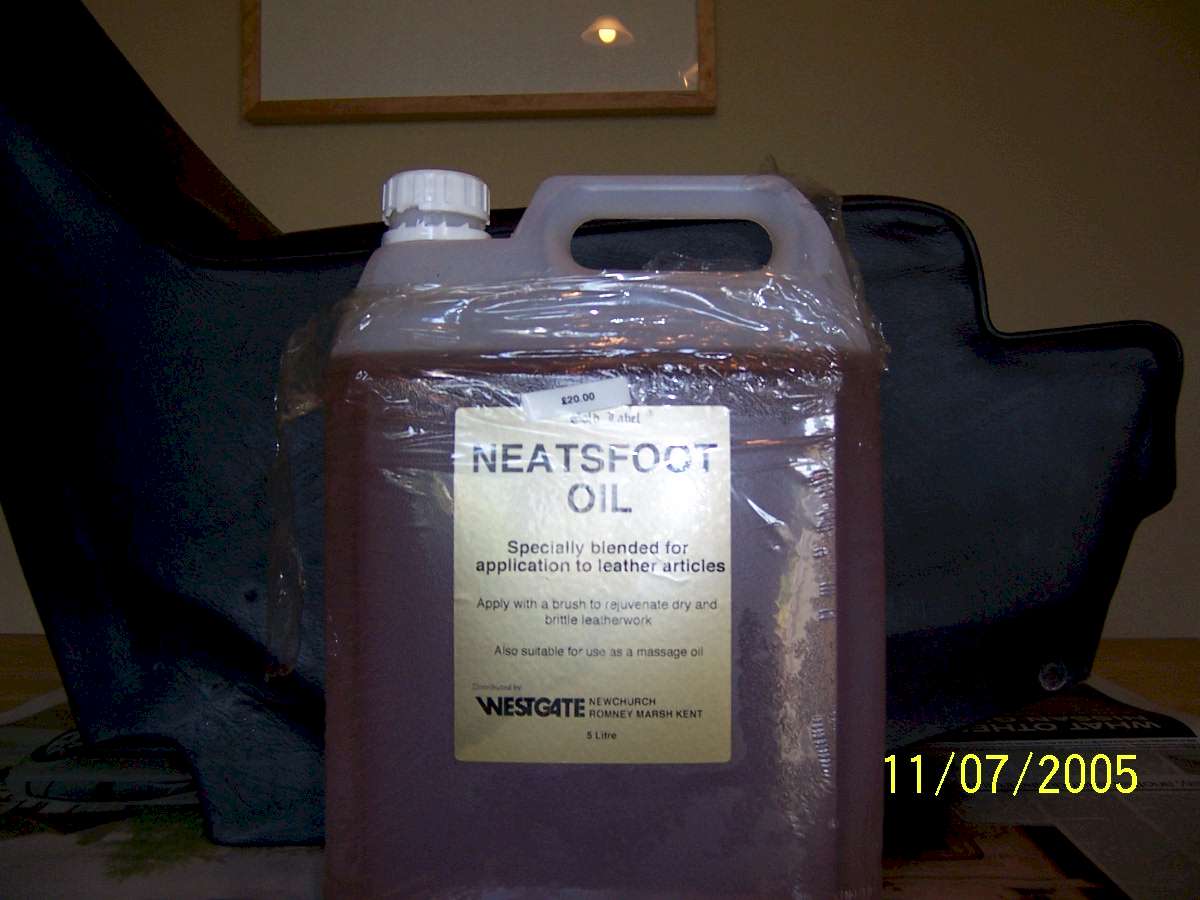
The de-natured alcohol came courtesy of my make Dick who is an industrial chemist. When I asked him what it was, he said "Alcohol with an emetic added to stop tramps like you from drinking it". Cheers mate! Neats foot is the oil used by saddlers to soften leather. Neats is the old English name for cow, and it is made from rendered down cow's hooves, or "Neatsfoot". I brought a gallon from my local saddlers. If your leather is dry I would recommend you use hide food to feed it for a couple of weeks before you start the job to save time having to apply multiple coats of Neats foot. Some panels took 8 coats of Neats foot before they would stop absorbing it, so it slowed the process down. The first job is to remove the interior. Most of it is straight forward, but there are 2 tricky bits. The first is the rear speaker covers. The edges of these are held in place by the rubber door surrounds. Pull away the surround, then using a thin bladed knife, ease it between the leather and the body work to break the glue that holds it down. Once it is pulled away from the body, you will see a wooden batten with a self tapping screw in it. You need to pull the leather quite far away from the body to reach the screw, and if the leather is dry, it will rip at this point. Both mine had been ripped by the P.O, so they are both being recovered. The other tricky bit is the rear seat backs. They are held in place by wing nuts in the boot. You will have to remove the carpeted board that covers the fuel expansion tank to get to them. Once you have the interior out, the restoration can begin. Here are before and after pictures to show you the results:
After restoration, the leather is much softer, and has a nice well cared for "old leather" look to it. The restoration process goes like this: Clean the leather thoroughly with the denatured alcohol.
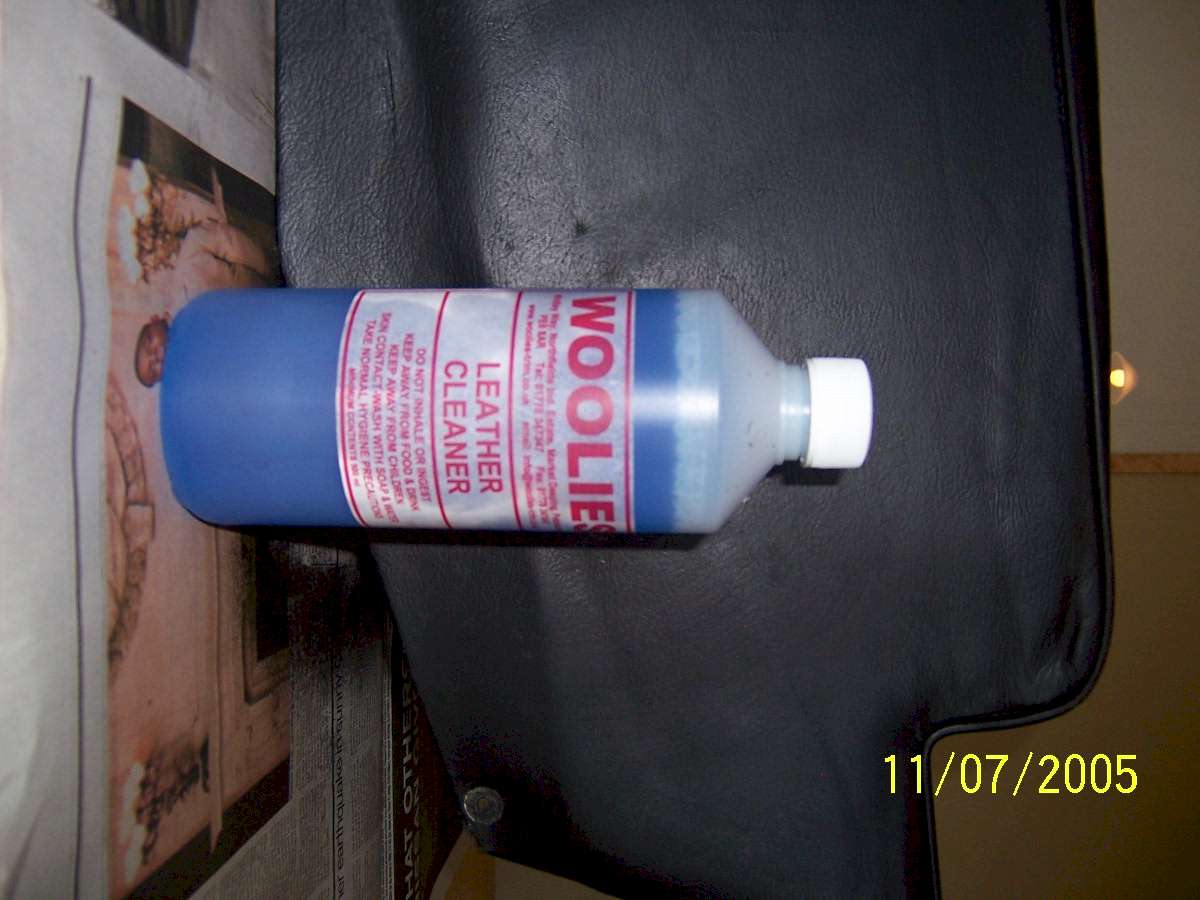
This will remove all the dirt and some of the old dye, which will make the new dye adhere better. If you find minor scratches or marks, gentle rubbing with very fine emery cloth or wire wool will remove them. If you rub to hard, you will remove the grain of the leather and you will have odd "flat" parts that look out of place. The next step is to use the leather cleaner from the kit.
The leather will be very clean from the alcohol, but this will remove any residue from the alcohol, and it also softens the leather. You can now treat the leather with the Neat's foot oil.
If you read the label carefully, it says it can be used as a massage oil. I don't think so! Some panels took up to 8 coats before it will stop absorbing the oil. After the leather will not take any more Neat's foot, use the Woolies cleaner again to remove any left over oil. You can now start applying the dye.
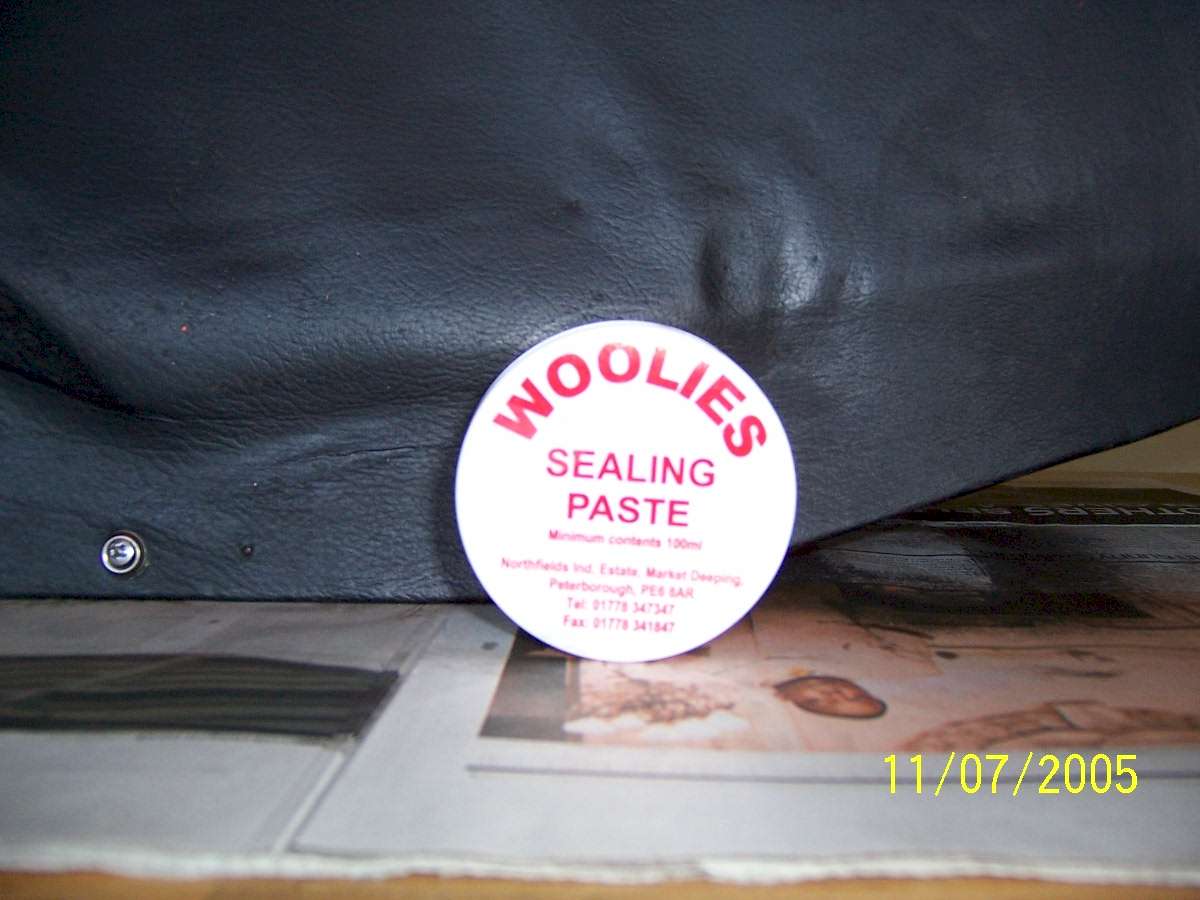
The instructions tell you that you can use 2 methods to apply the dye. The first is with a soft cloth which is supplies with the kit. The second is with an airbrush. I was concerned that the cloth would leave brush marks, but even though there are marks when you out it on with the cloth, they completely disappear as the dye dries. I gave each panel 2 coats. You may need more if the old dye has been worn off, or if you are doing a colour change. The last process is to apply the sealer.
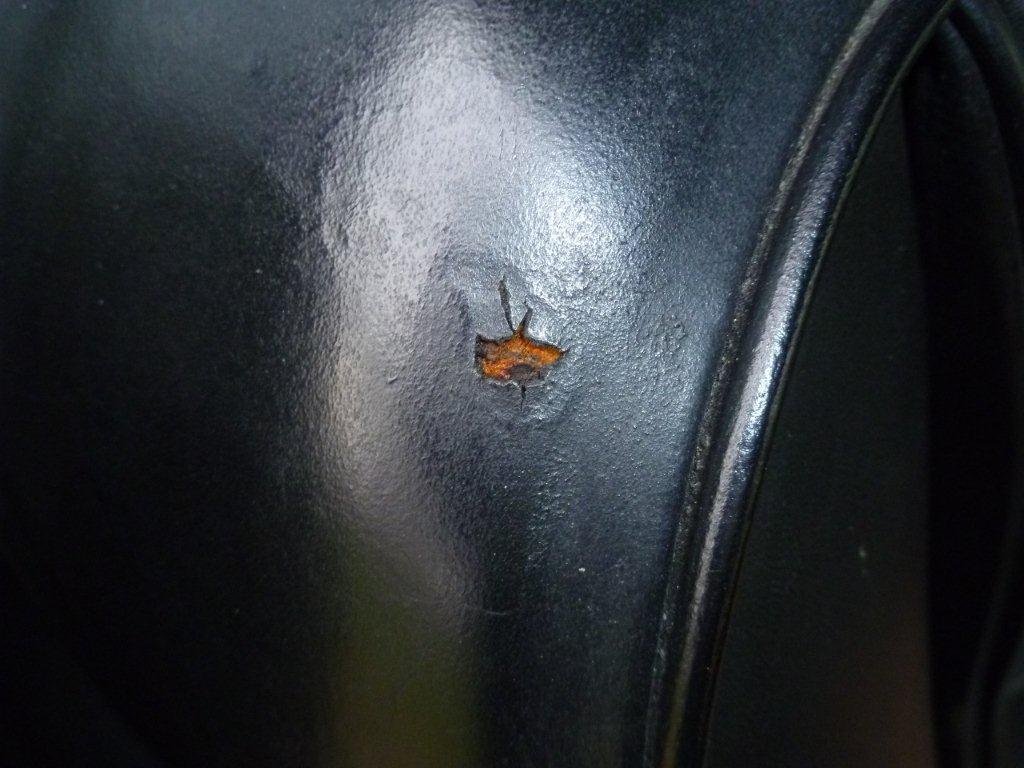
This is an abrasive wax that acts like "T Cut" car polish, and gives the dye it's shiny finish. It also fixes the dye in place. Don't rub to hard as you will rub the new dye back off! All that's left is to reinstall the interior. You can use the Neat's foot to feed the leather every 6 months or so, and pay special attention to the panels under the read window as the sunlight dries these very badly. The kit has more than enough to do a complete interior, and is well recommended. We have had a contribution from Mk2 owner Patrick in Canada with his experiences in leather restoration. See details below. Monty Python is a MKII Interceptor used as much as possible in Montreal’s short summer season. I aim to keep the car in presentable condition for local shows. I have no ambition to be the owner of a point hunting trailer queen. Monty Pythons leather interior is in good shape, the seats are, “Lightly Patinated “ the leather is flexible, well fed, with no cracks. There were however two problem areas, a small hole in the passenger seat near the head rest
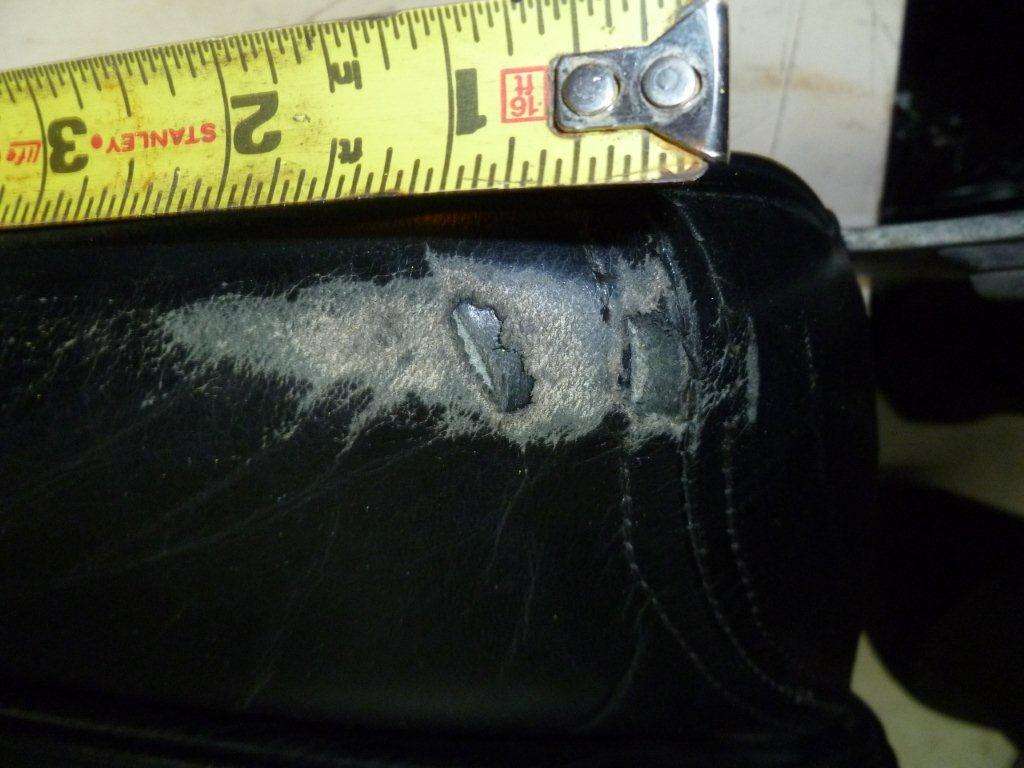
And a damaged area of the driver’s seat outboard kidney bolster caused by the previous owner’s mobile phone holster
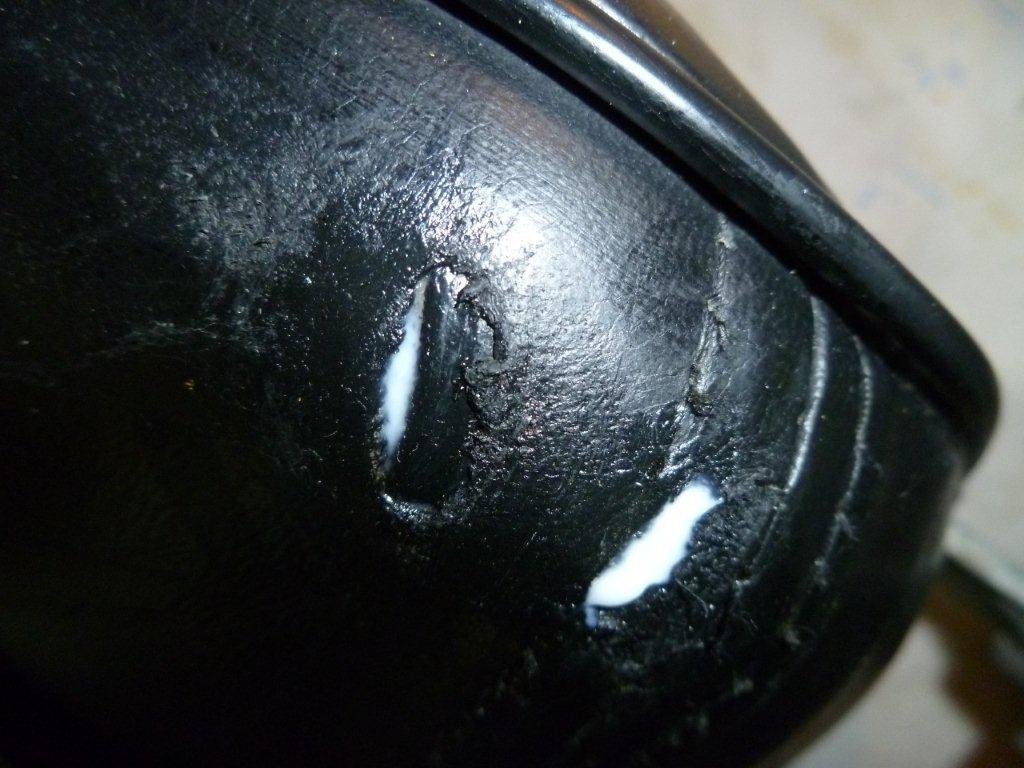
There are not many trimmers in the Montreal area, they were all unwilling to give a firm estimate, or commit to a schedule for the repairs. Faced with an uncertain cost and schedule for repairs and the knowledge that Monty Python is definitely NOT Concours material, I looked for an alternative to whole sale interior refurbishment A retired upholster who had worked with leather furniture suggested that the scuffing could be treated by light sanding and the liberal use of scuff repair shoe polish. He also suggested that the holes could be filled with paintable transparent silicone sealer, the type used in bathrooms . The technique is to apply the sealer in very thin layers, allowing each layer to cure completely before adding the next. I used a sealer which is white when applied and is transparent when fully cured. The picture shows the first application of silicone
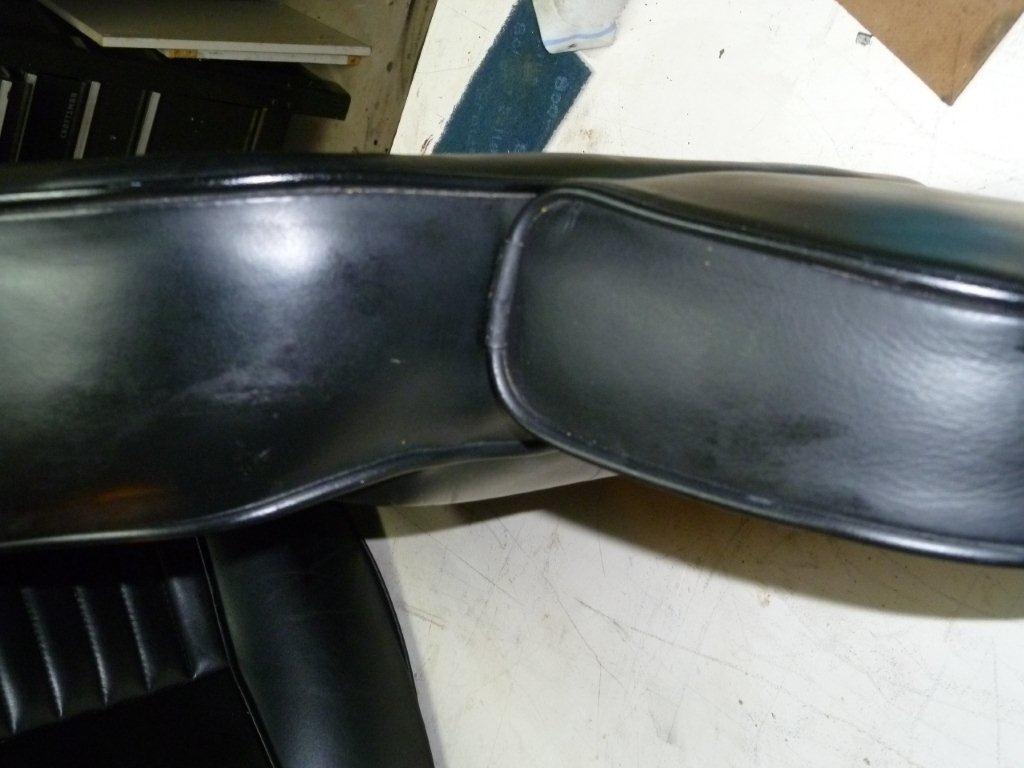
The final results are shown:
Passenger seat hole repaired
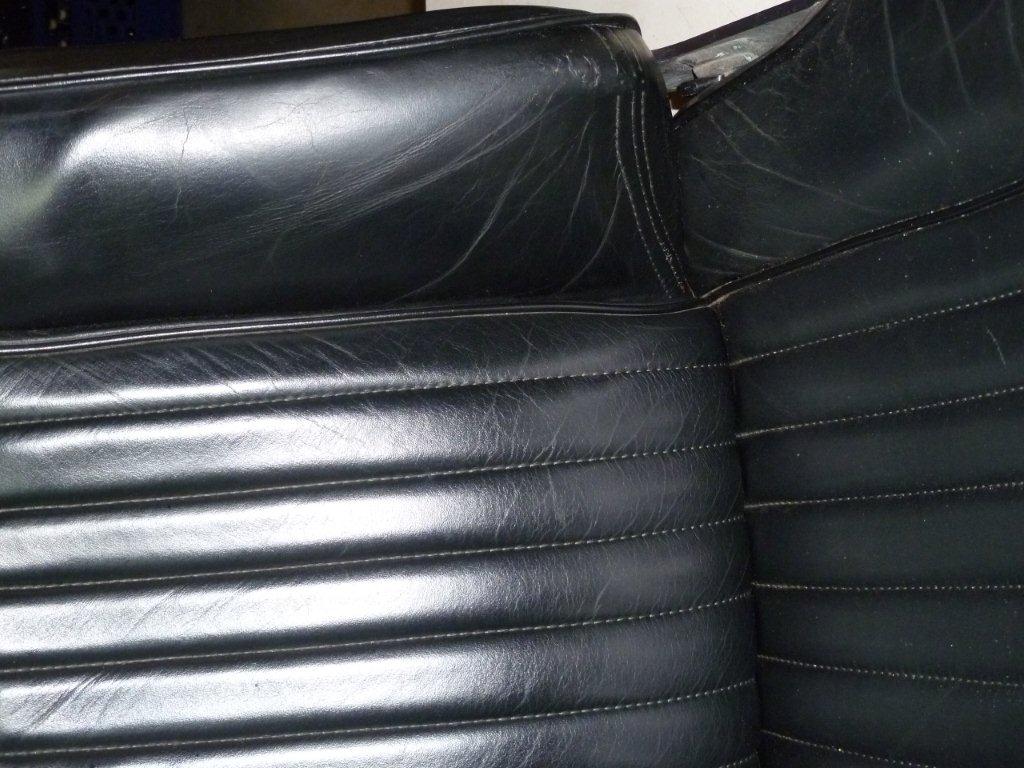
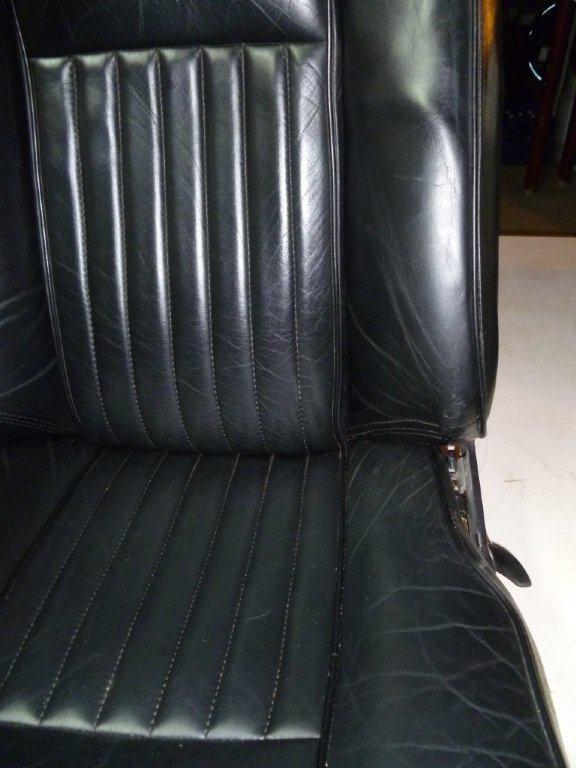
Driver’s seat bolster repaired
The repairs look even better in real life than they appear in the pictures. The cost of the repairs was negligible . To balance future wear on both seats I have interchanged the driver’s and passenger’s seats. The heavily worn bolster is now on the inboard side of the passenger seat, where it will be exposed to less stress .
|
|
|