|
|

Home Jensen Monday Club |
|
HEI Ignition System |
|
Ever
wish you had never started something...
One
a recent Monday Club outing for breakfast at
Caffeine and
Machine near
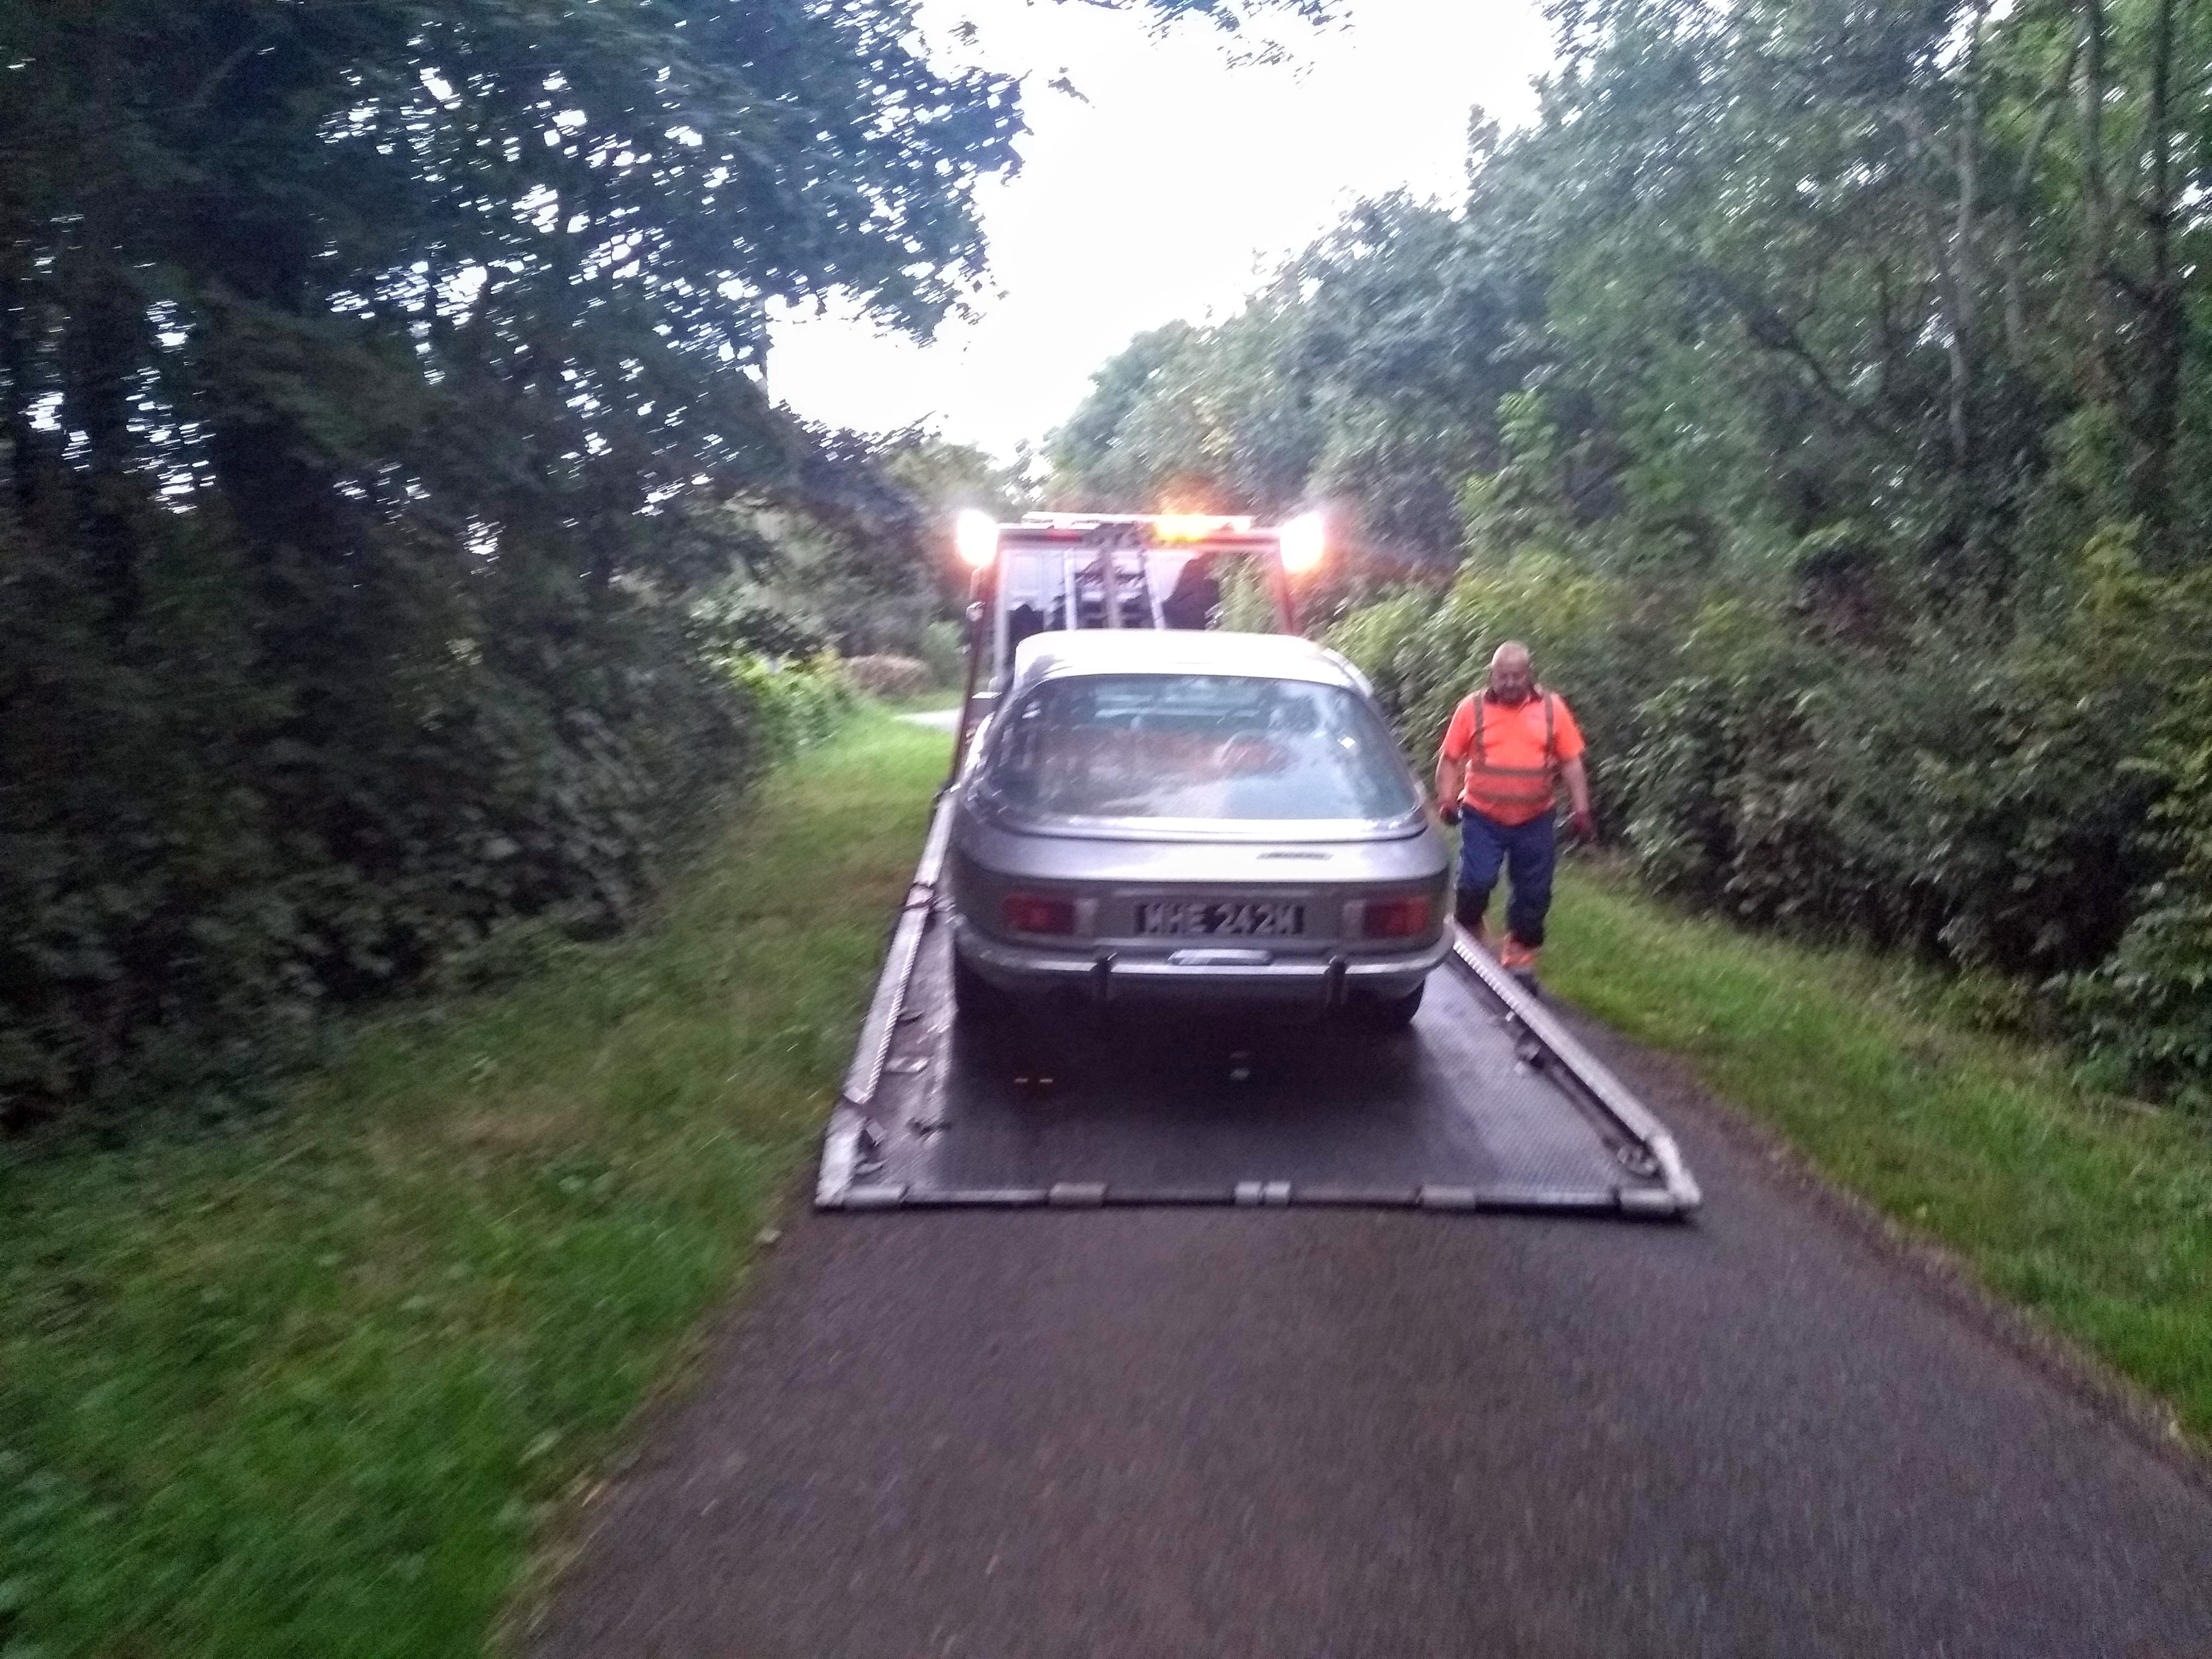
Stratford Upon Avon my car broke down for the first time in 20 odd
years of ownership and had to come home on a trailer.
|
 |
|
There was a pool of oil which I
originally thought was brake fluid, but actually turned out to be the oil
from the ignition coil which had sprung a leak and failed. The ignition
was an FBO system which was years old years old and had finally
given up the ghost. Grok AI info. 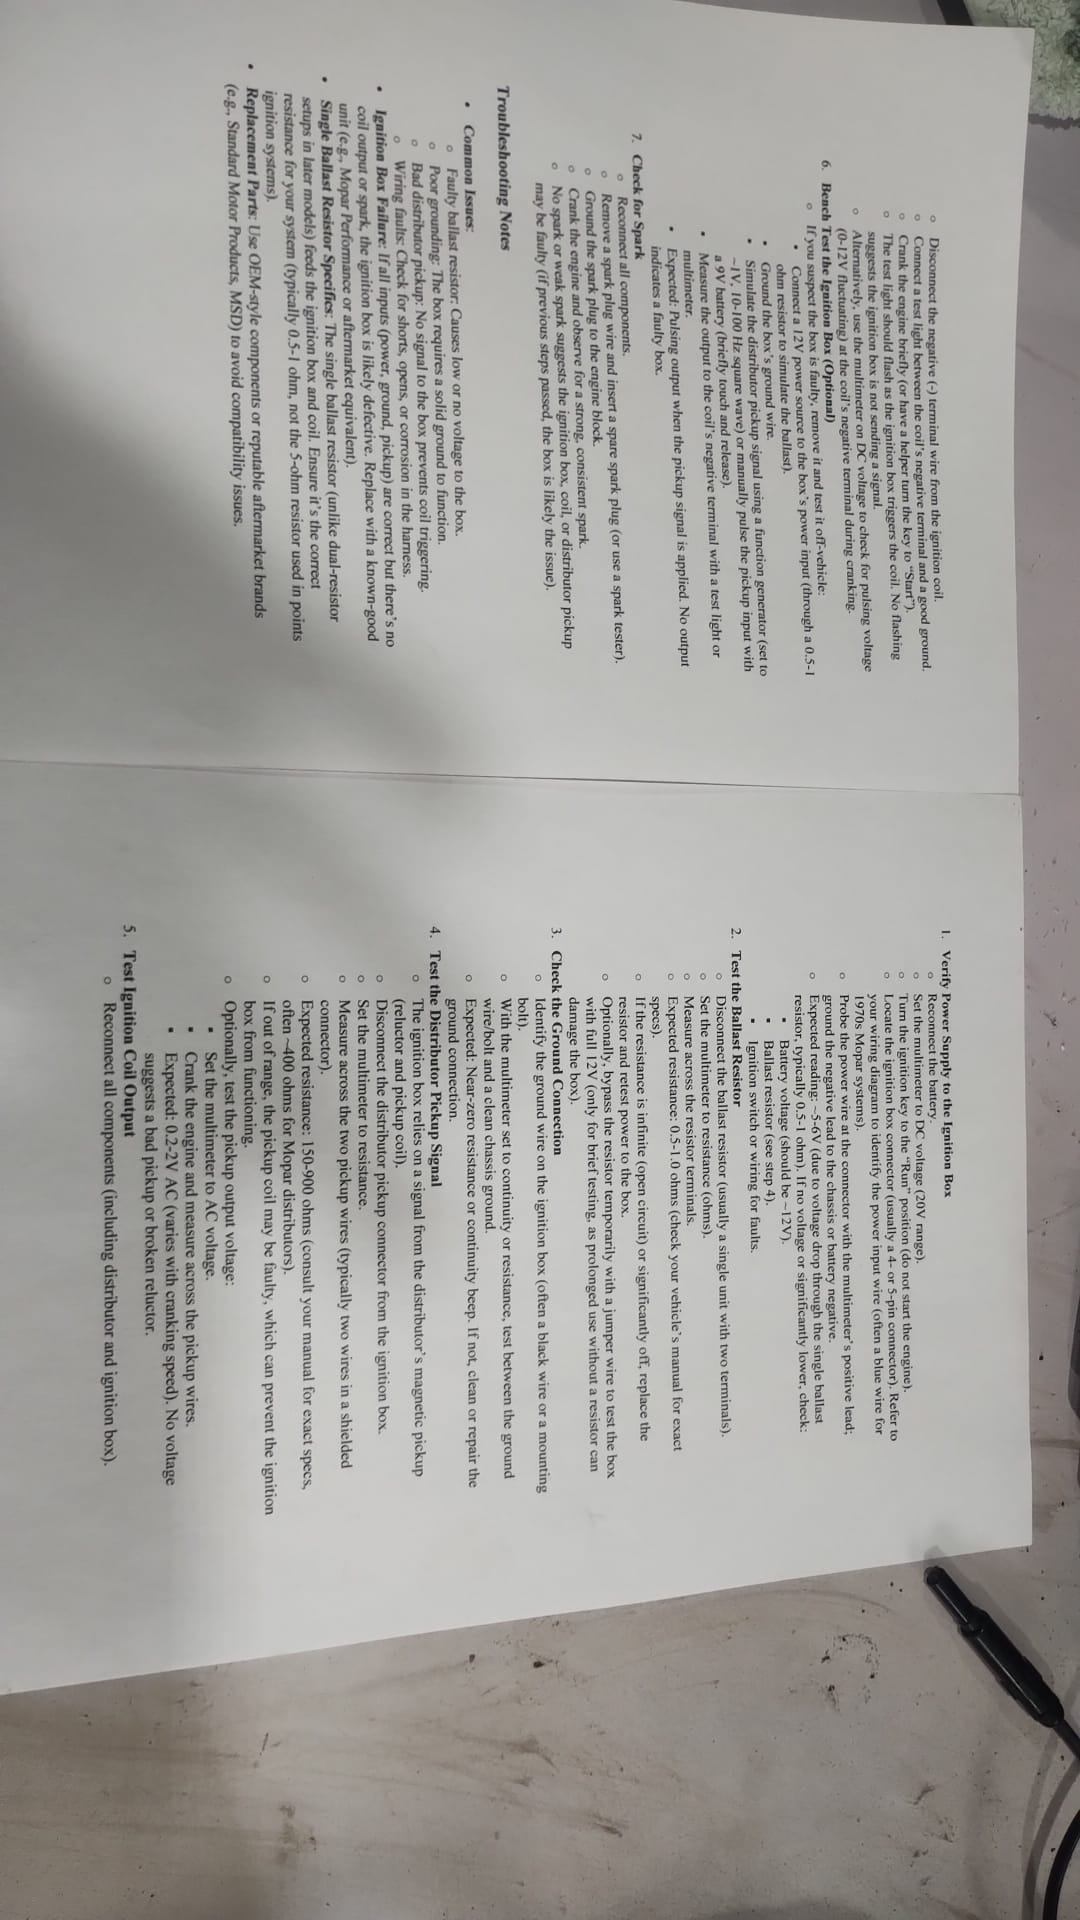 System on the bench 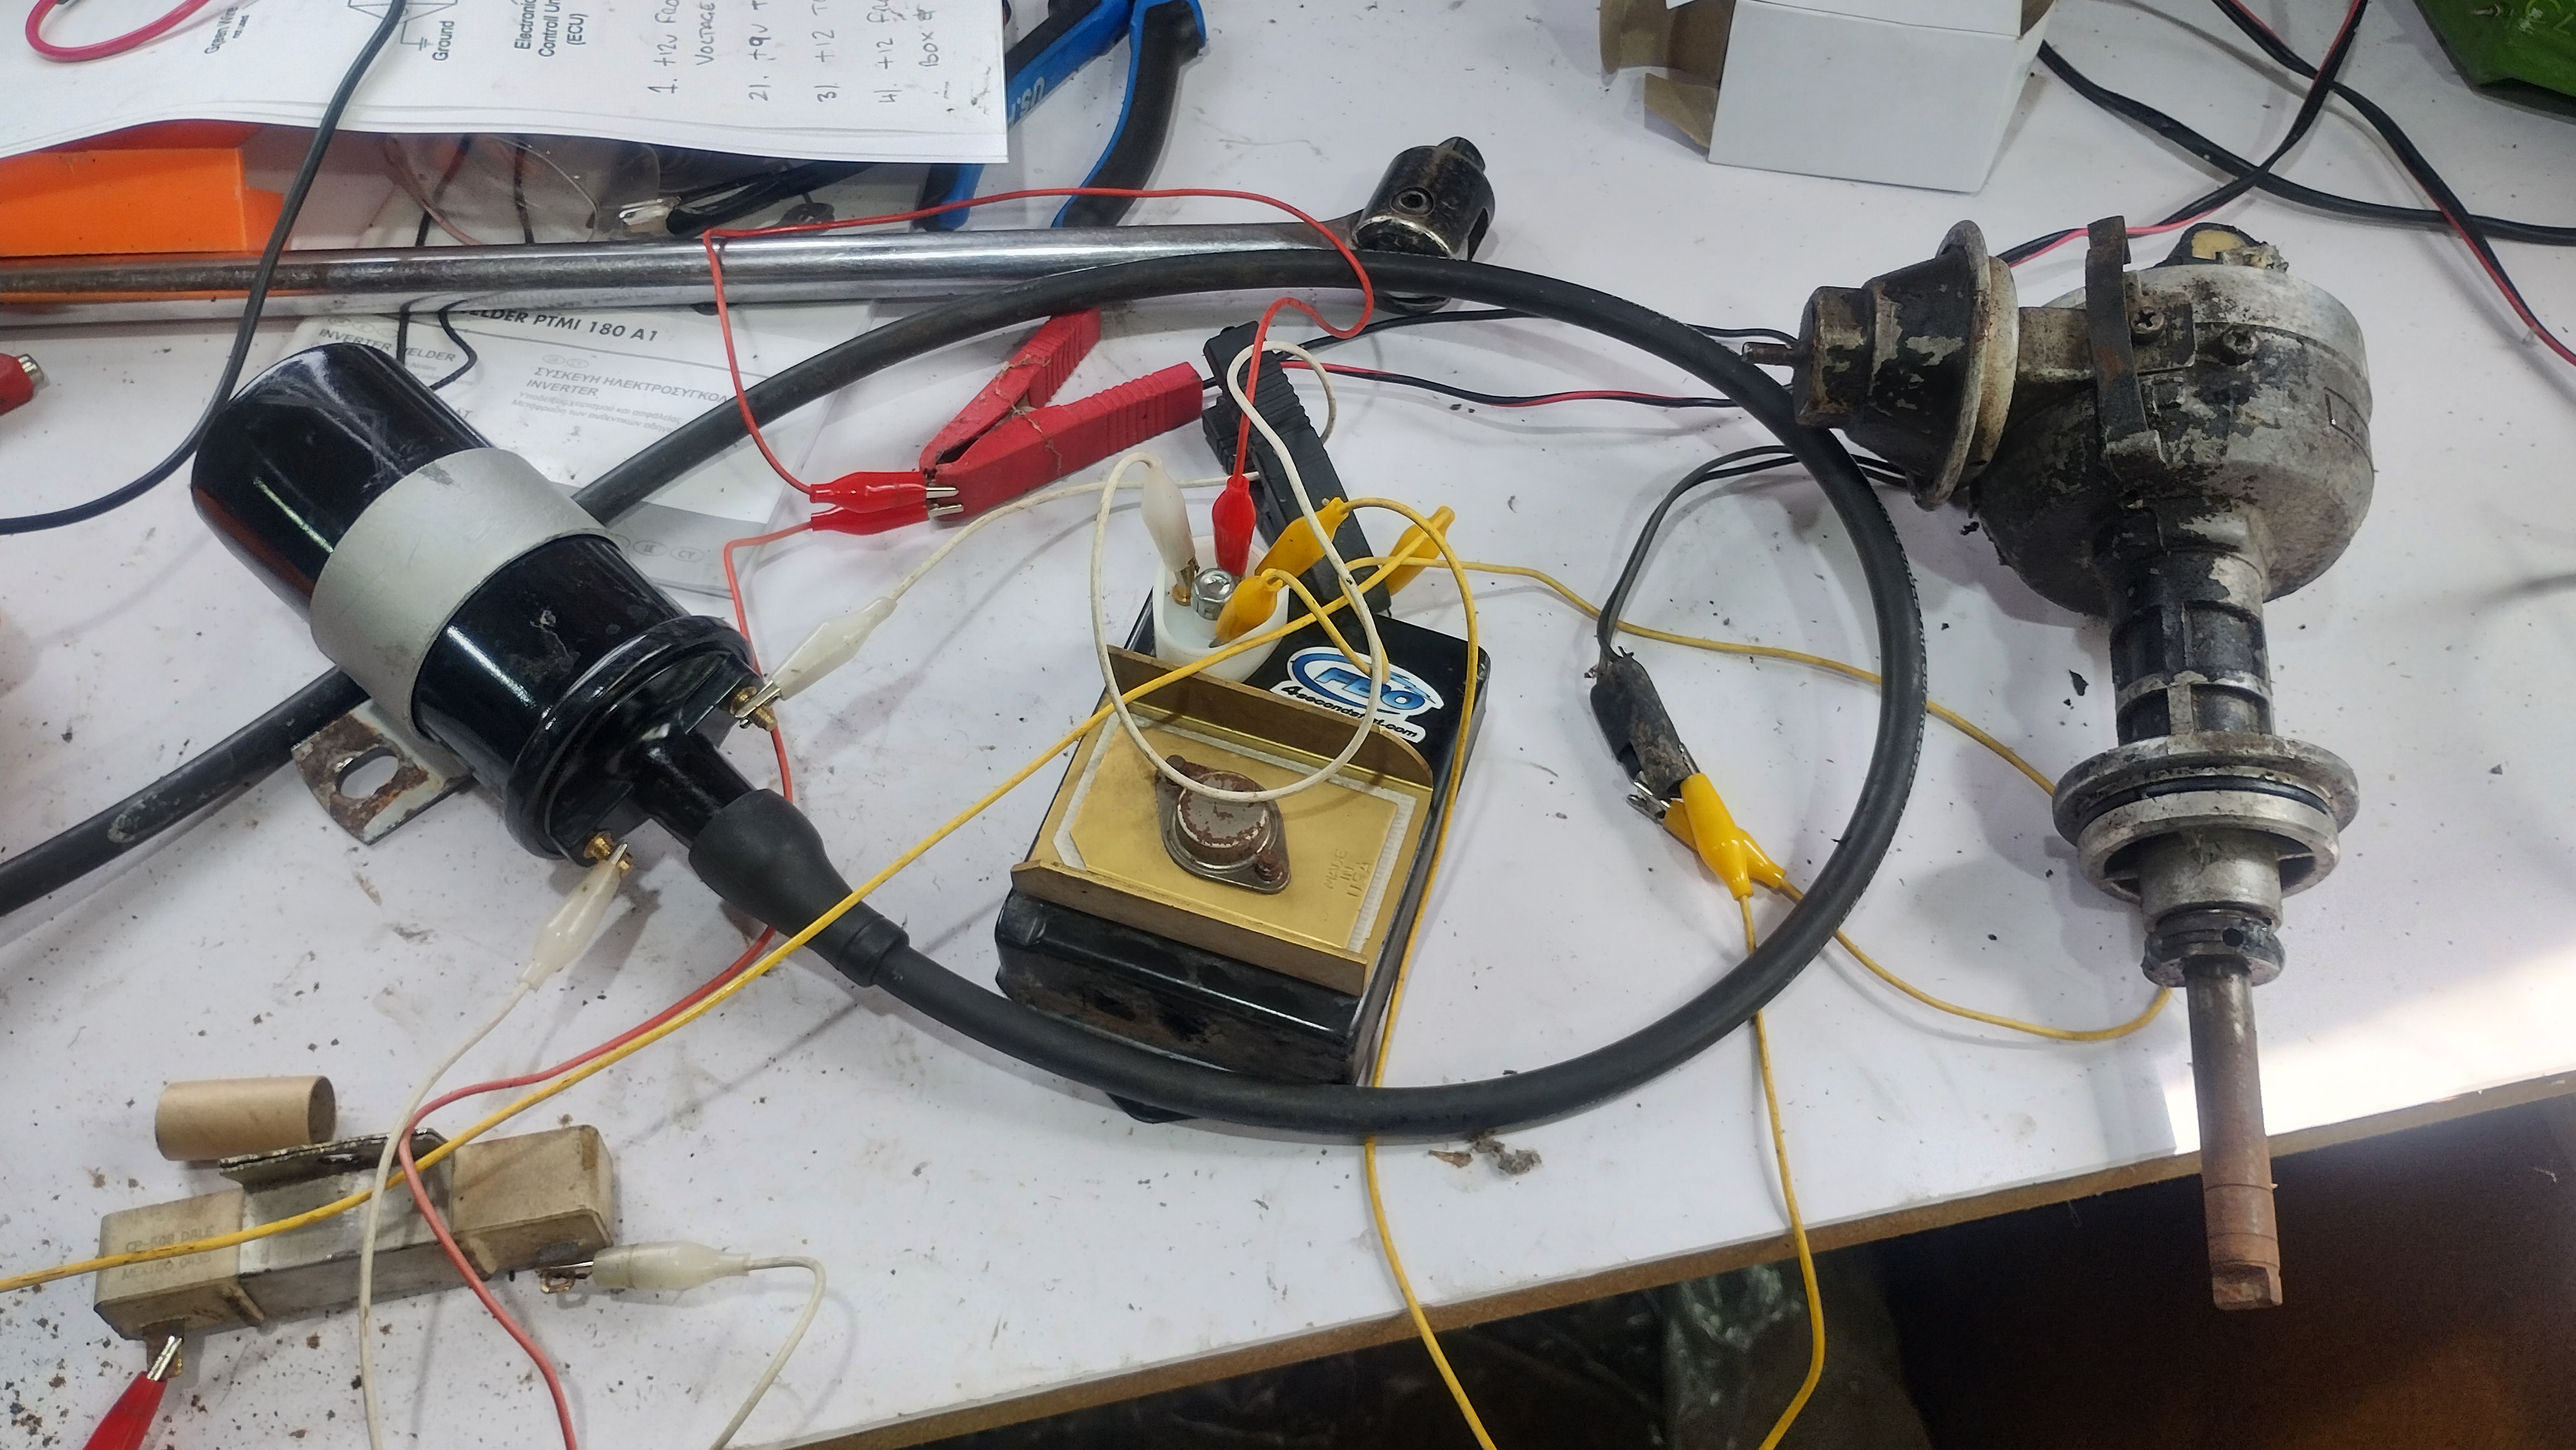
It was giving all sorts of odd
readings and so I made the executive decision to replace the whole lot
with a HEI distributor.  
Yikes!  |
|
The next problem was the body of the dizzy was fouling the aluminium rocker cover, so out came the grind stones and files, and the rocker was reshaped to give enough clearance. Lukily it missed the air filter box ok. The rocker cover is approx 5mm thick, so I was hoping that it wouldn't need more than 4mm of clearance... 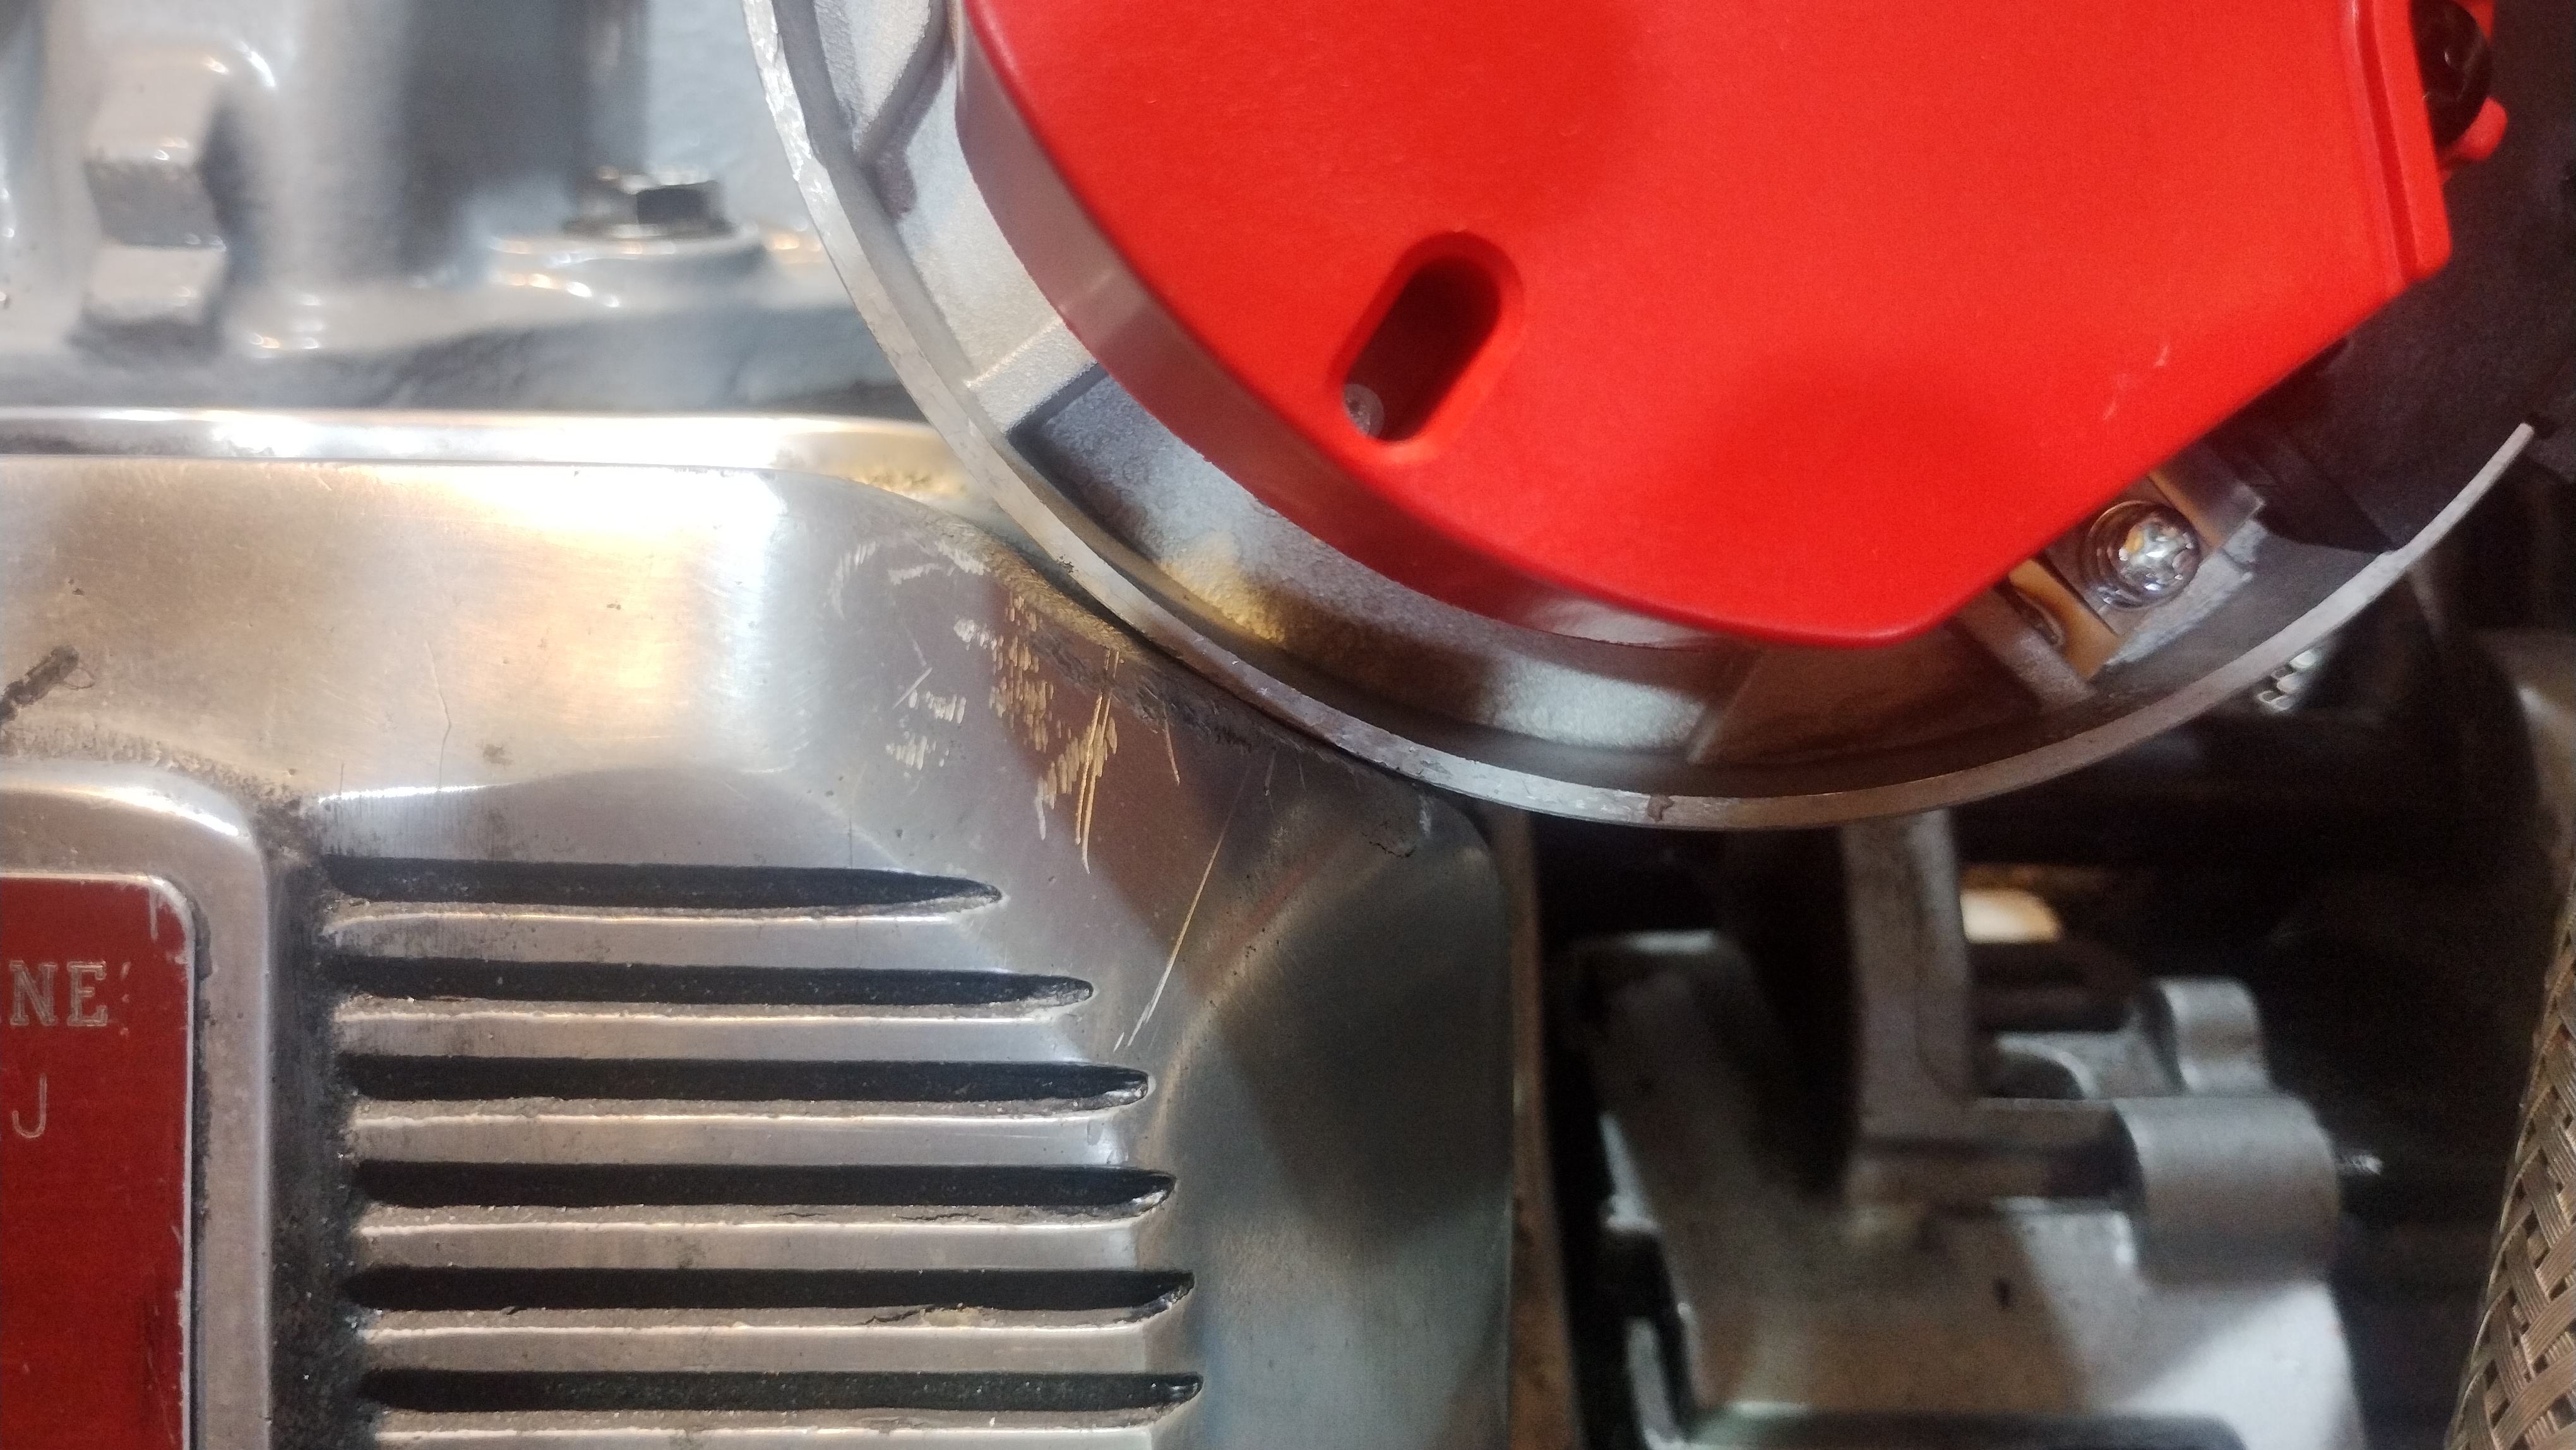 As I was grinding ever more material off, it occured to me that I had best check if it would actually clear the bonnet bracing... I rigged up my endoscope by taping it to the expansion tank lid and connecting it to may tablet so I could see under the bonnet when it was being closed. Endoscope taped to the pressure cap 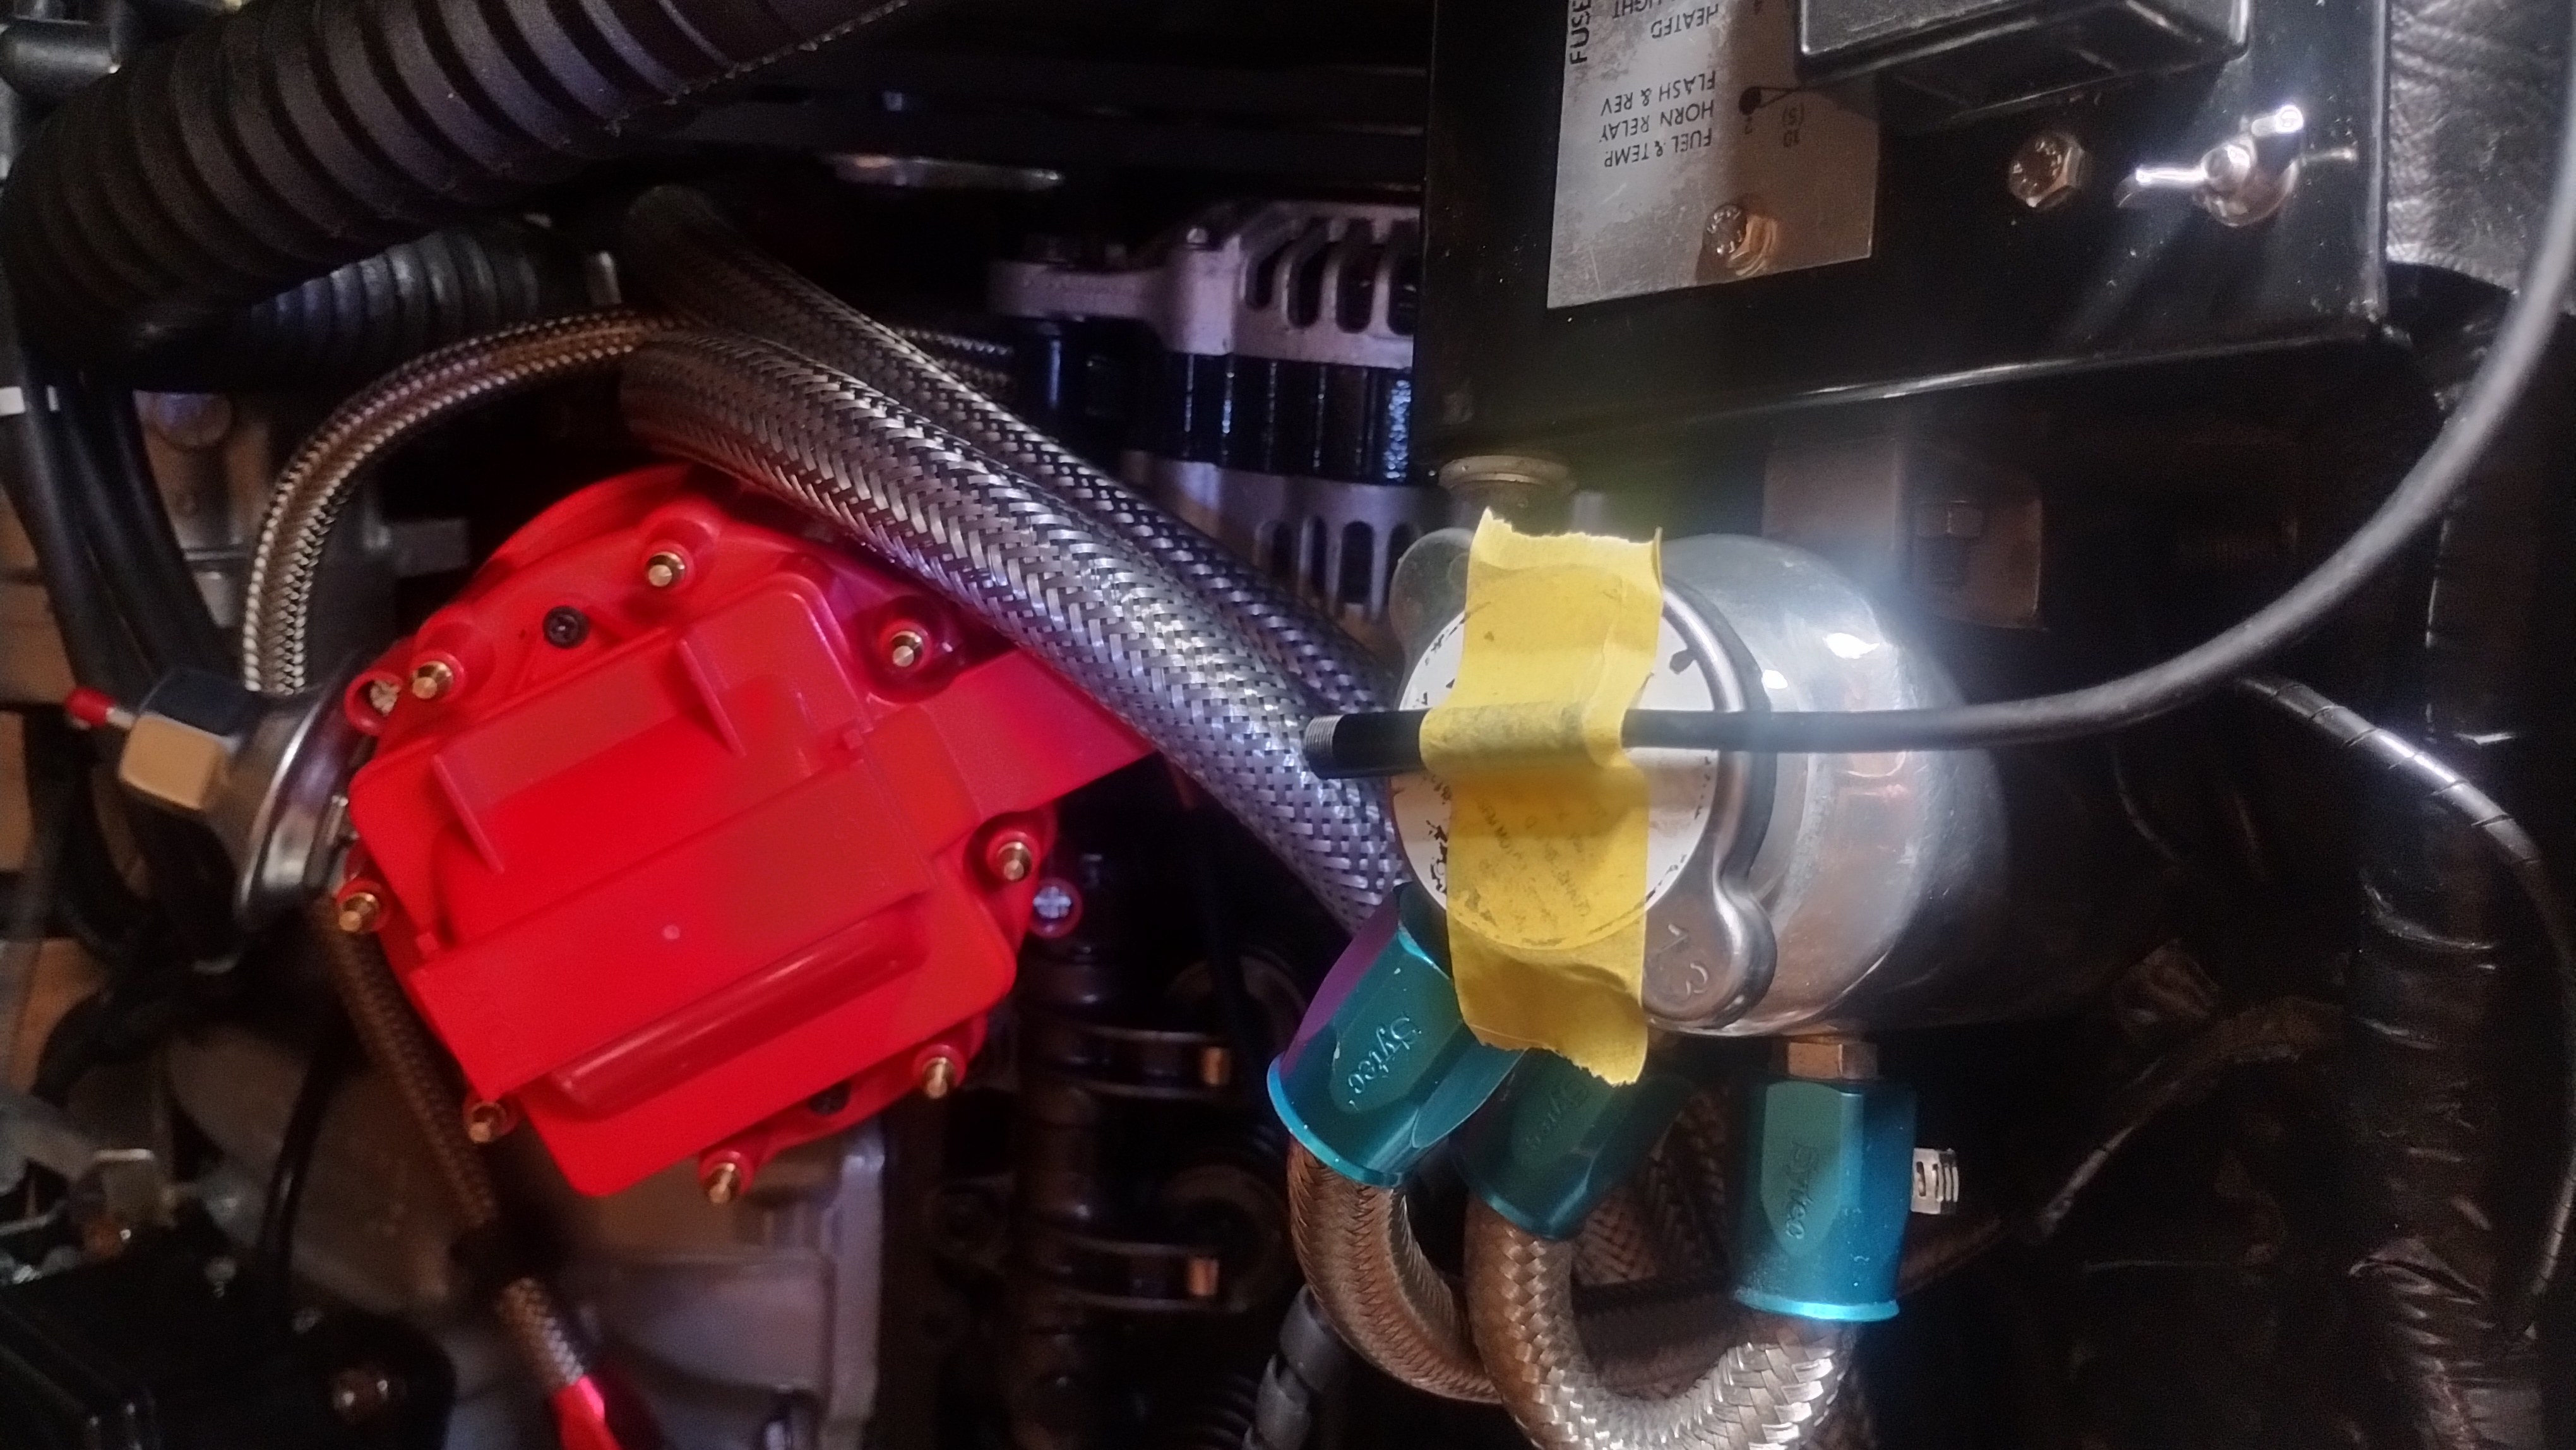
I then added a spot lamp to give some extra lighting 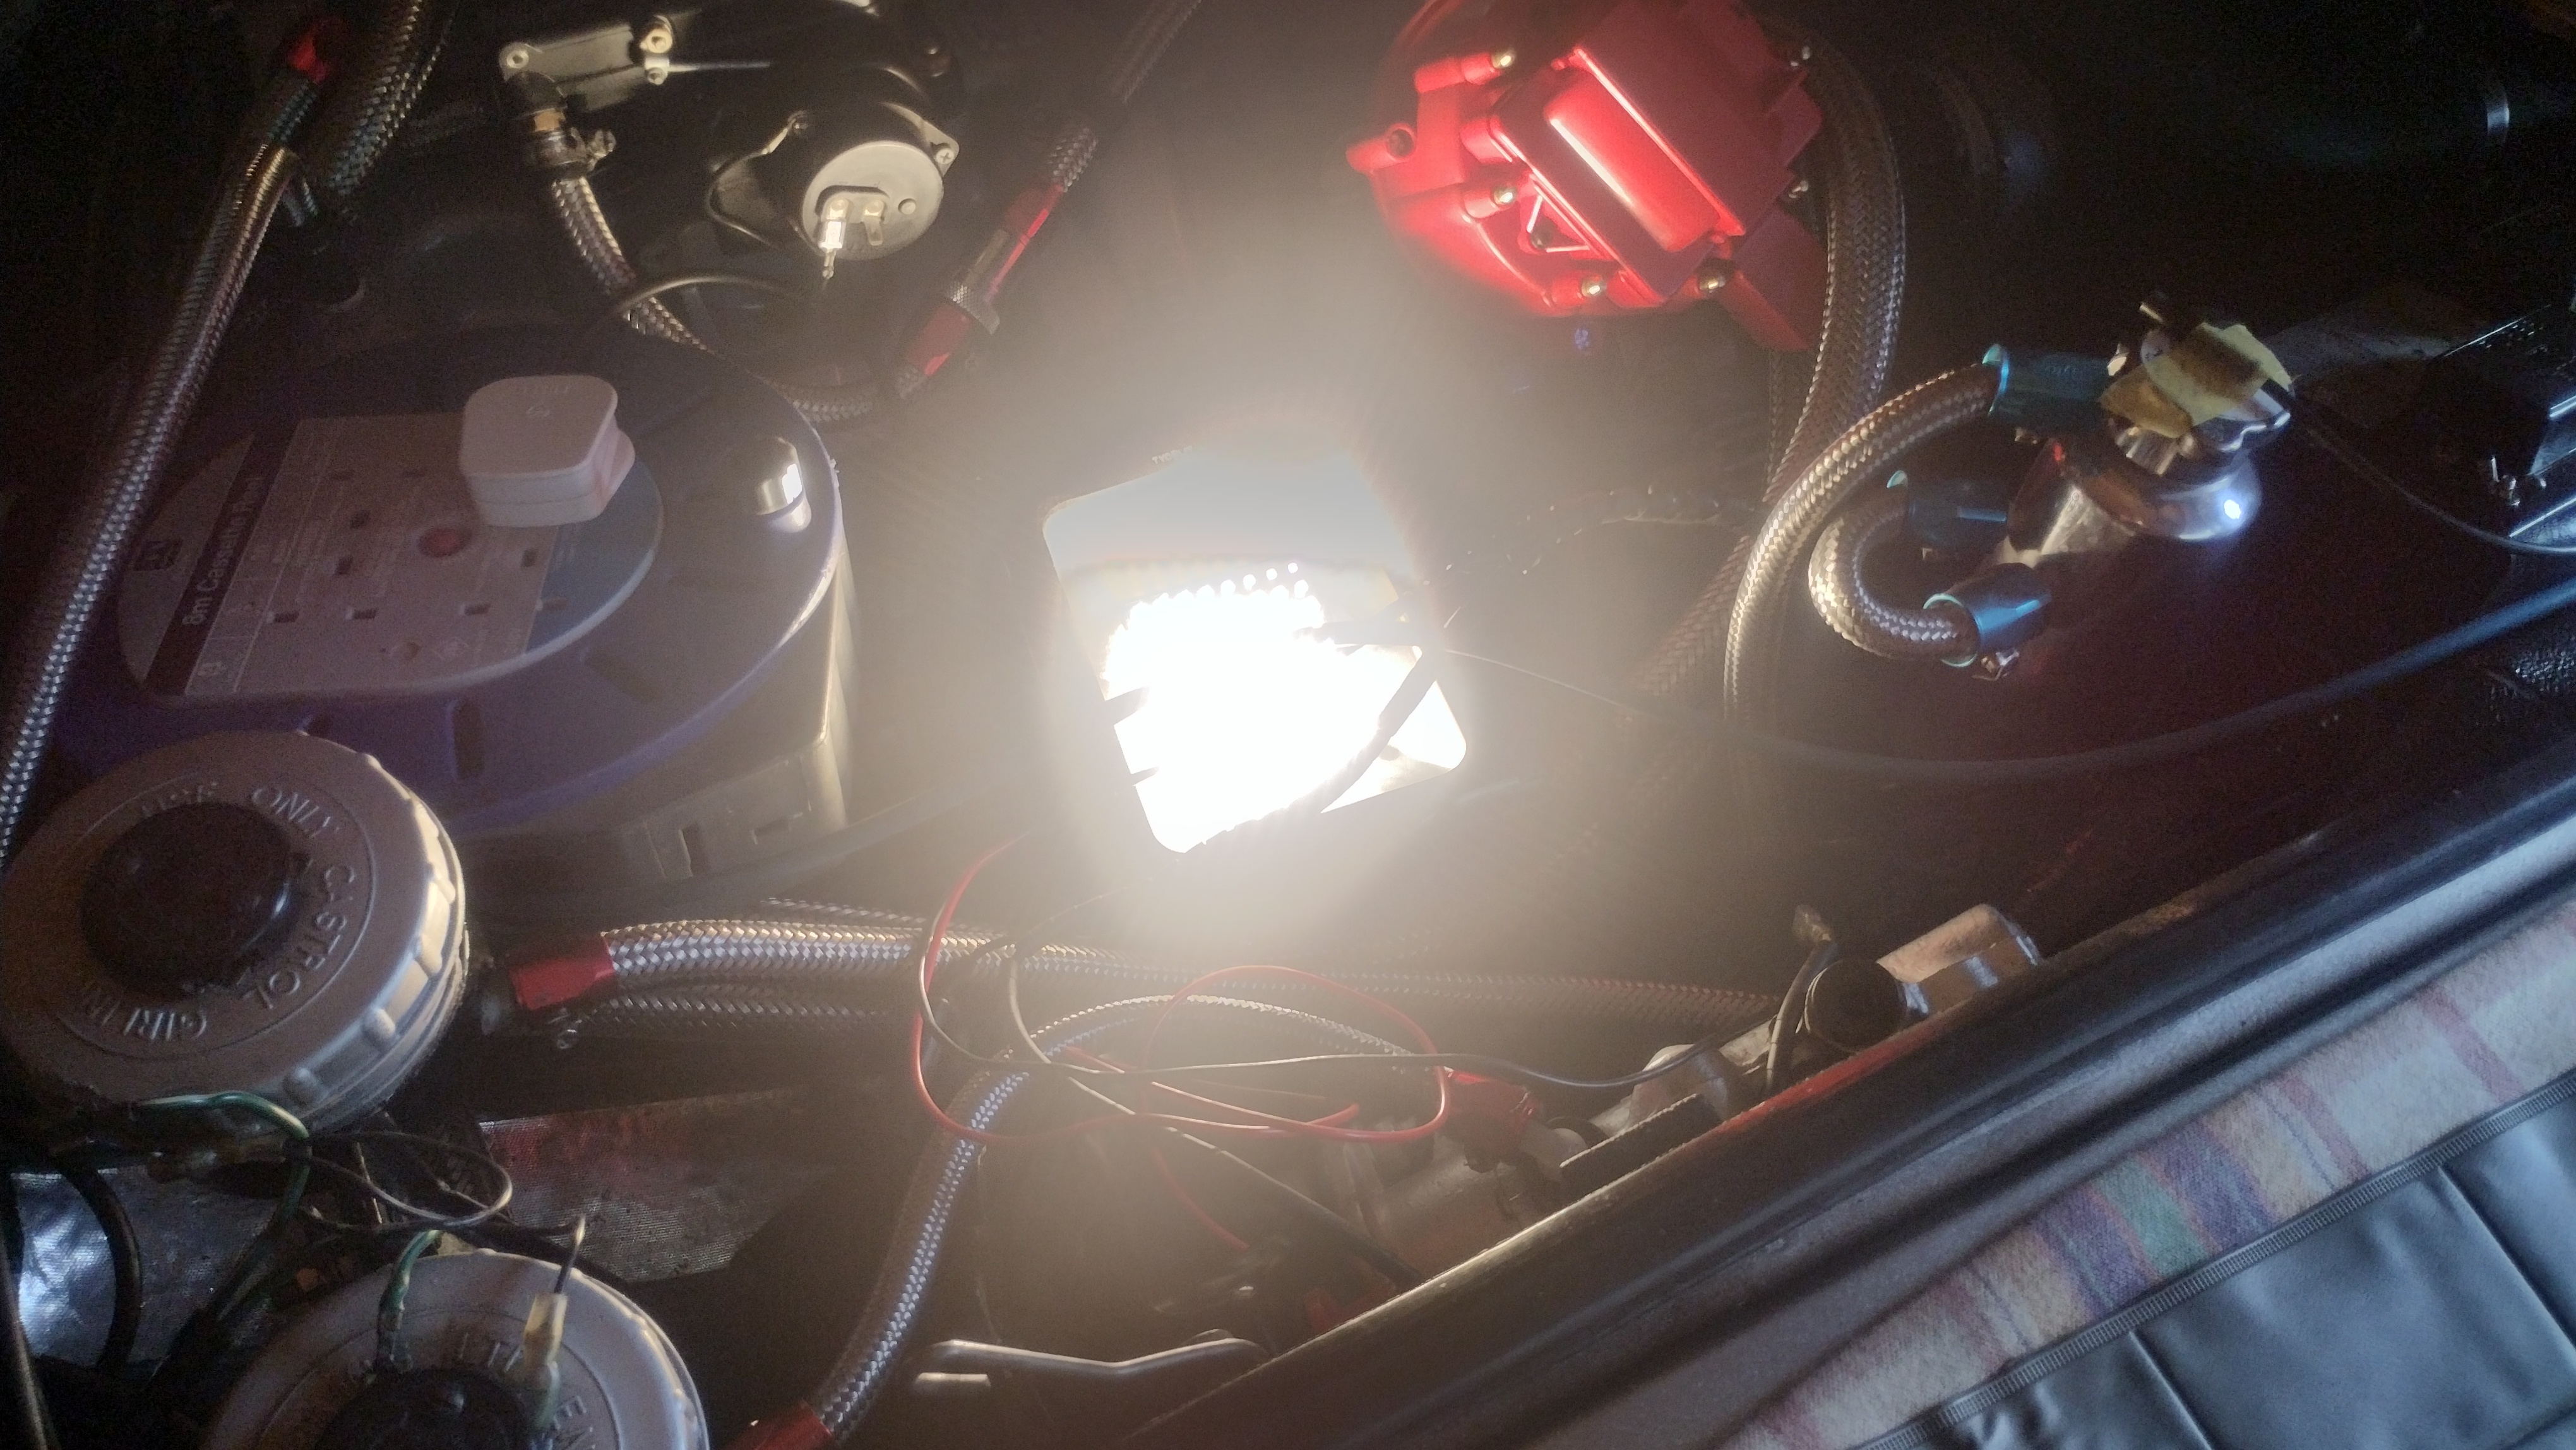 Image from under the bonnet showing there was enough clearance 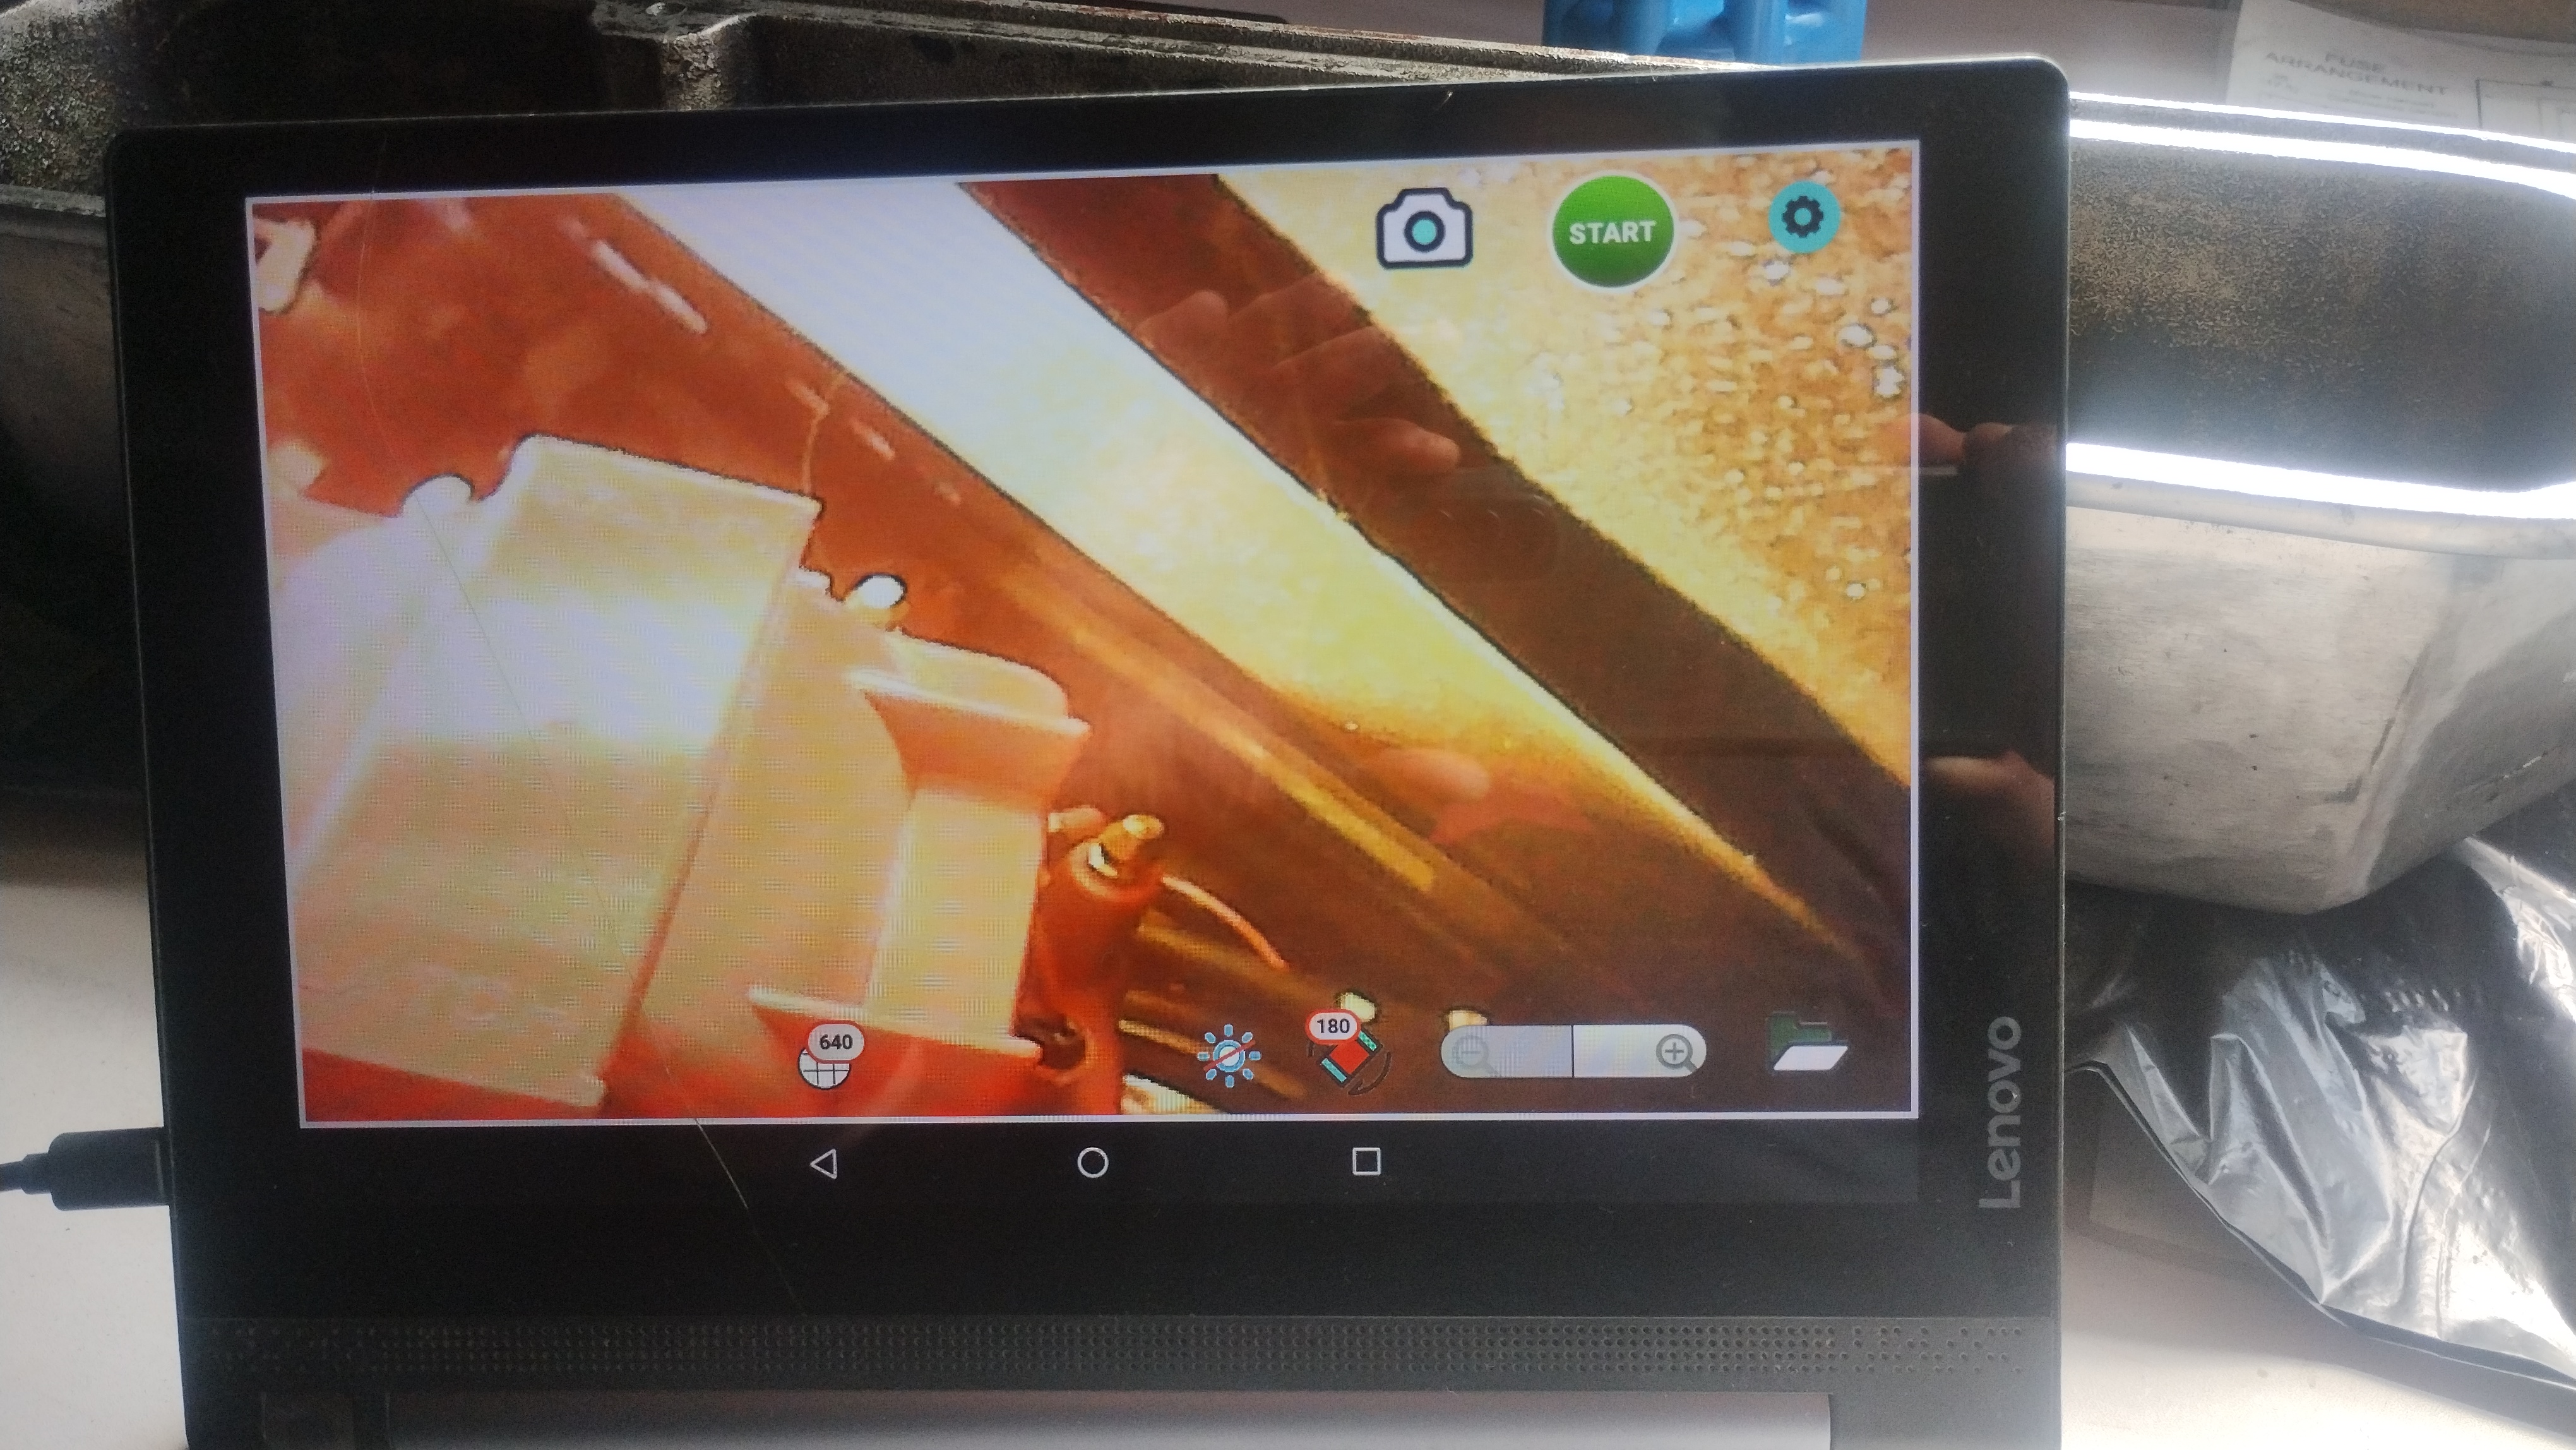 Double checked by peering through the bonnet louvres  Now I know it clears the bonnet and air filter, I can continue the job.   As I suspected, I eventually went through the rocker cover, and the dizzy still wouldn't fit, so it was clear that grinding alone wasn't going to be enough So I broke out the tools and got to work. 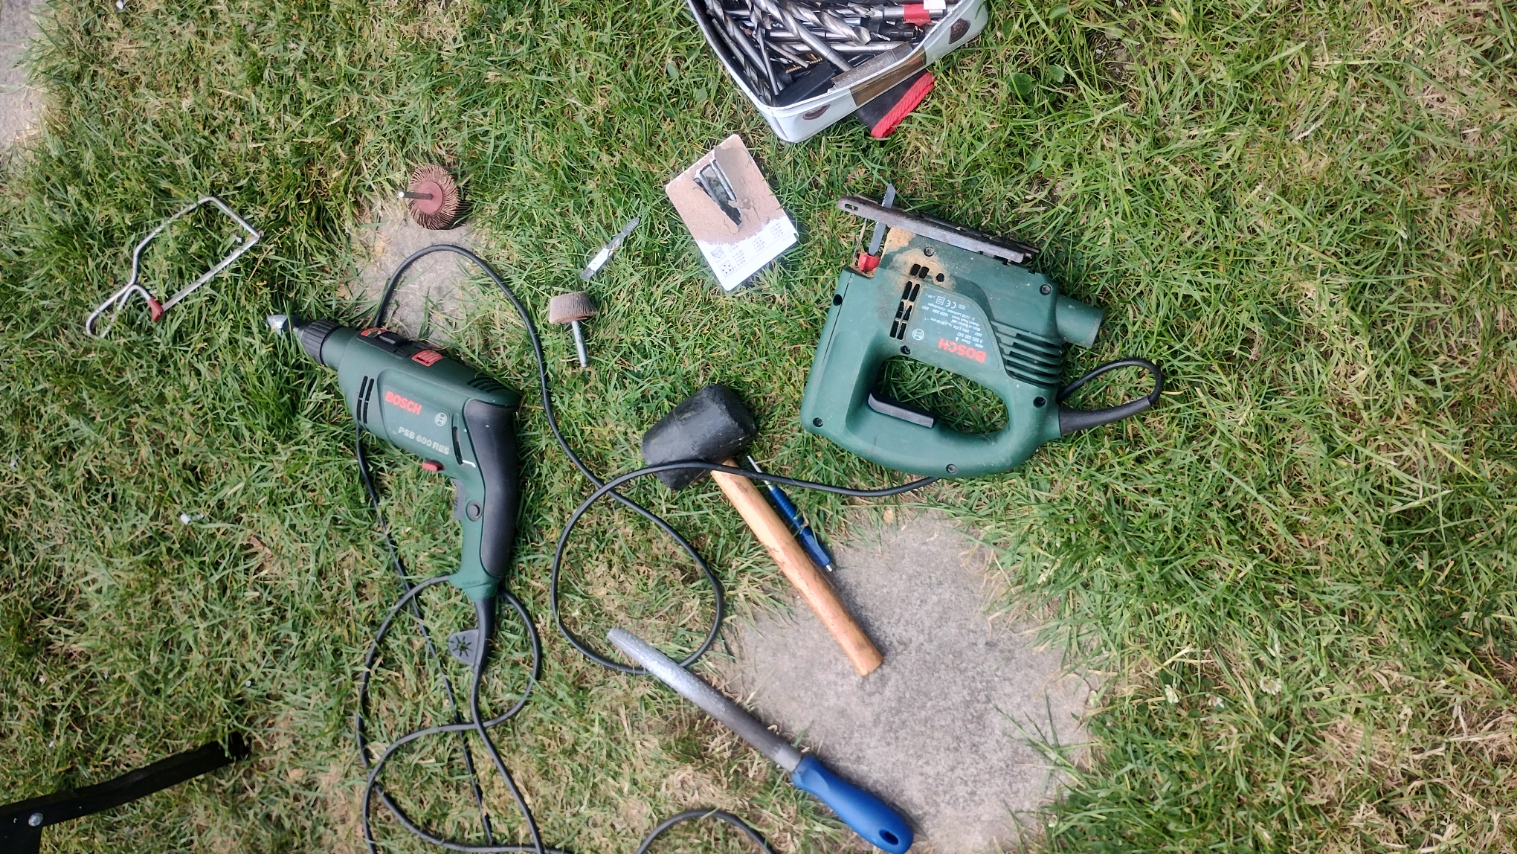 How it started... 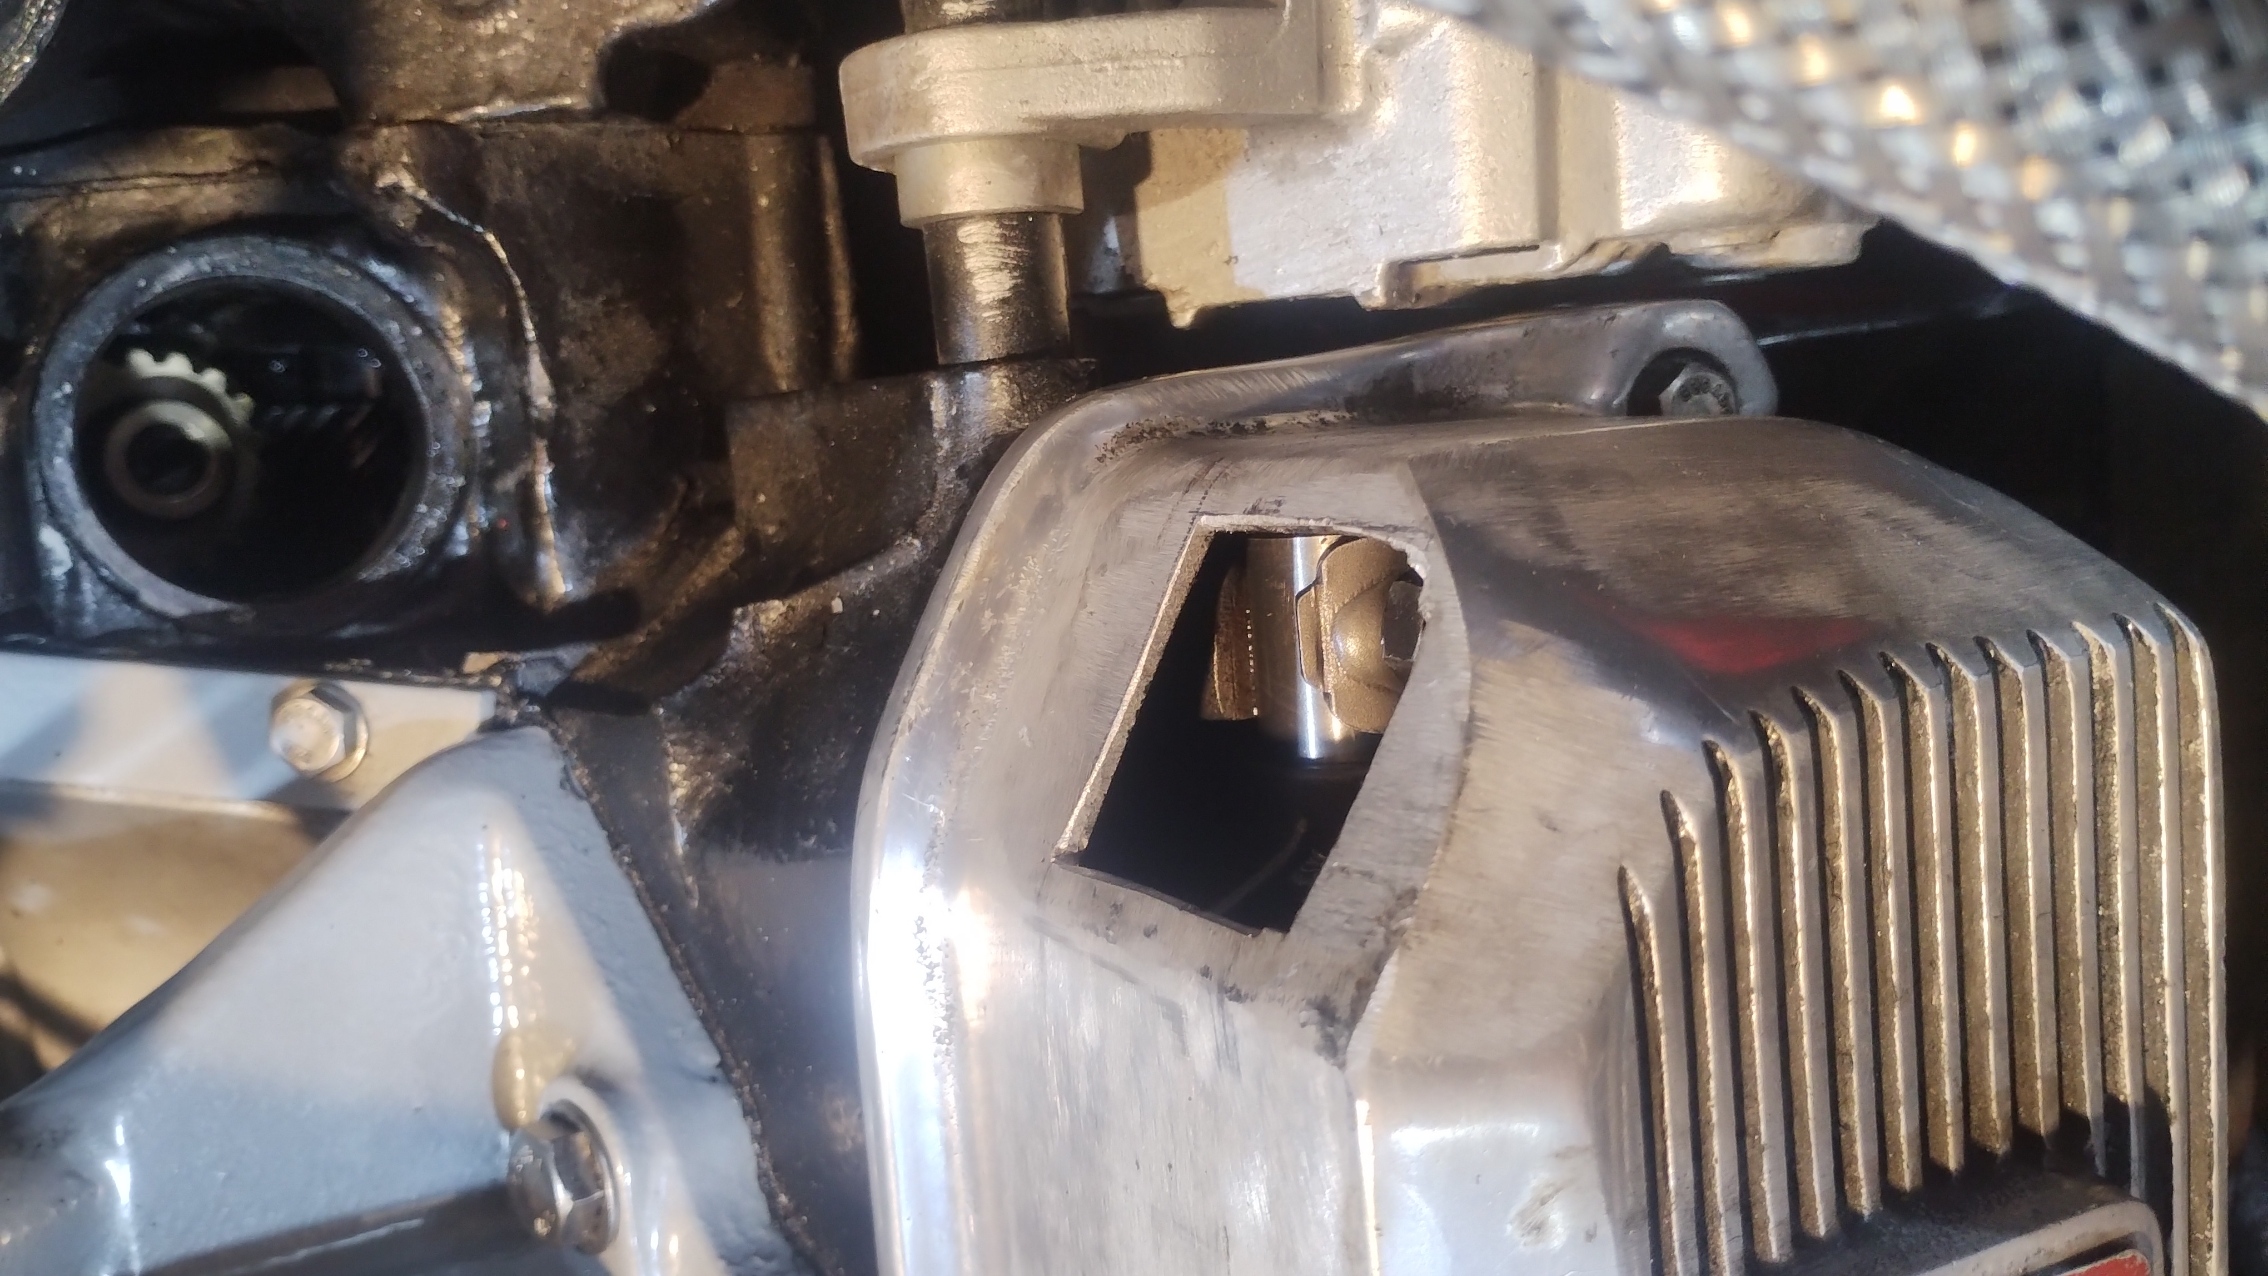 How it ended... 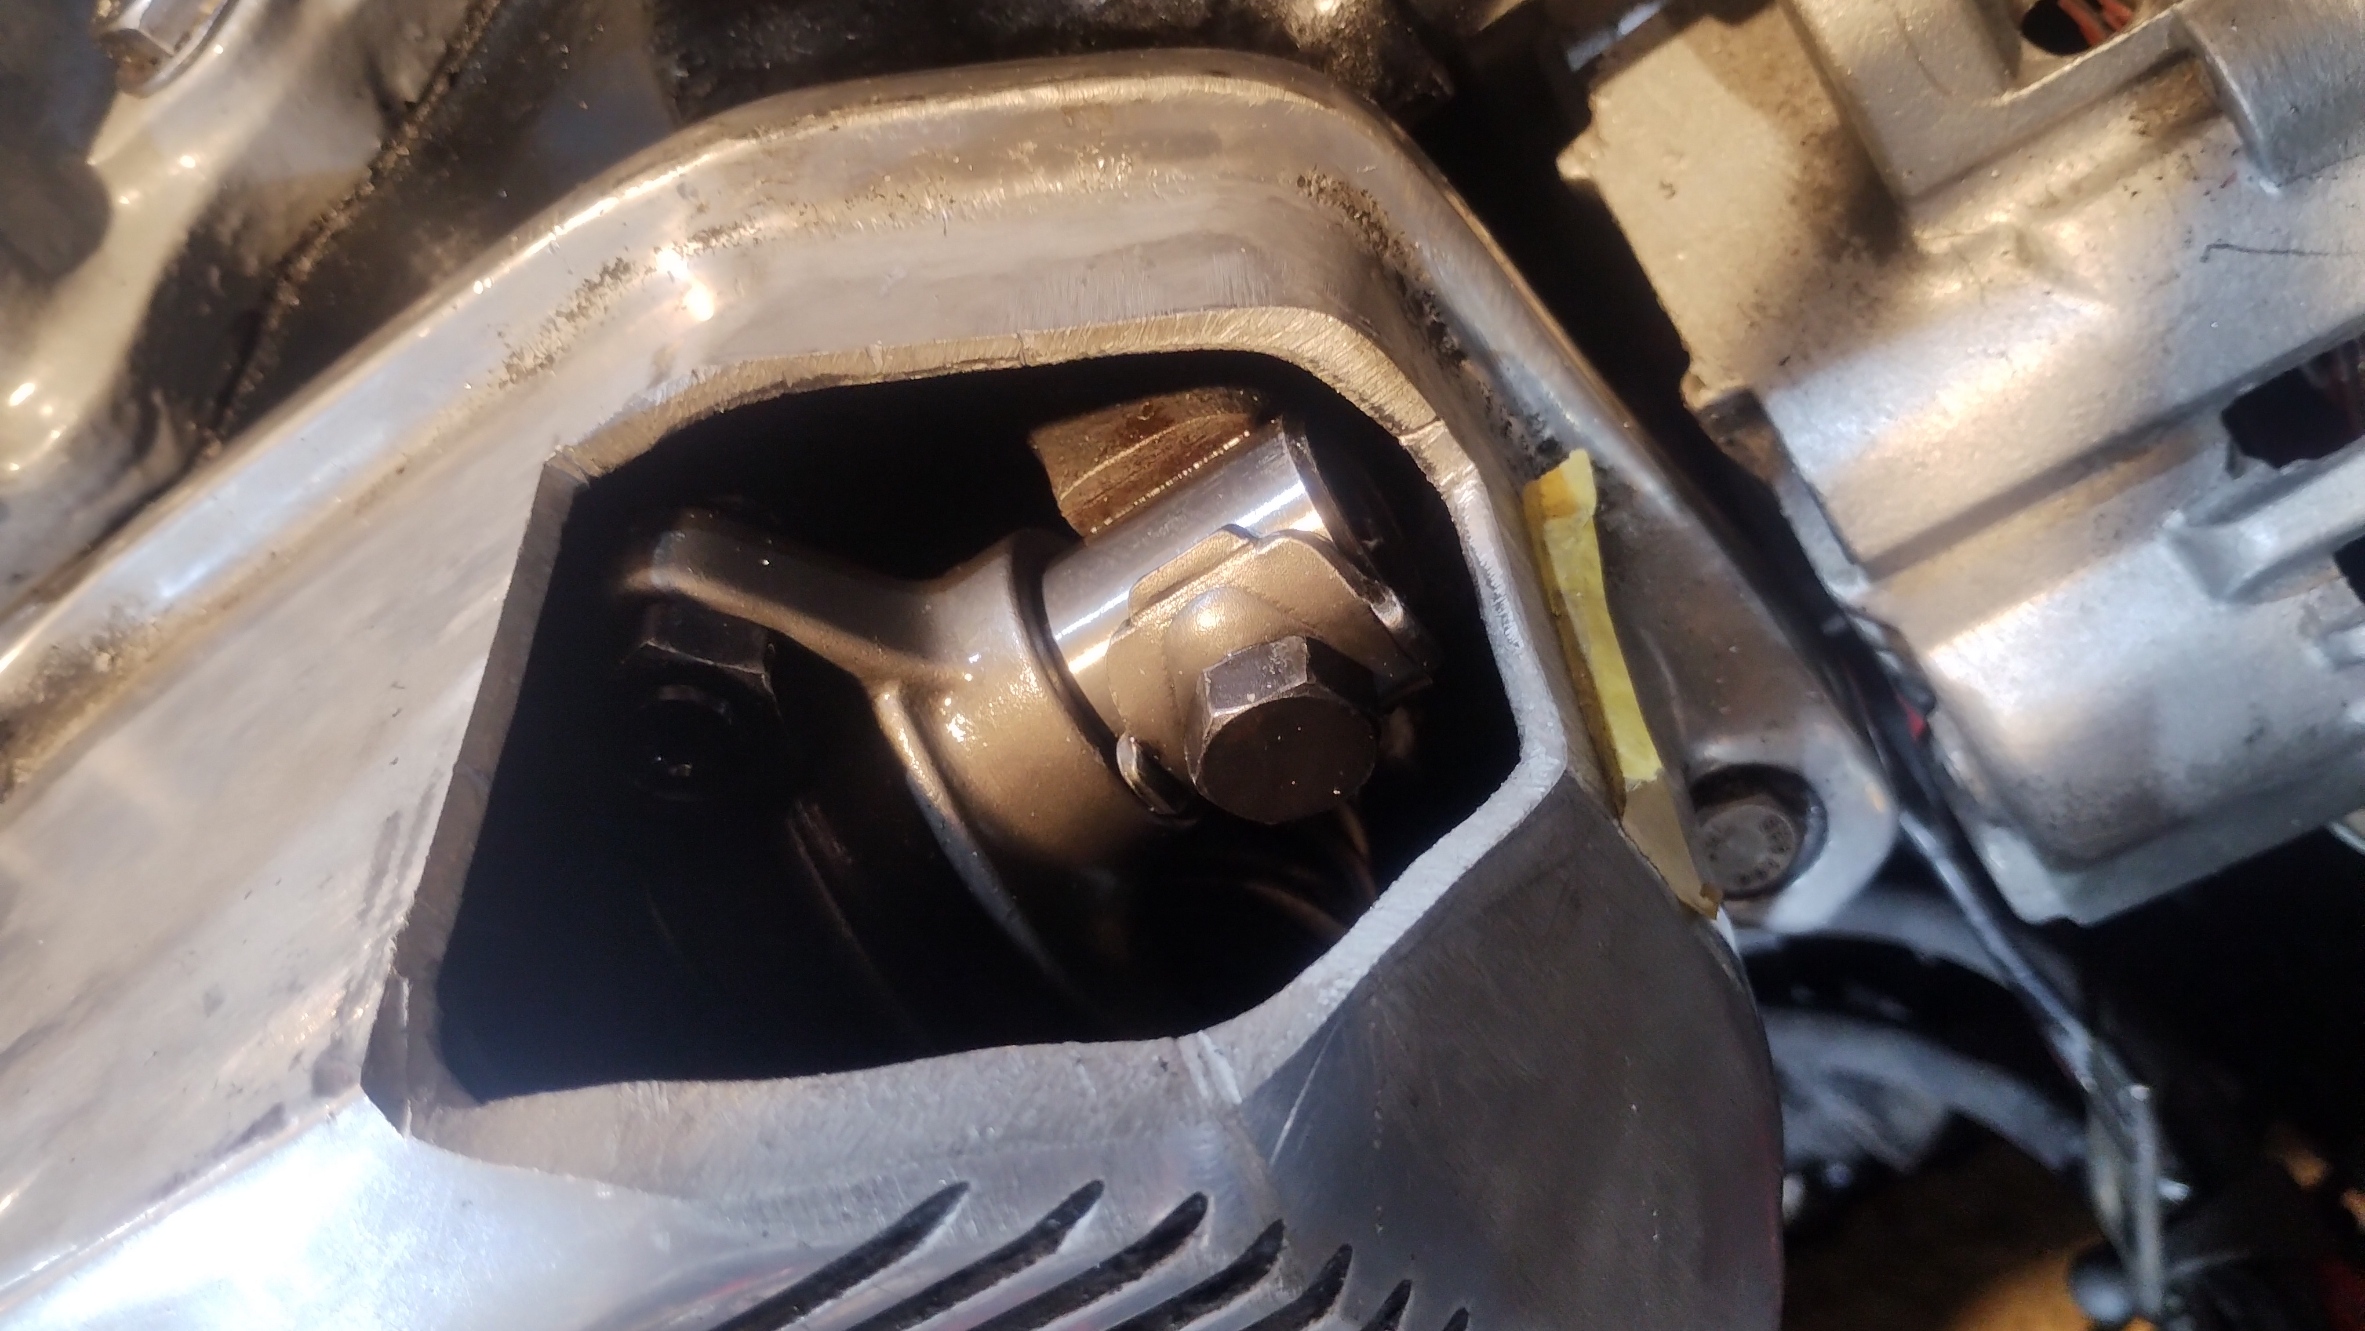 Obviously you can't just leave a hole in the cover, so an aluminium plate was going to have to be made Using CAD (Cardboard Assisted Design) was the way to go 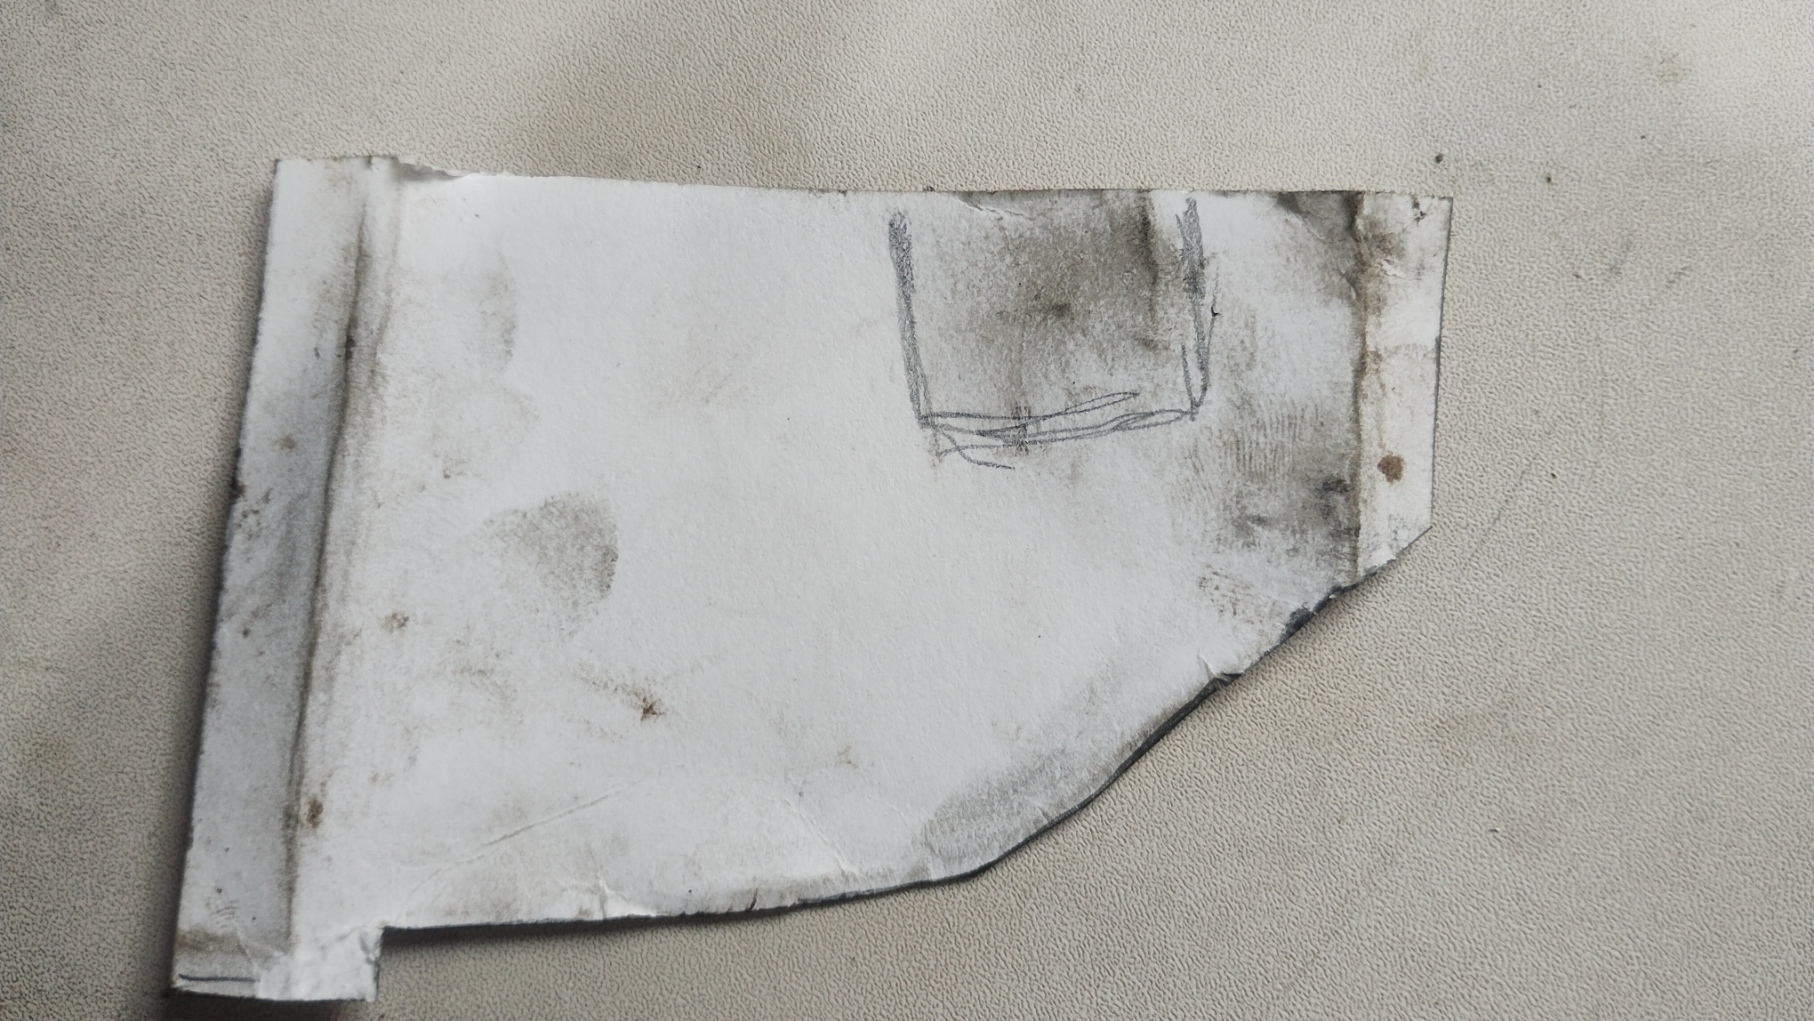 Then an aluminium piece could be made 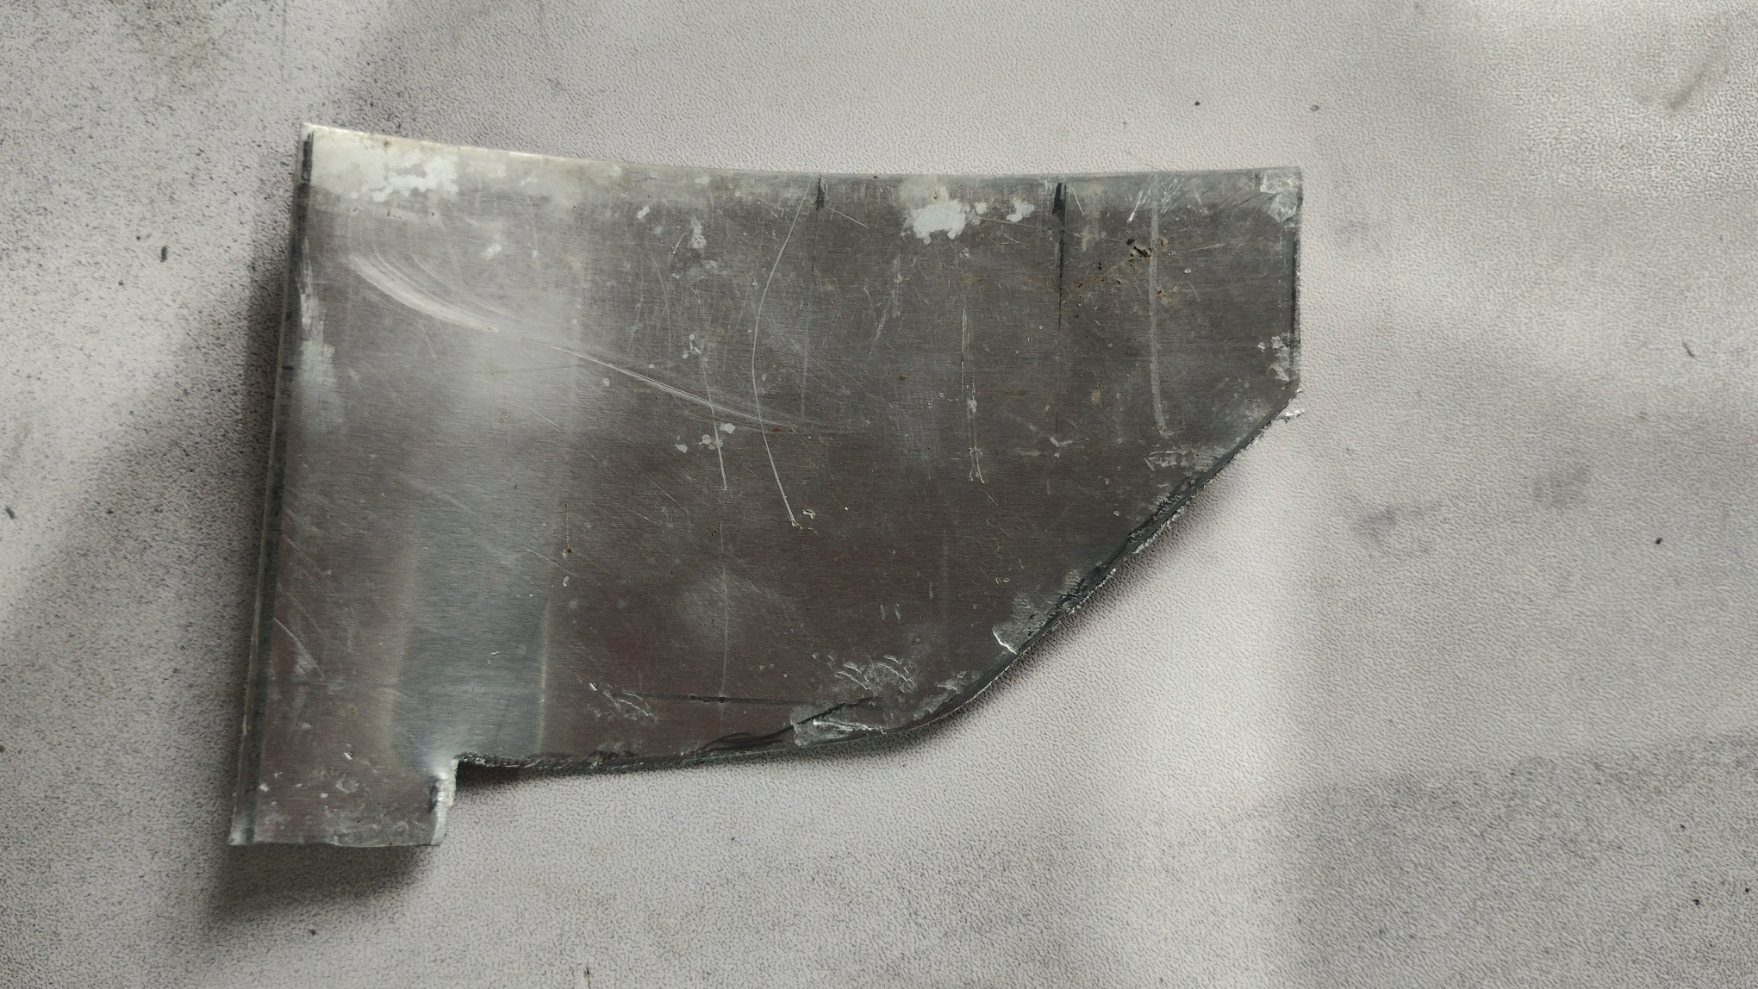 There is an added complication of the end of the rocker shaft is in the way, so a bulge was required to clear it. I used a socket extension as a former  |
|
Cover plate being manufactured 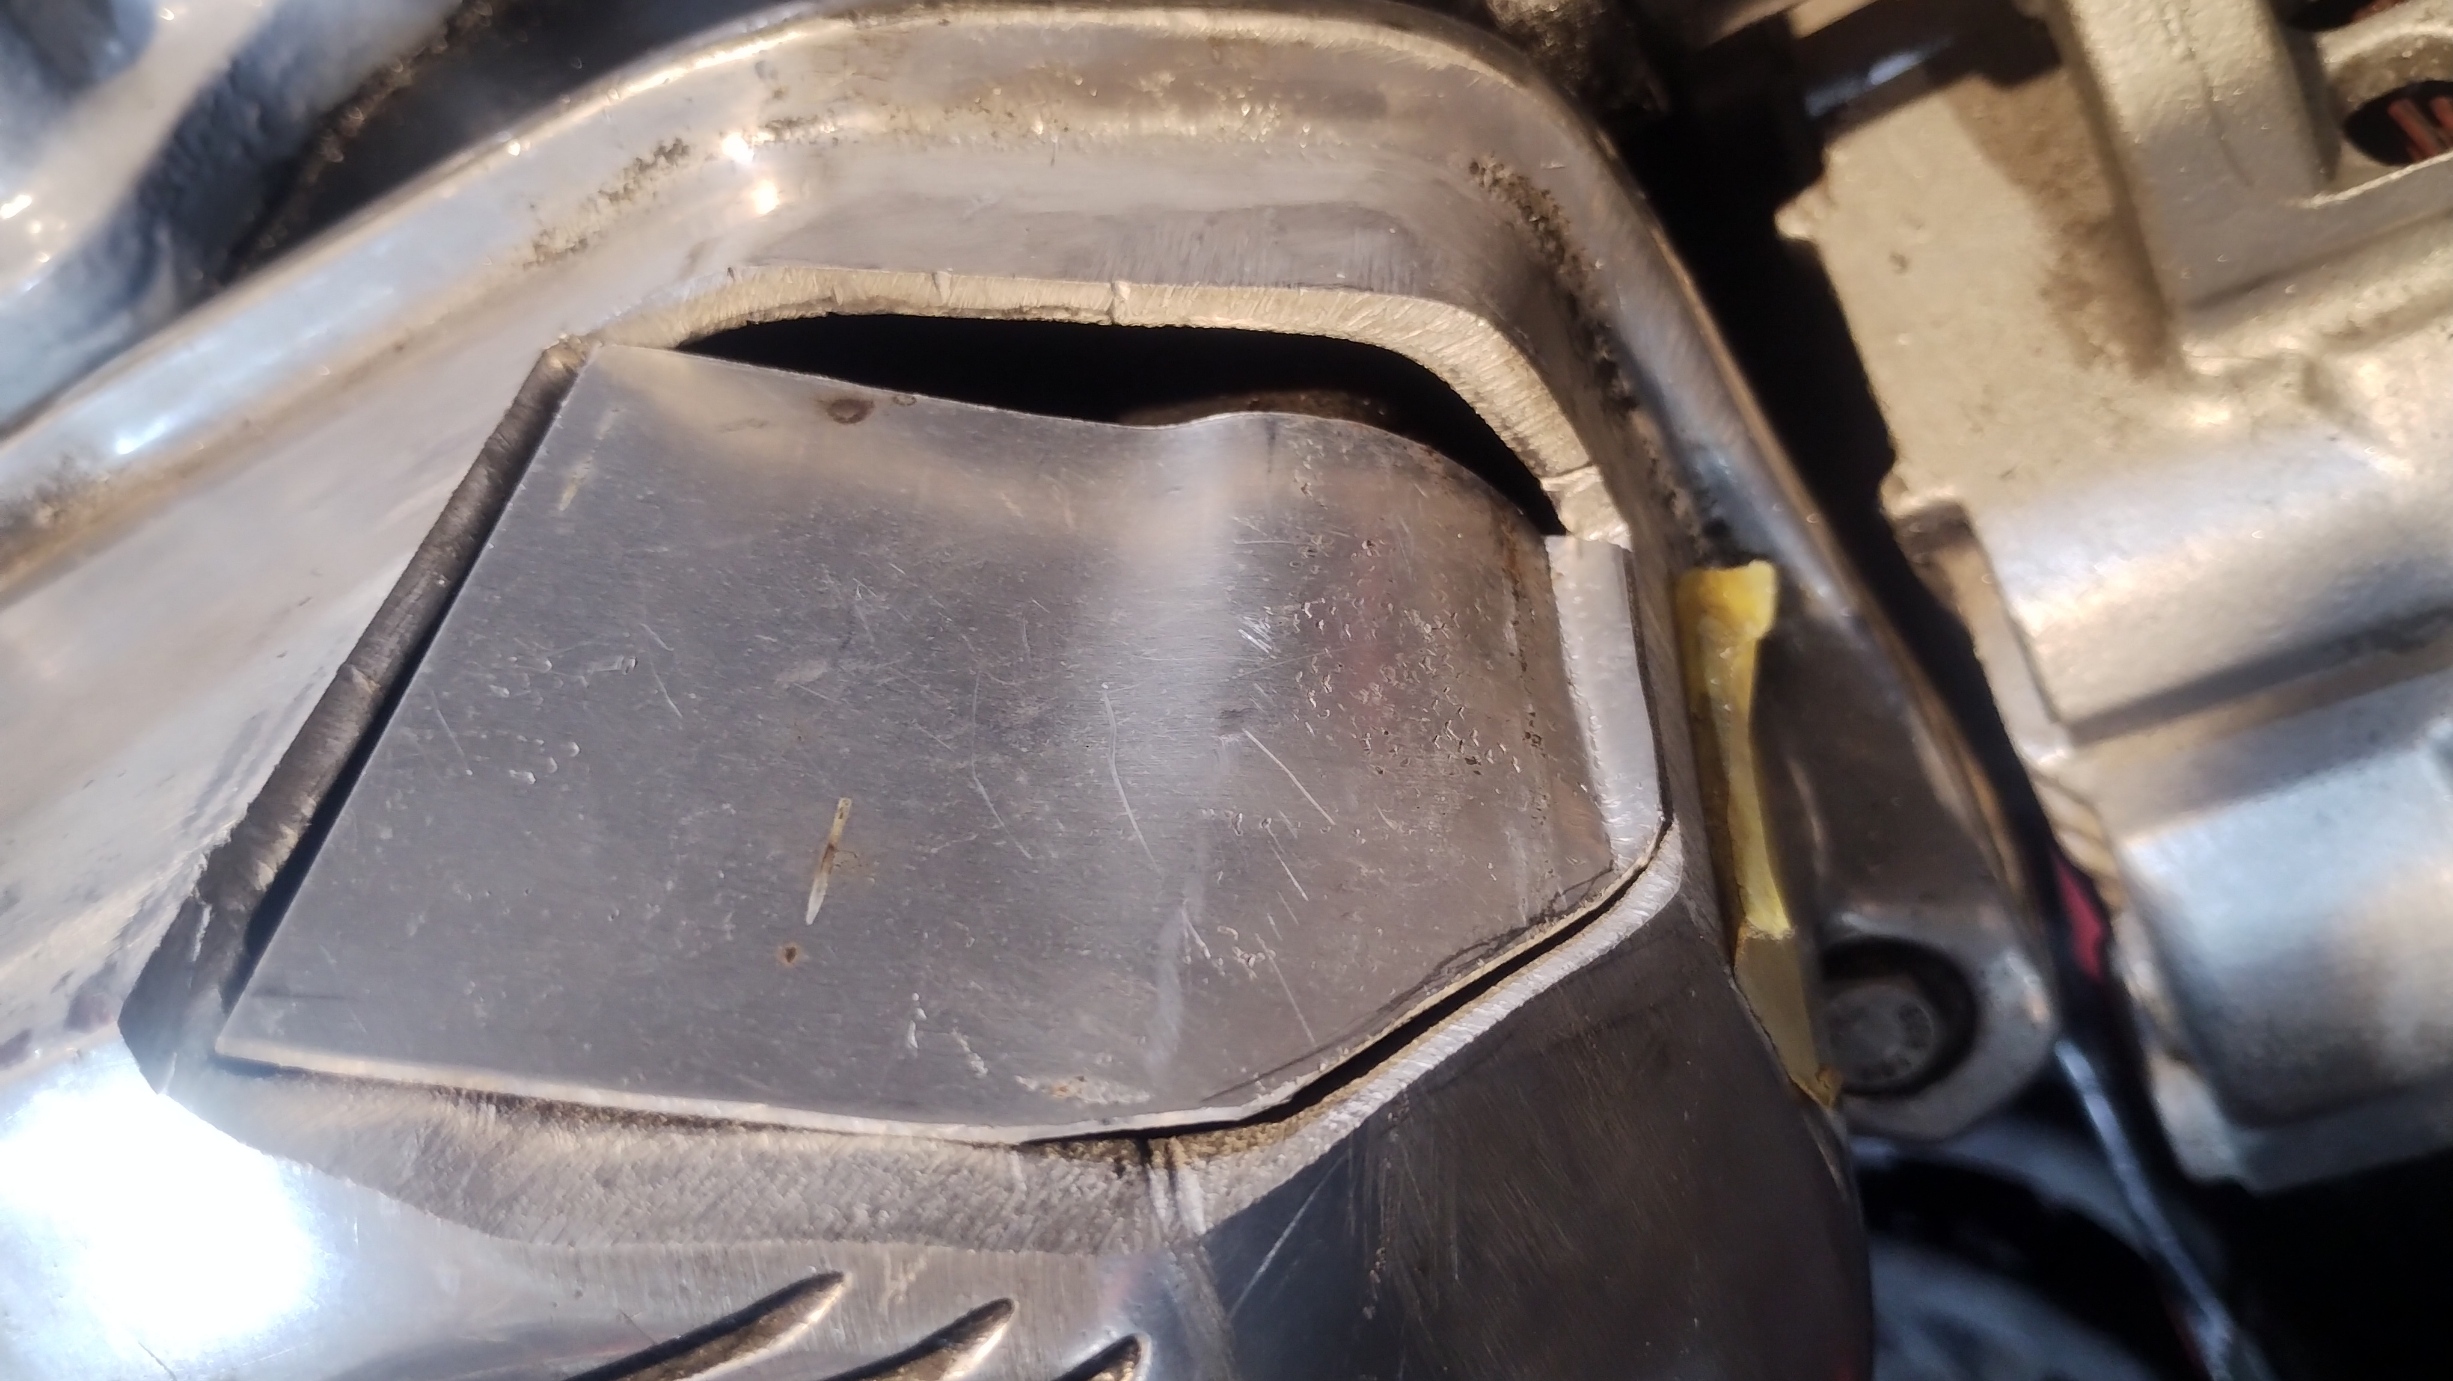 Plates TIG welded in place  After a bit of weld dressing and a polish, it was looking good. 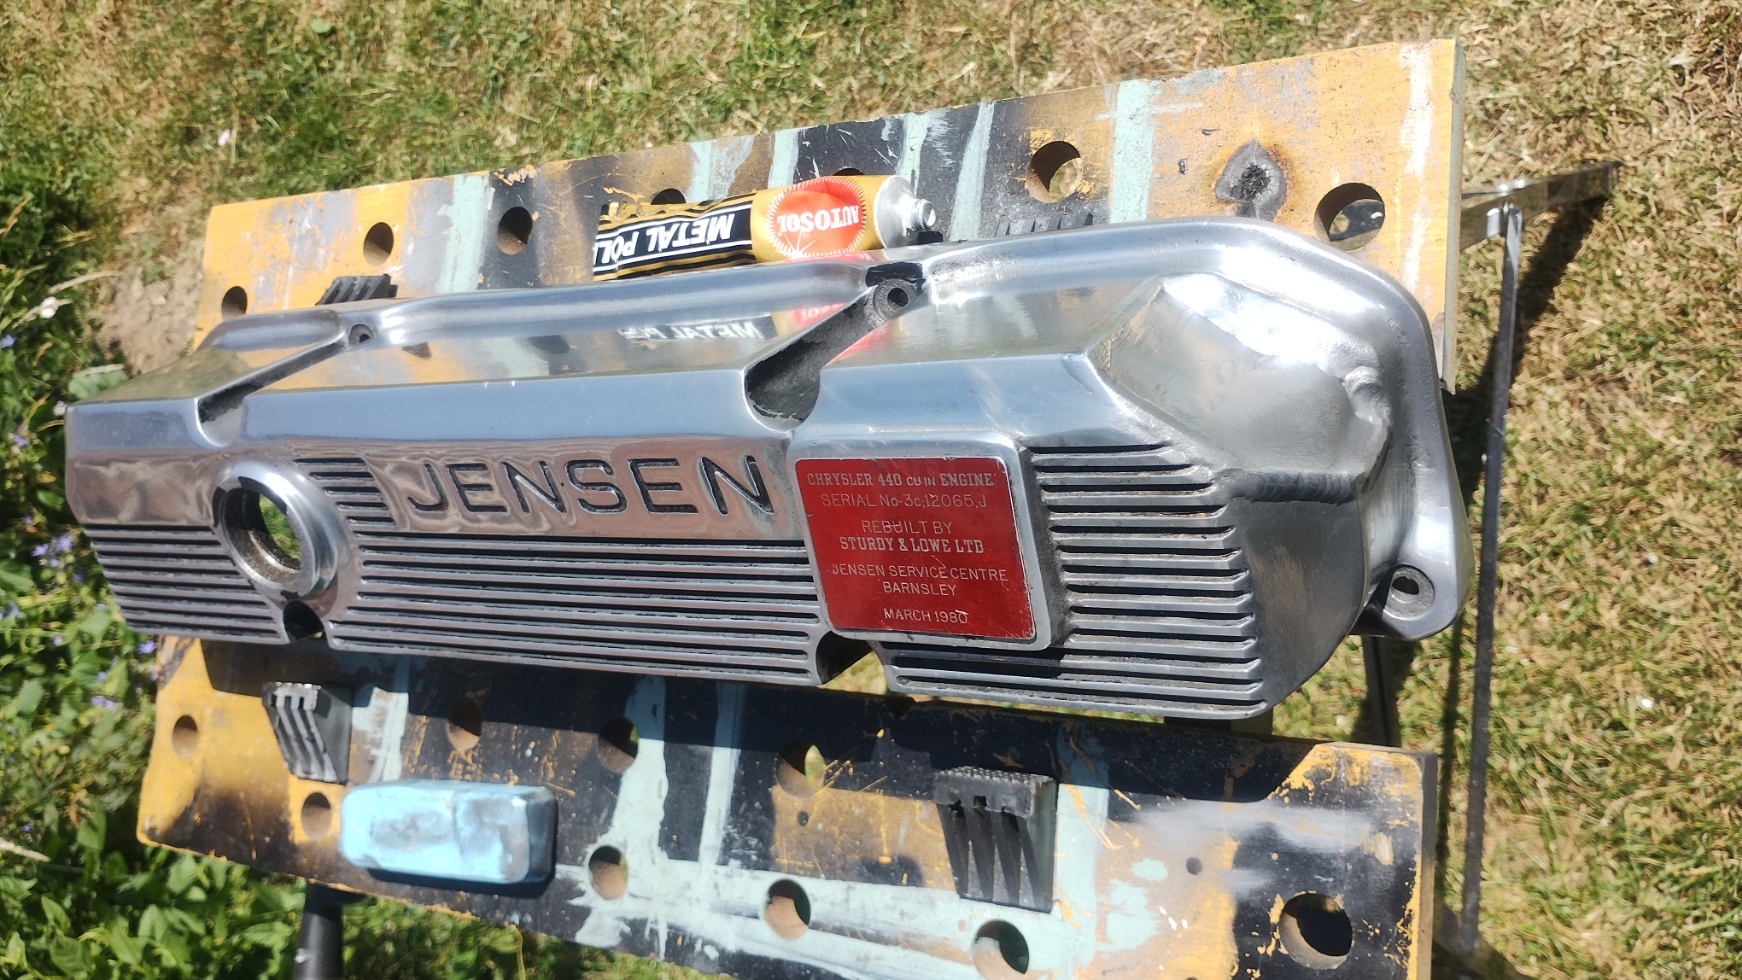 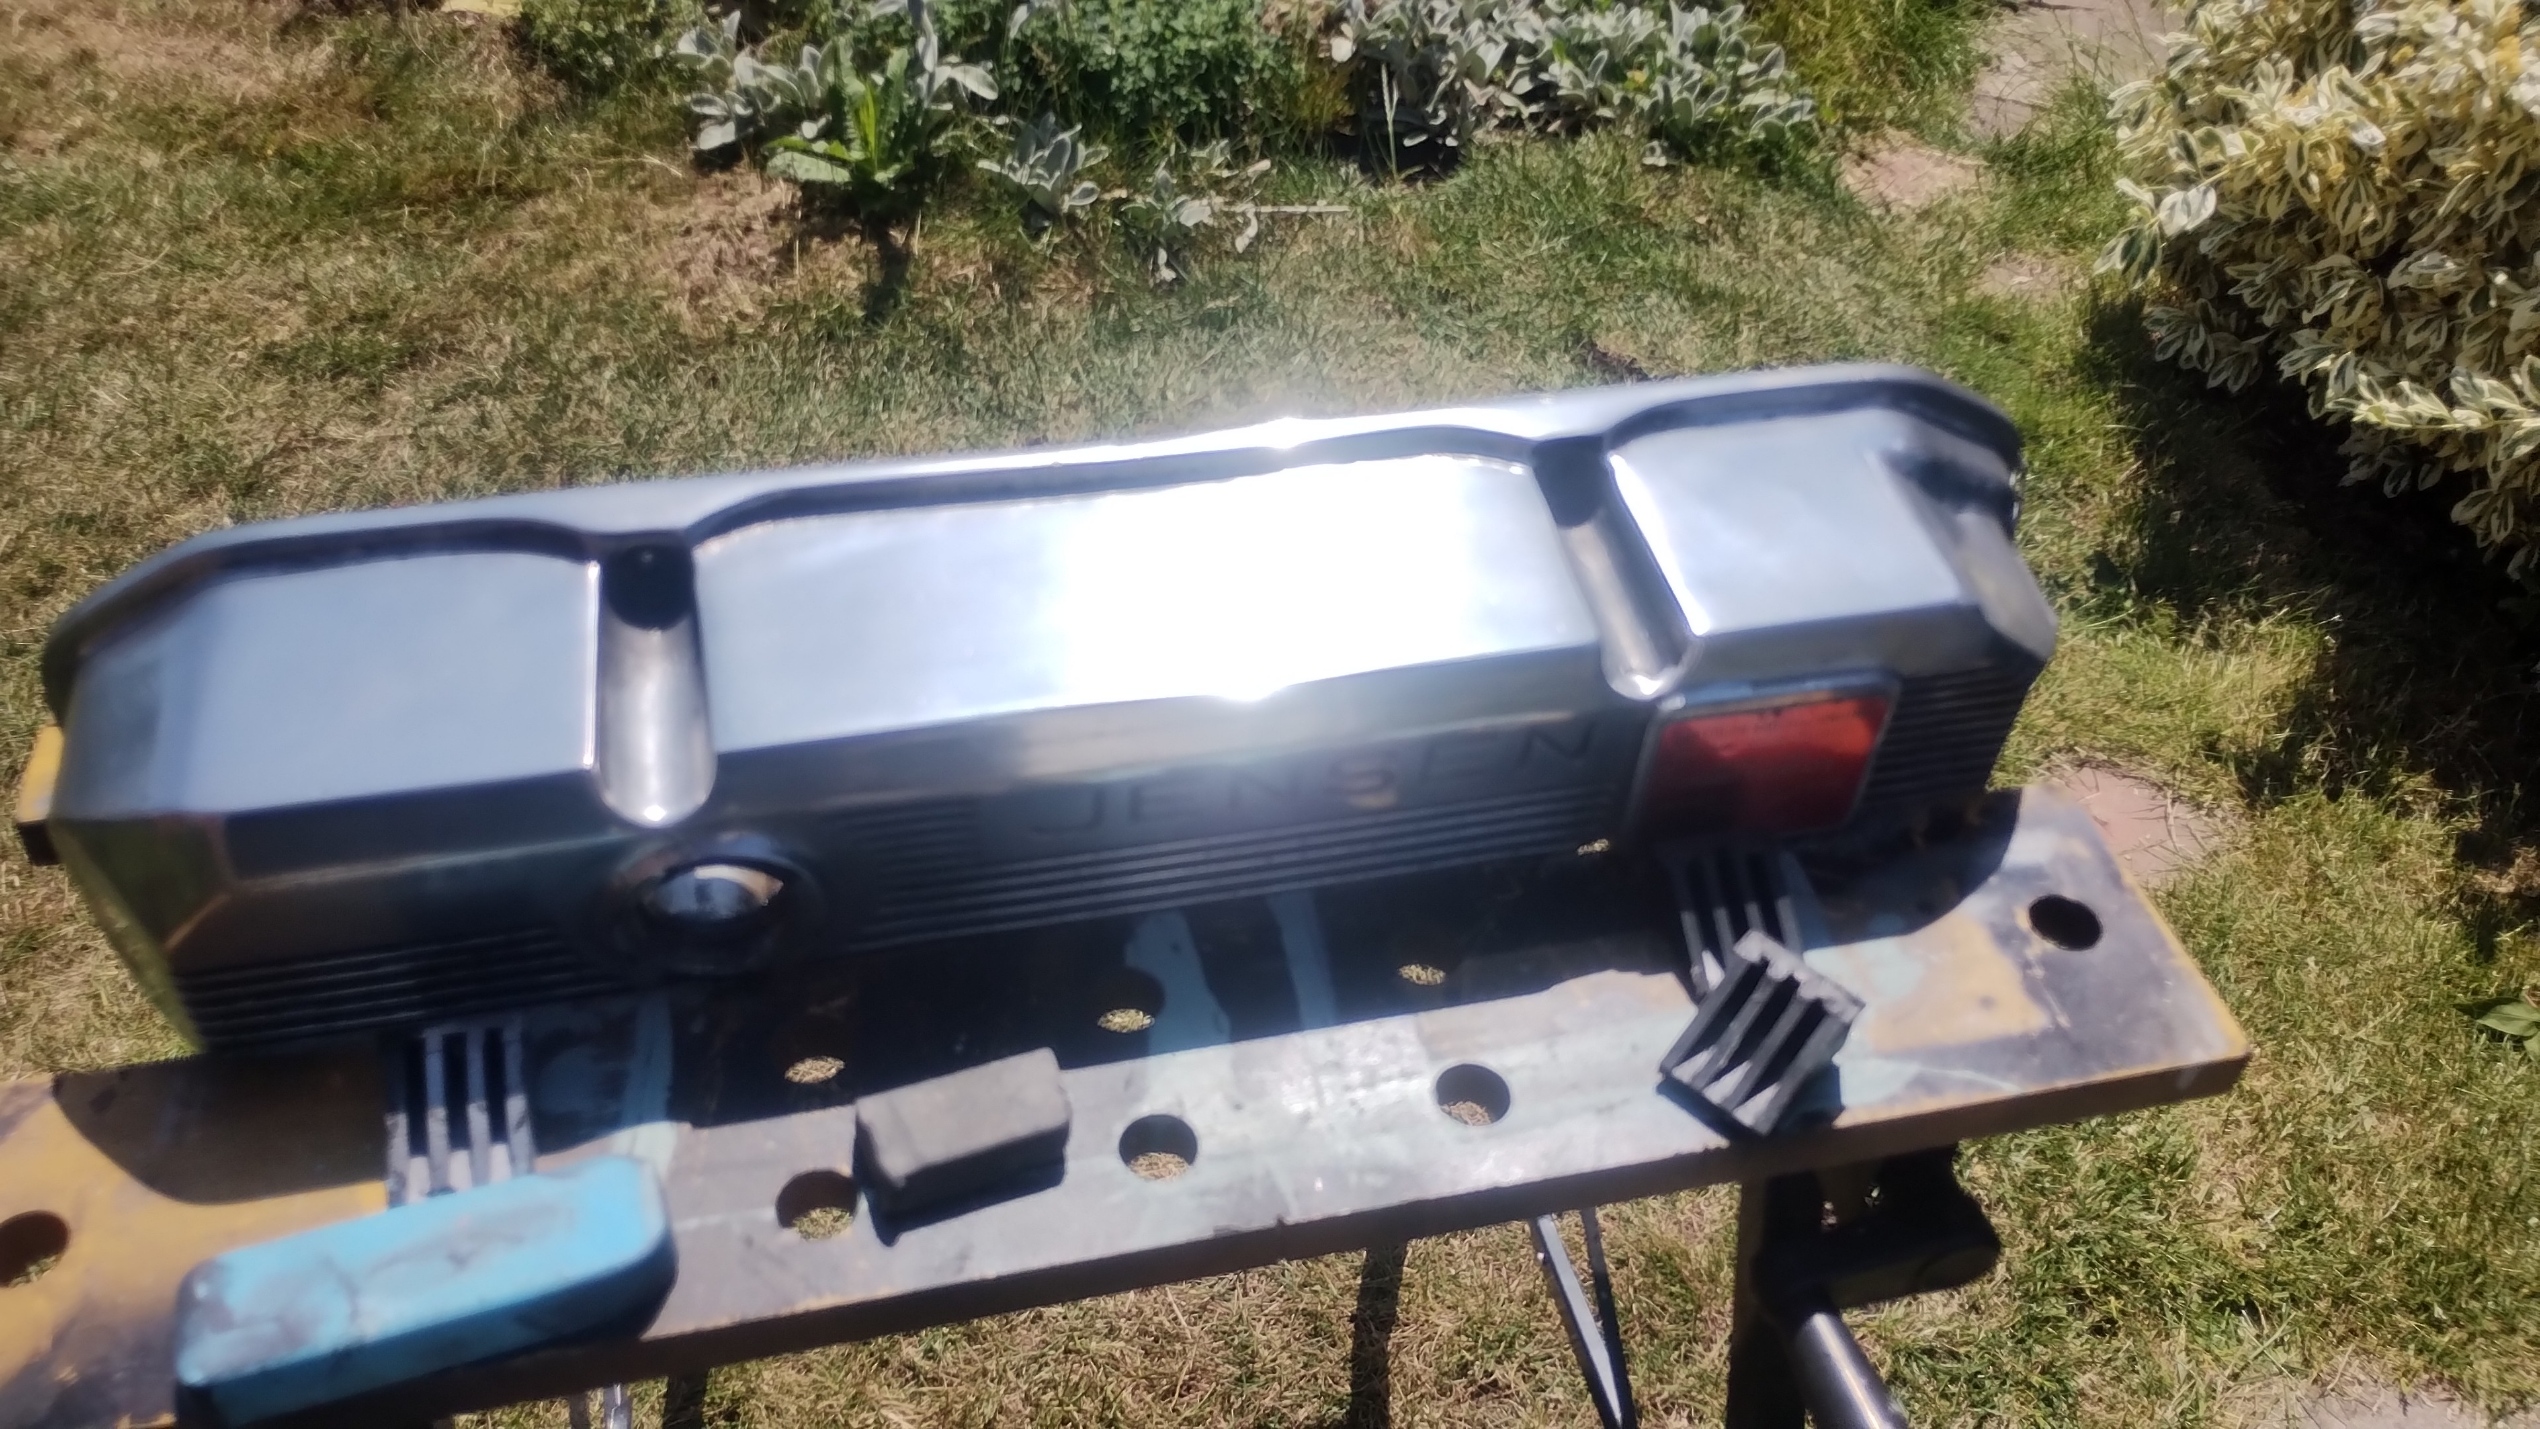 So now I knew it fitted, I could get the plug leads made up. The original dizzy cap had female sockets, and the plug leads were male ends. The HEI dizzy is the other way around, and as it is so much taller longer leads were needed. After measuring up, I went over to POWERSPARK who were close to home and make great kit. I gave them the measurements and went for a bacon butty in a nearby cafe. 30 minutes later, they were ready. I also picked up some cable holders, and they threw in a packet of numbers for free. 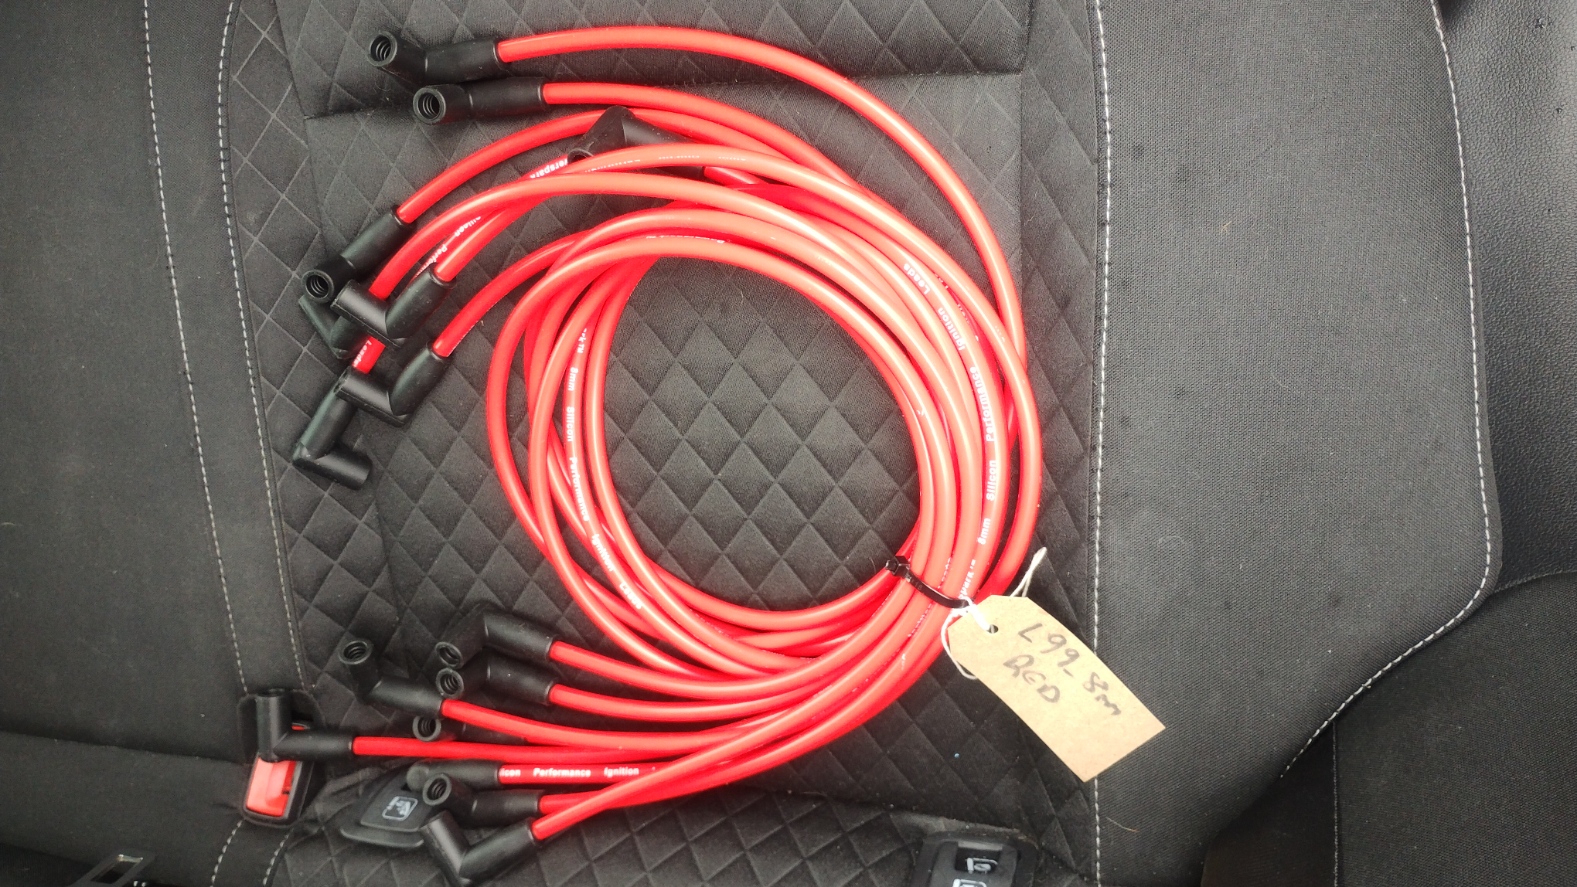 Leads
Leads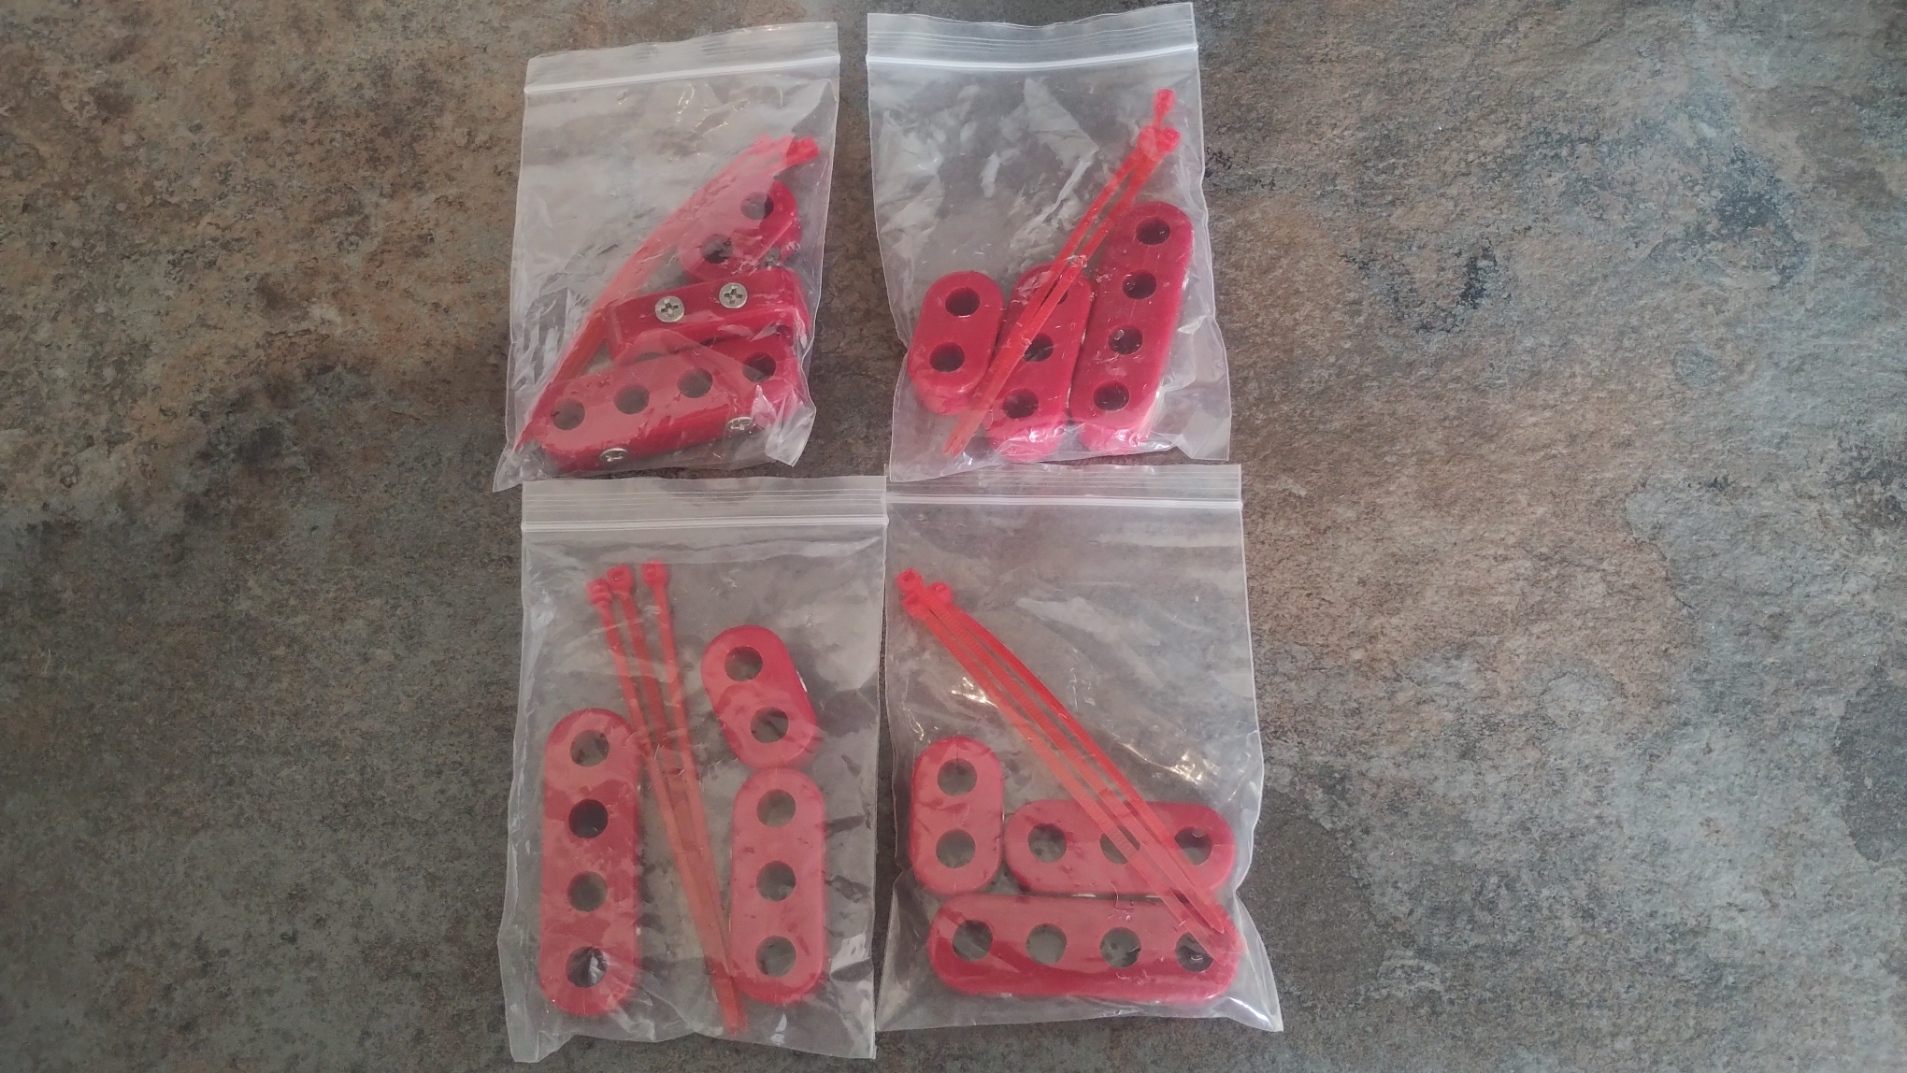 Holders
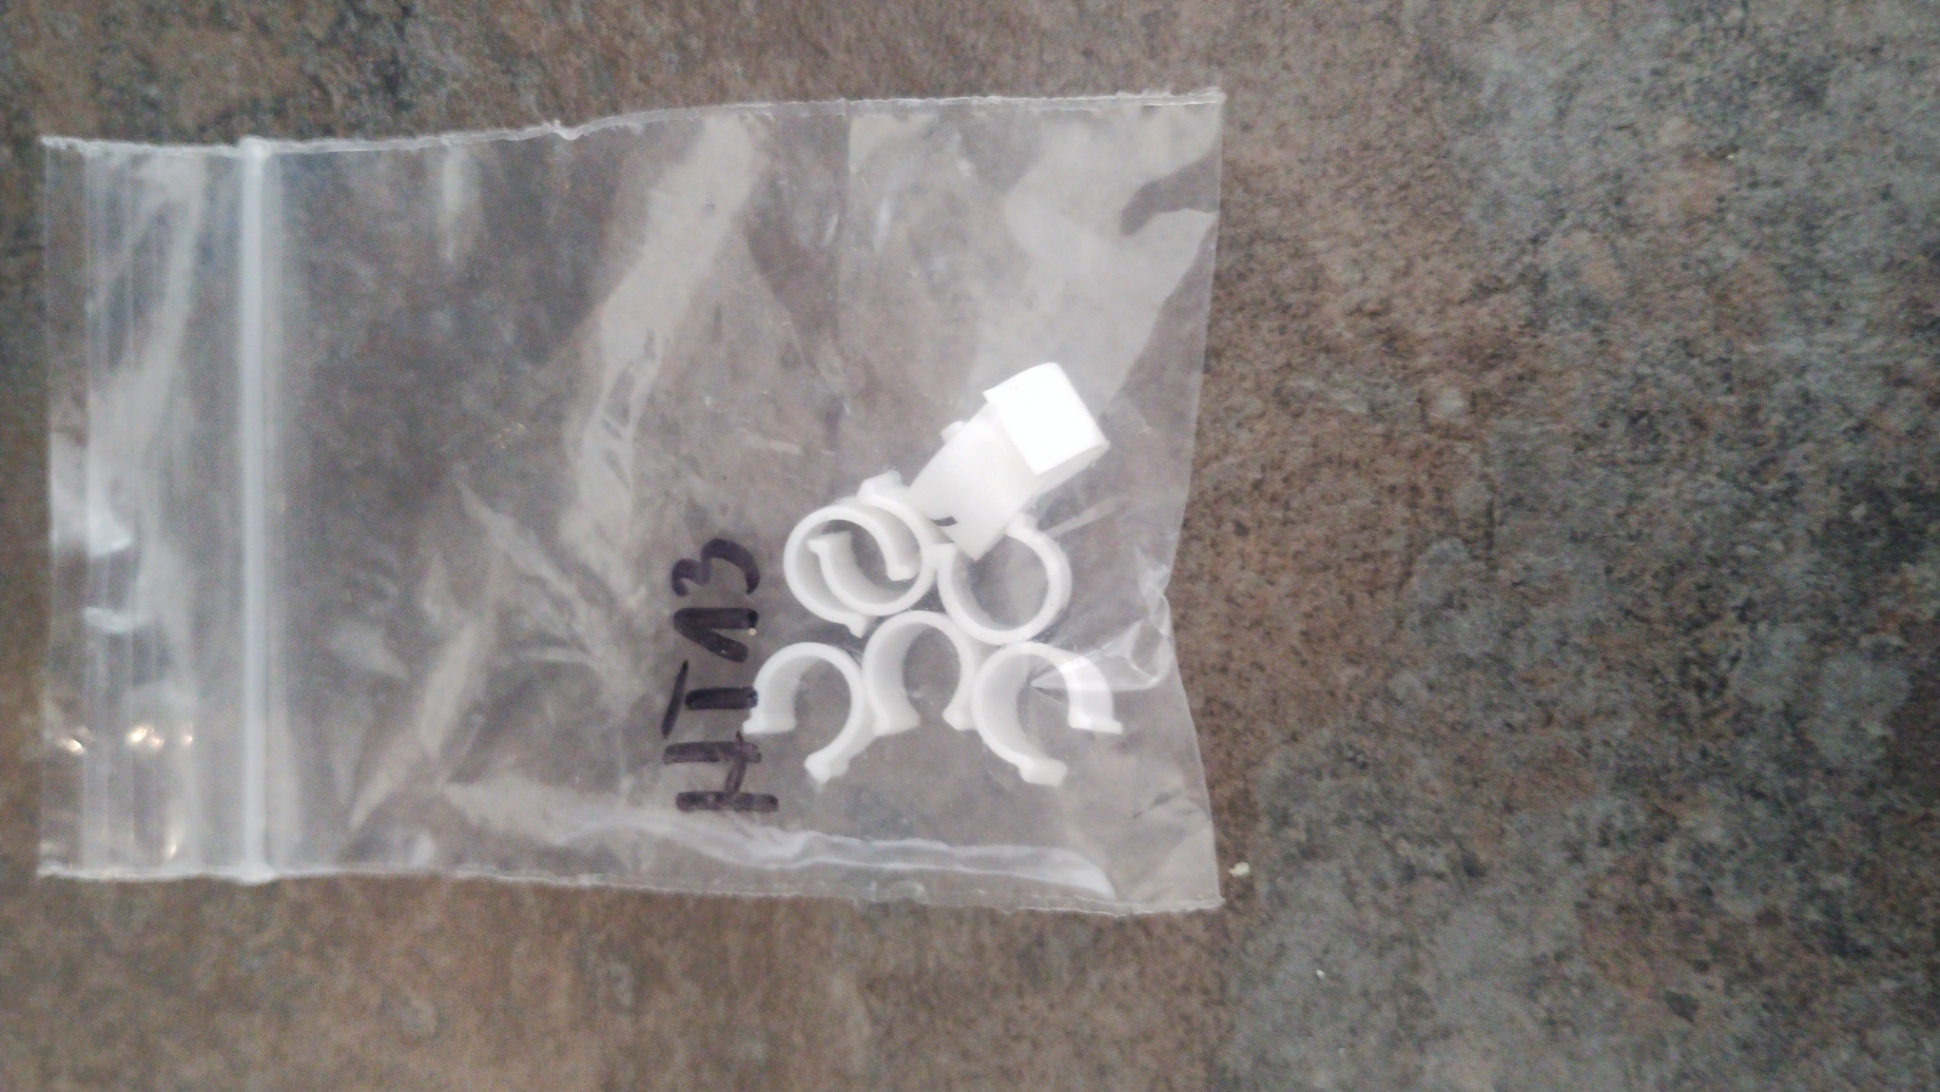
All numbered up  After setting the engine to TDC on No1 spark plug and setting the rotor arm to dizzy roughly at No1 plug lead, I turned it over And it fired up! The next issue was that when I came to set the timing I was getting really odd numbers. Even with as much lighting as I could get under the bonnet, it was still too dark and cramped to get a good look at the timing marks with the strobe light. So I took the raditator shroud and fans out, as well as the fan belt jockey pulley to give more clearance. The problem became apparent. The engine is 4 years old now and the damper with the timing markings a little dirty. This was obscuring the TDC mark, and leaving only the white paint marks I had used when finding true TDC when I degreed the camshaft in. These were the marks I was seeing in the dark 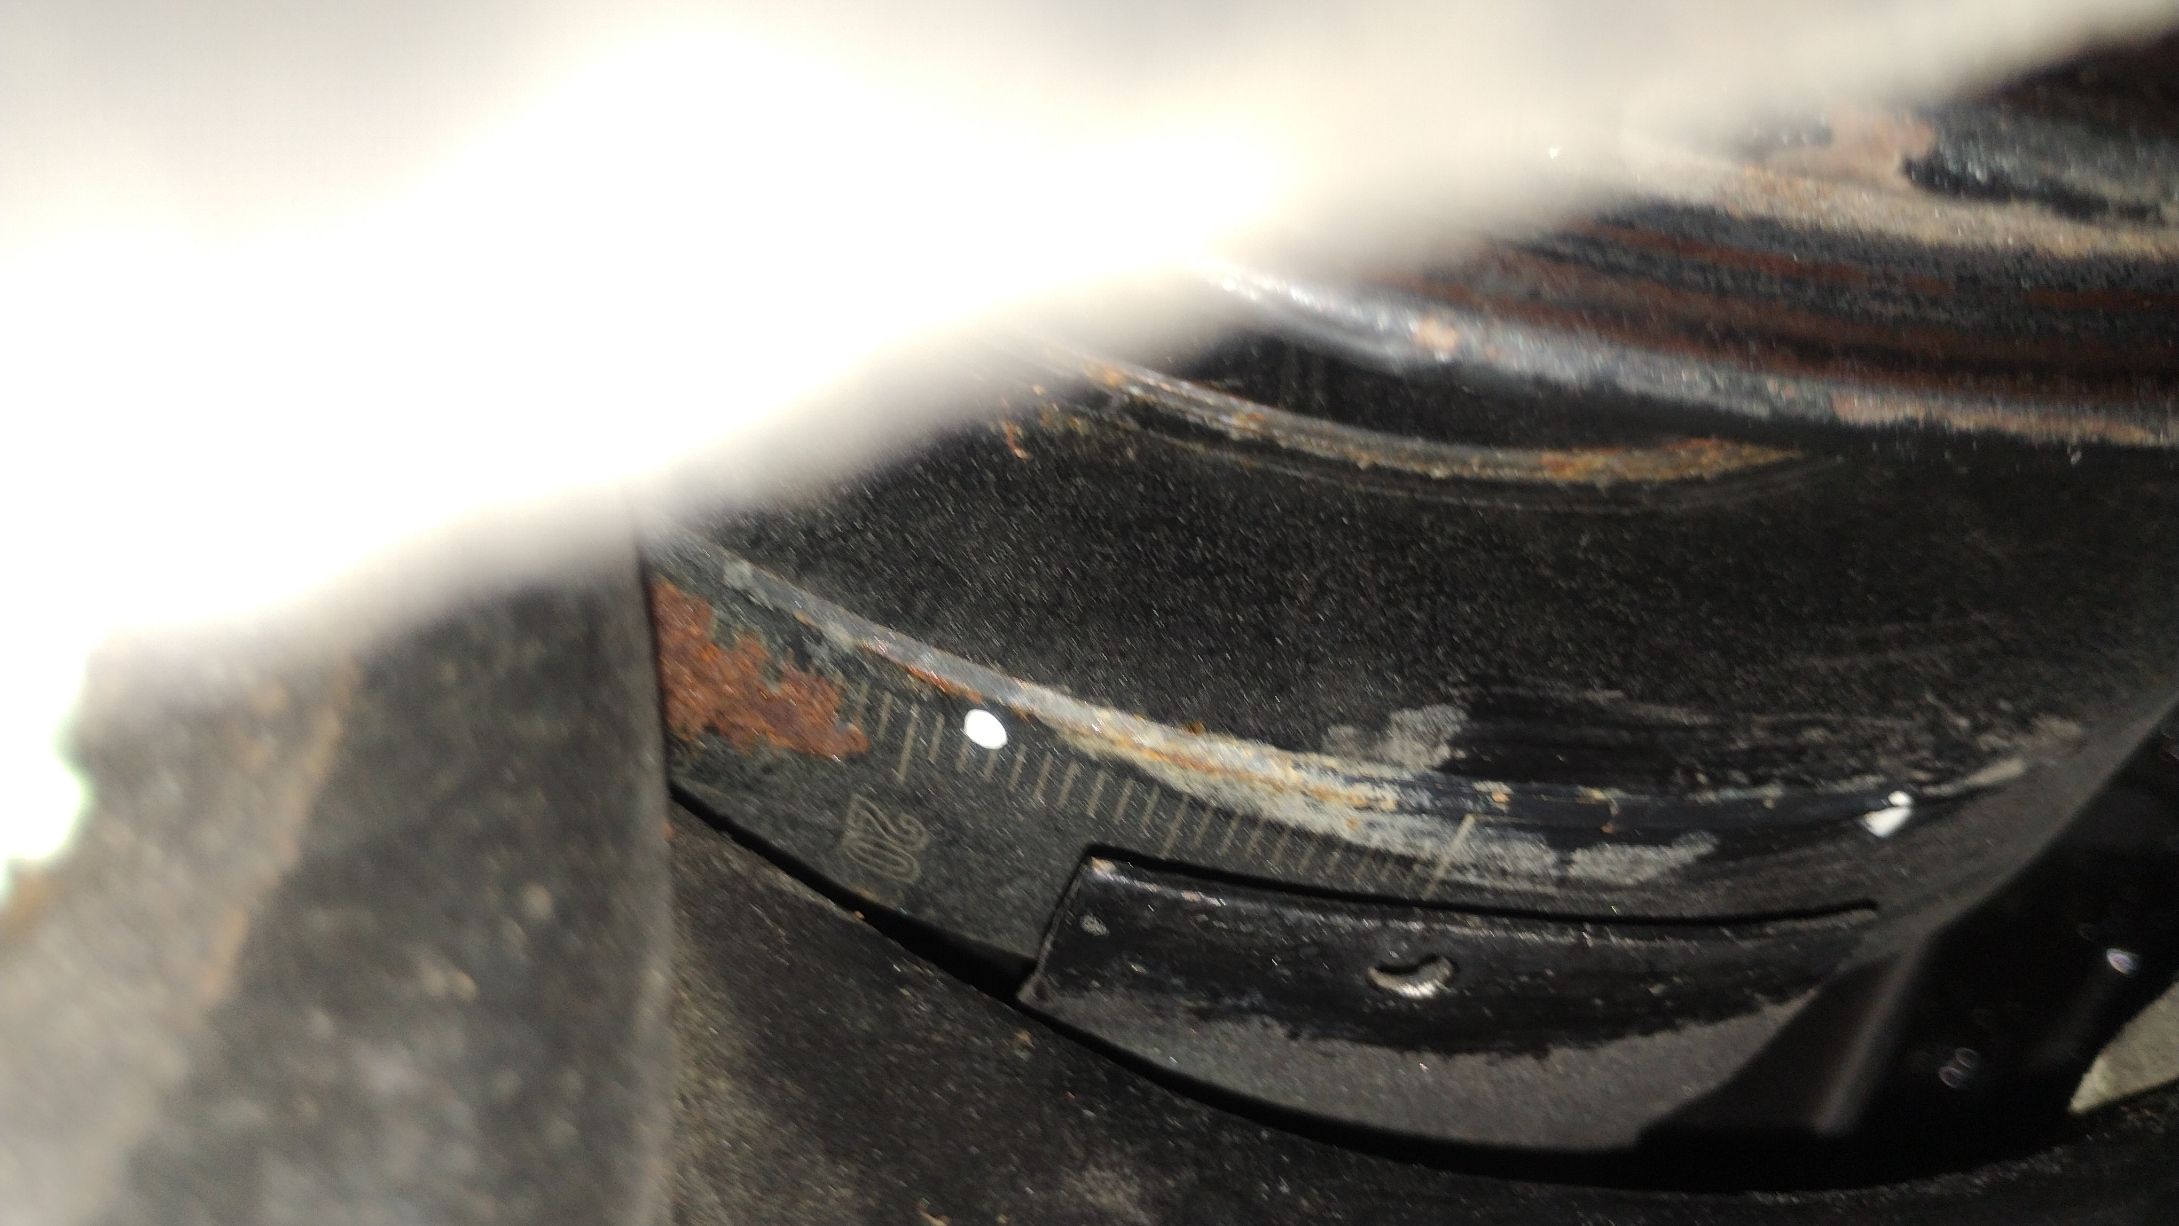 I cleaned off the unwanted white marks, and added a new mark at the TDC line and set the ignition timing. The engine was starting and running beautifully. The engine had always started and run well, so this wasn't a project to fix an issue, but there was a noticeable improvement in starting, and smoothness of idle. The HEI distributor had taken out 3 components from the system (coil, ballast resistor and ignition box) and replaced them with a single unit with 10,000 more volts. This seems to have a noticeable effect over the already good original system. More of a project than I had anticipated, but the results seem worthwhile. 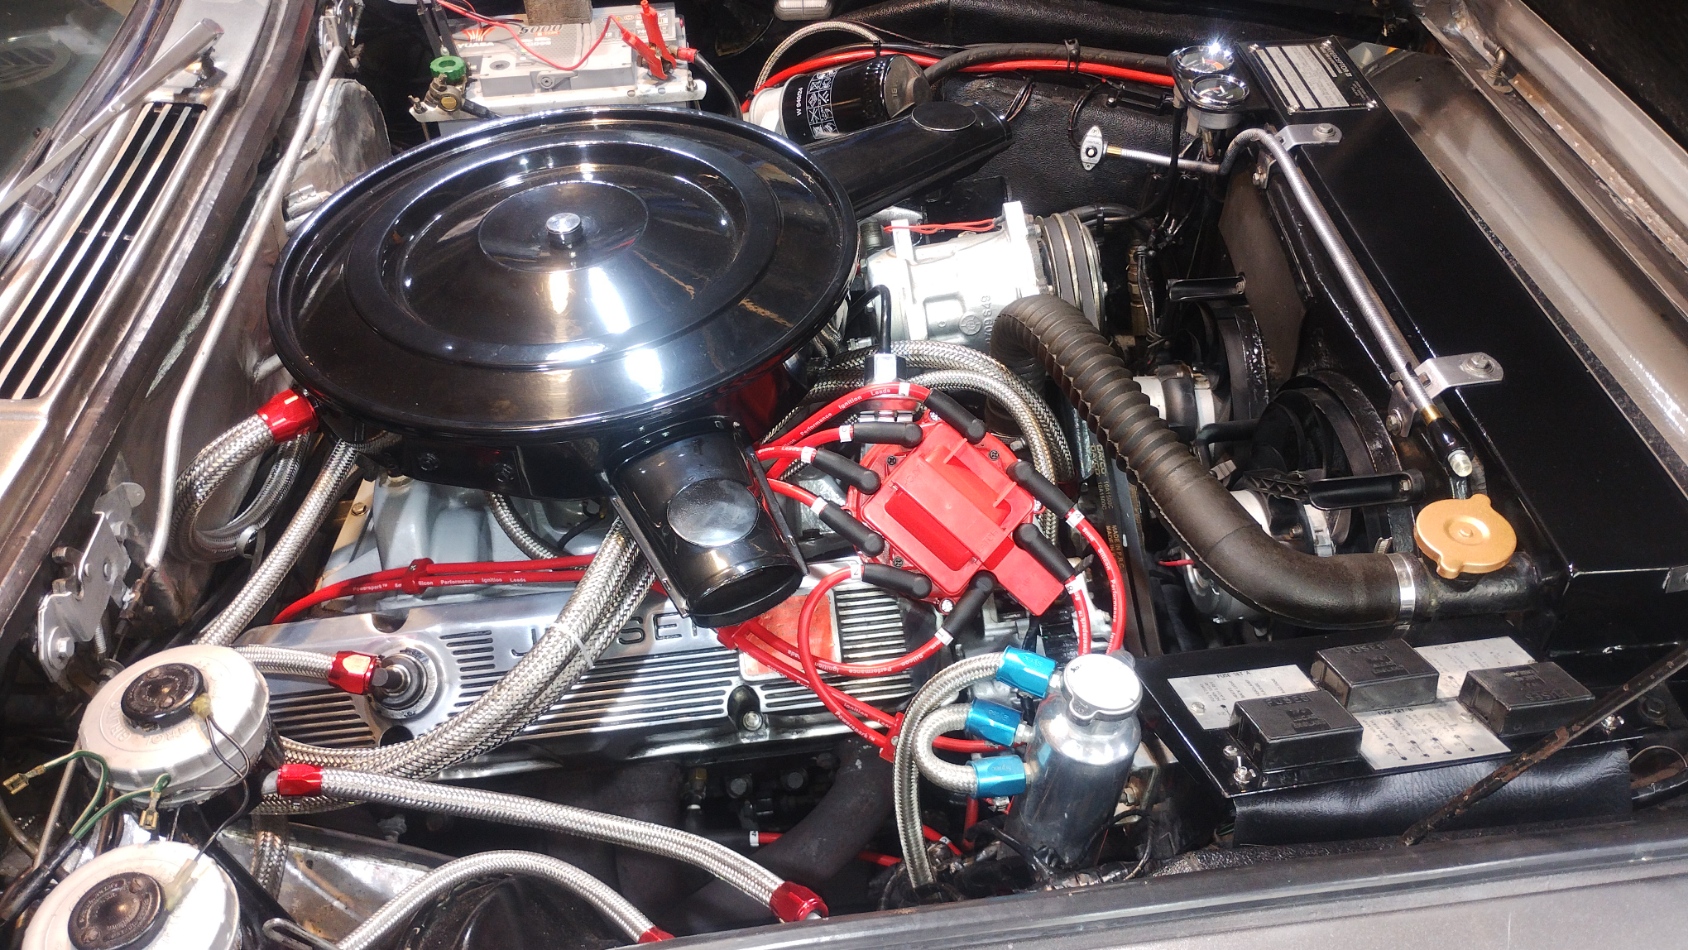 |
|
|
