|
|
|
Jensen Monday Club |
|
|
|
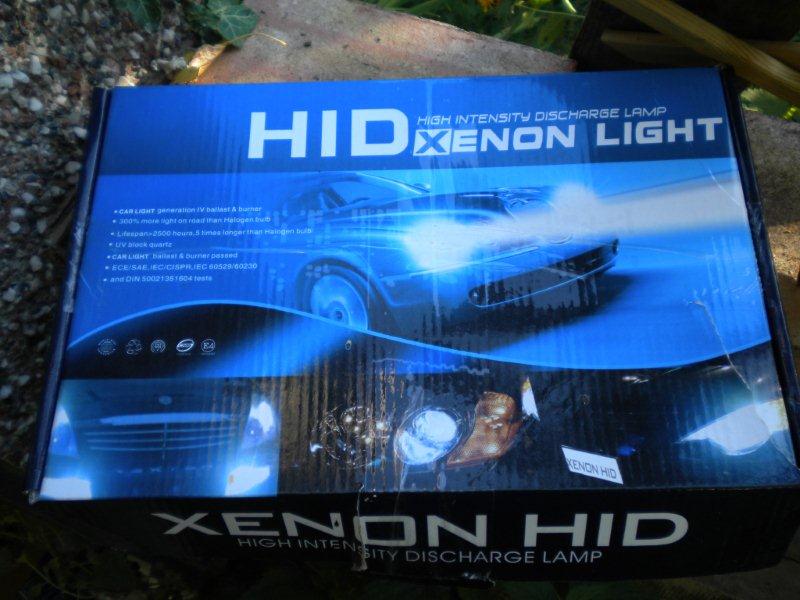
The Monday Club have tried various conversions to the headlights of our cars with varying degrees of success. 136-8779 has received a BMW upgrade with Xenon bulbs, which has been good, and Chris Miller has added Xenon's and a re-wire to 136-8801 to get rid of any low voltage problems due to poor connections, which gave great results on our Istanbul trip. There is the "Double Dipped" headlights, but this can be more than the original alternator and wiring (especially the headlight switch) can handle. I had gone to double dipped, using 4 combined dipped/main headlight units, rewiring with heavy duty relays, and a second "Light" switch on the dash board. Steve Payne has tried out one of the modern HID (High Intensity Discharge) systems, which is basically a high voltage discharge system similar to that used in cinema projectors, etc, which are fantastic. The dipped and main beam outputs are as good as any modern systems in cars I have tried. Here is Steve's story.
"The reason I did it was I found
the standard headlights only adequate especially living in the
countryside. I had tried those Xenon bulbs that are readily available
but to be honest there was hardly any improvement.
I have been told by a motor mechanic friend when these are fitted to a new car they must have self adjusting headlights to be legal, as my MOT is not until next year I will have to see but if they are adjusted correctly I think it should be OK.
When they start up they draw twice
the amps that they use while on, just like a fluorescent tube. They use
the same amount of amps as standard lights once warmed up.
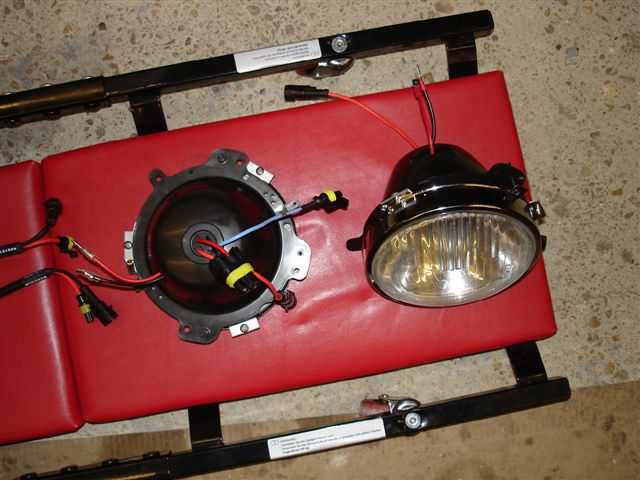
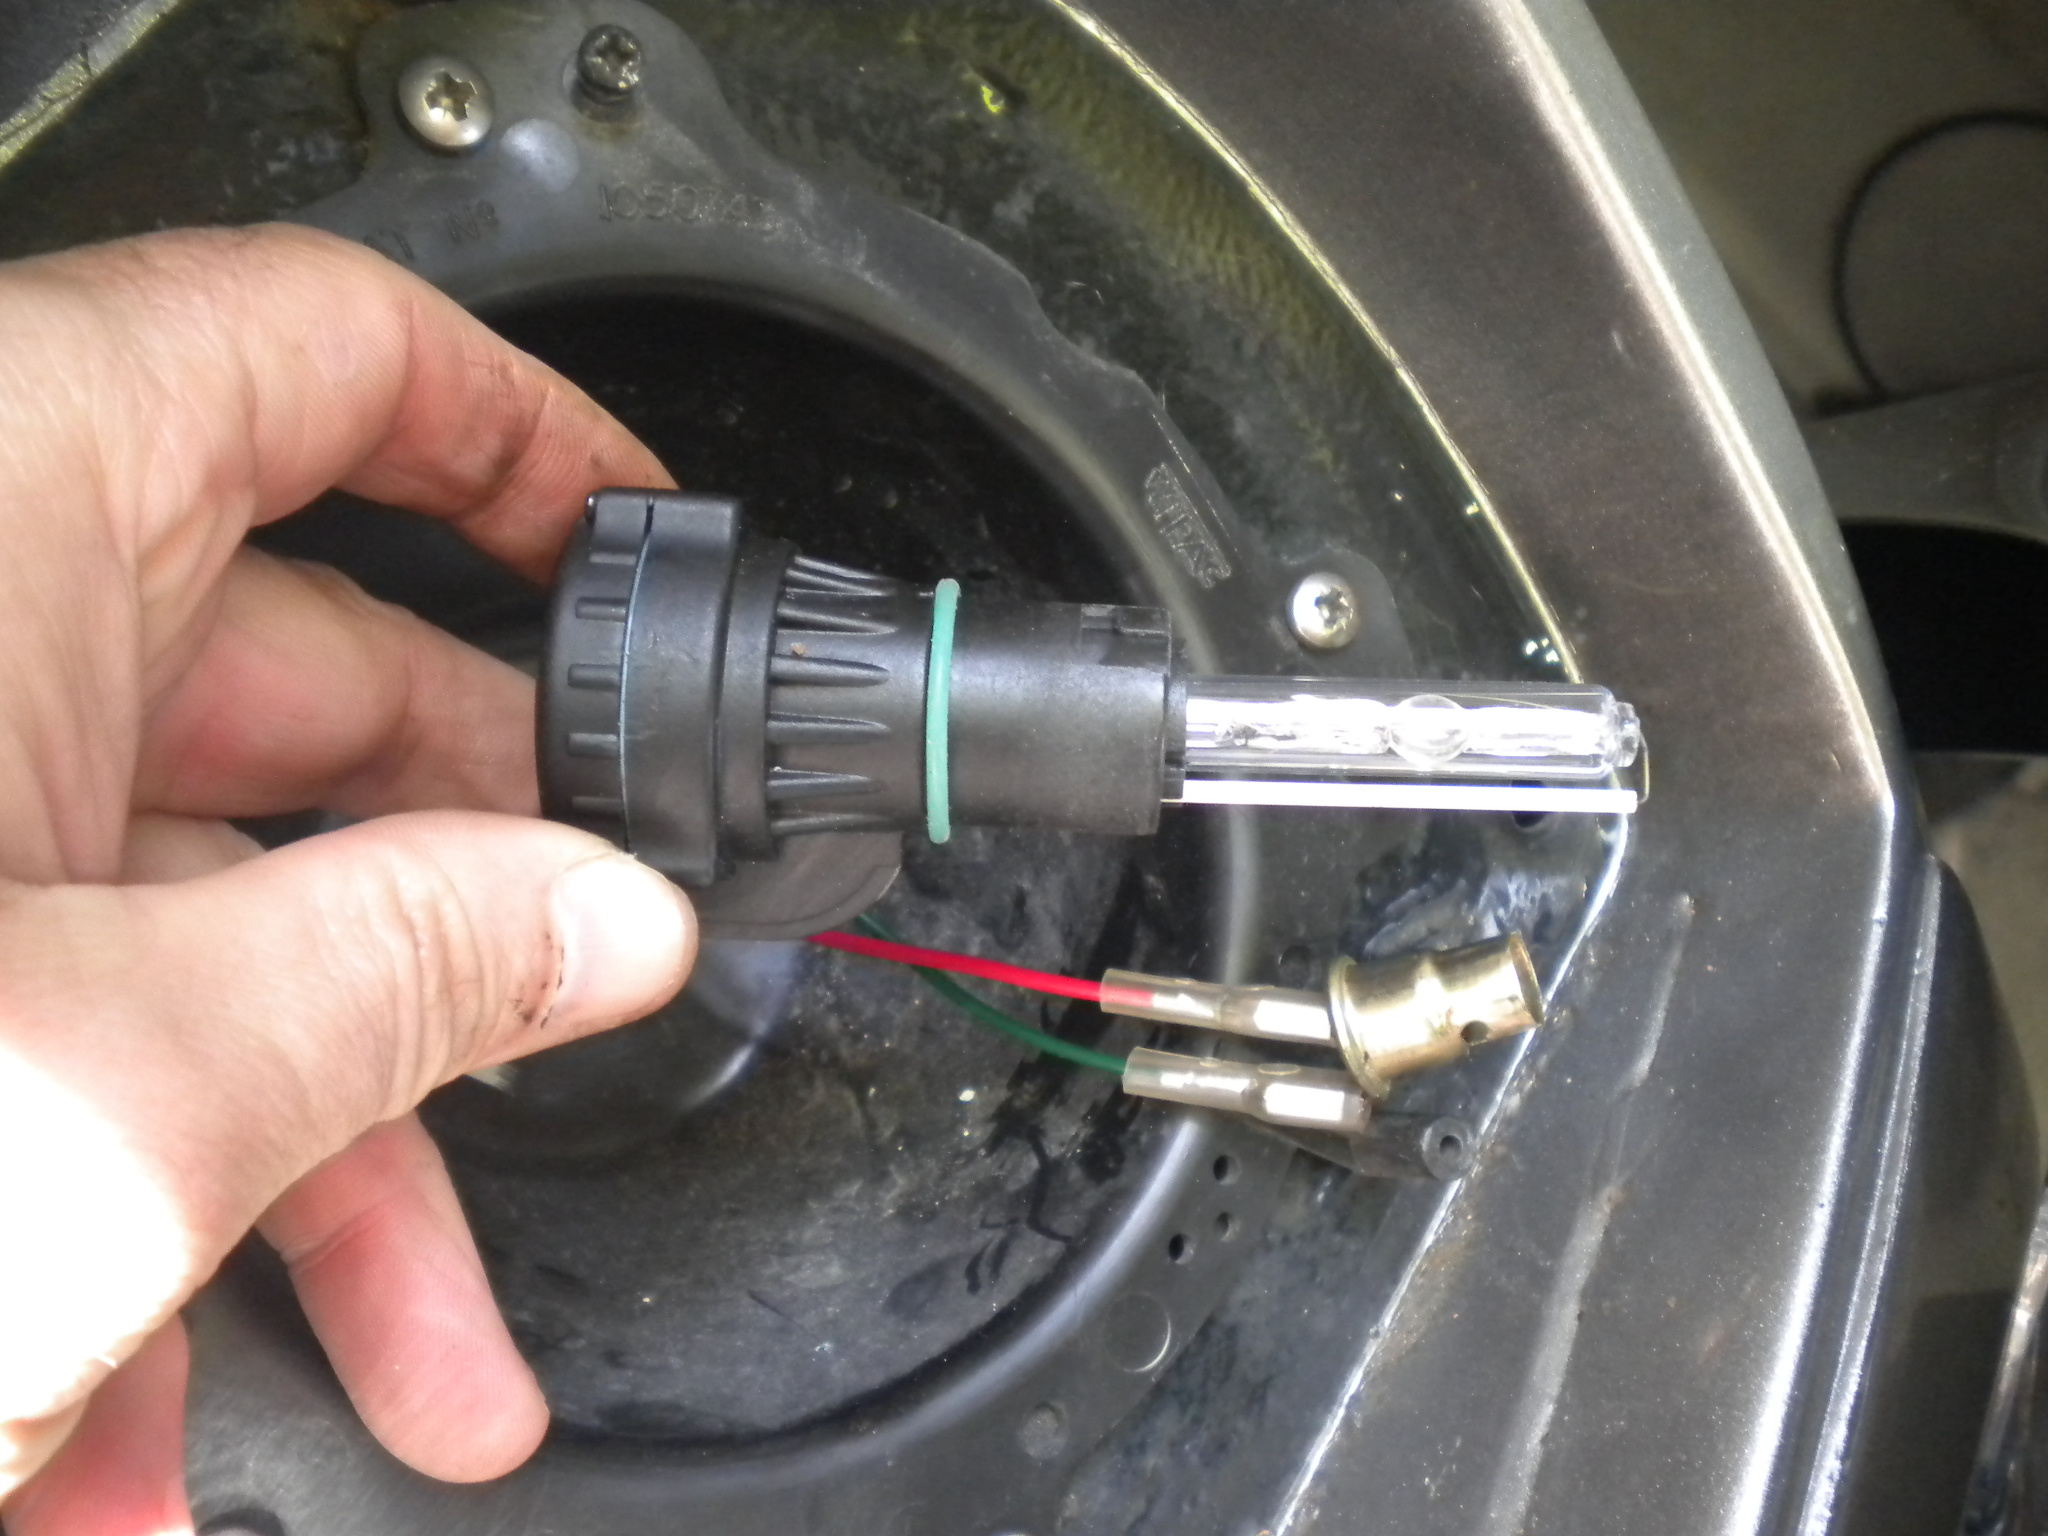
Steve was concerned that the HID lights may not pass an MOT, but since fitting his car has passed 2 MOT tests. The tester said the although they were "not right", there was no legal reason to fail them as they passed the light meter test. He chose the "4300k" bulbs which give the greatest light output (for a standard setup you will need the "H1" type bulb). As I had already done a double dipped system, and given the cost of the units Steve had fitted I didn't bother doing anything about it until a couple of weeks ago Steve sent me a link to a E-Bay page where they were doing HID units for $25, complete. This meant I could buy 2 sets for $50, which with shipping and import duty would still only be about £70!! I contacted the seller to see if he did H4 versions as Steve had fitted H1 which is the separate dipped/main units. H4 is the combined dipped/main version. The seller said he did, but they were $8 extra. Not a deal breaker :0) Before you start mark up each headlight and each headlight pod so the go back in the same place to minimise the amount of adjustment required! I ordered them and they duly turned up, and looked decent kit.
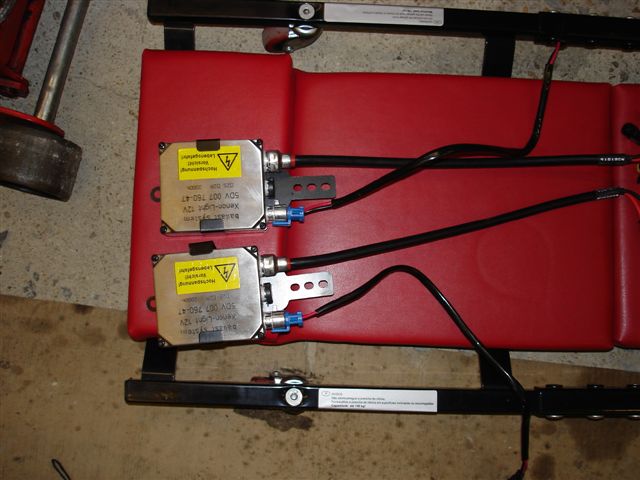
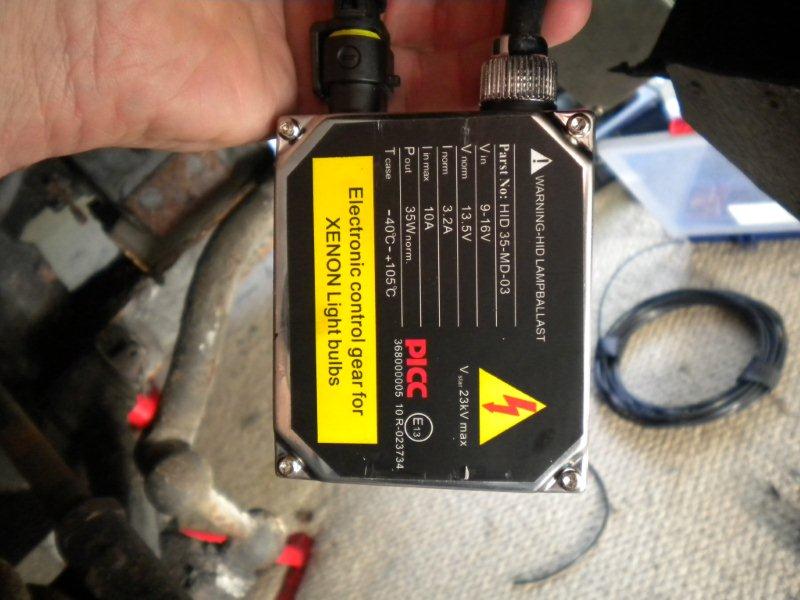
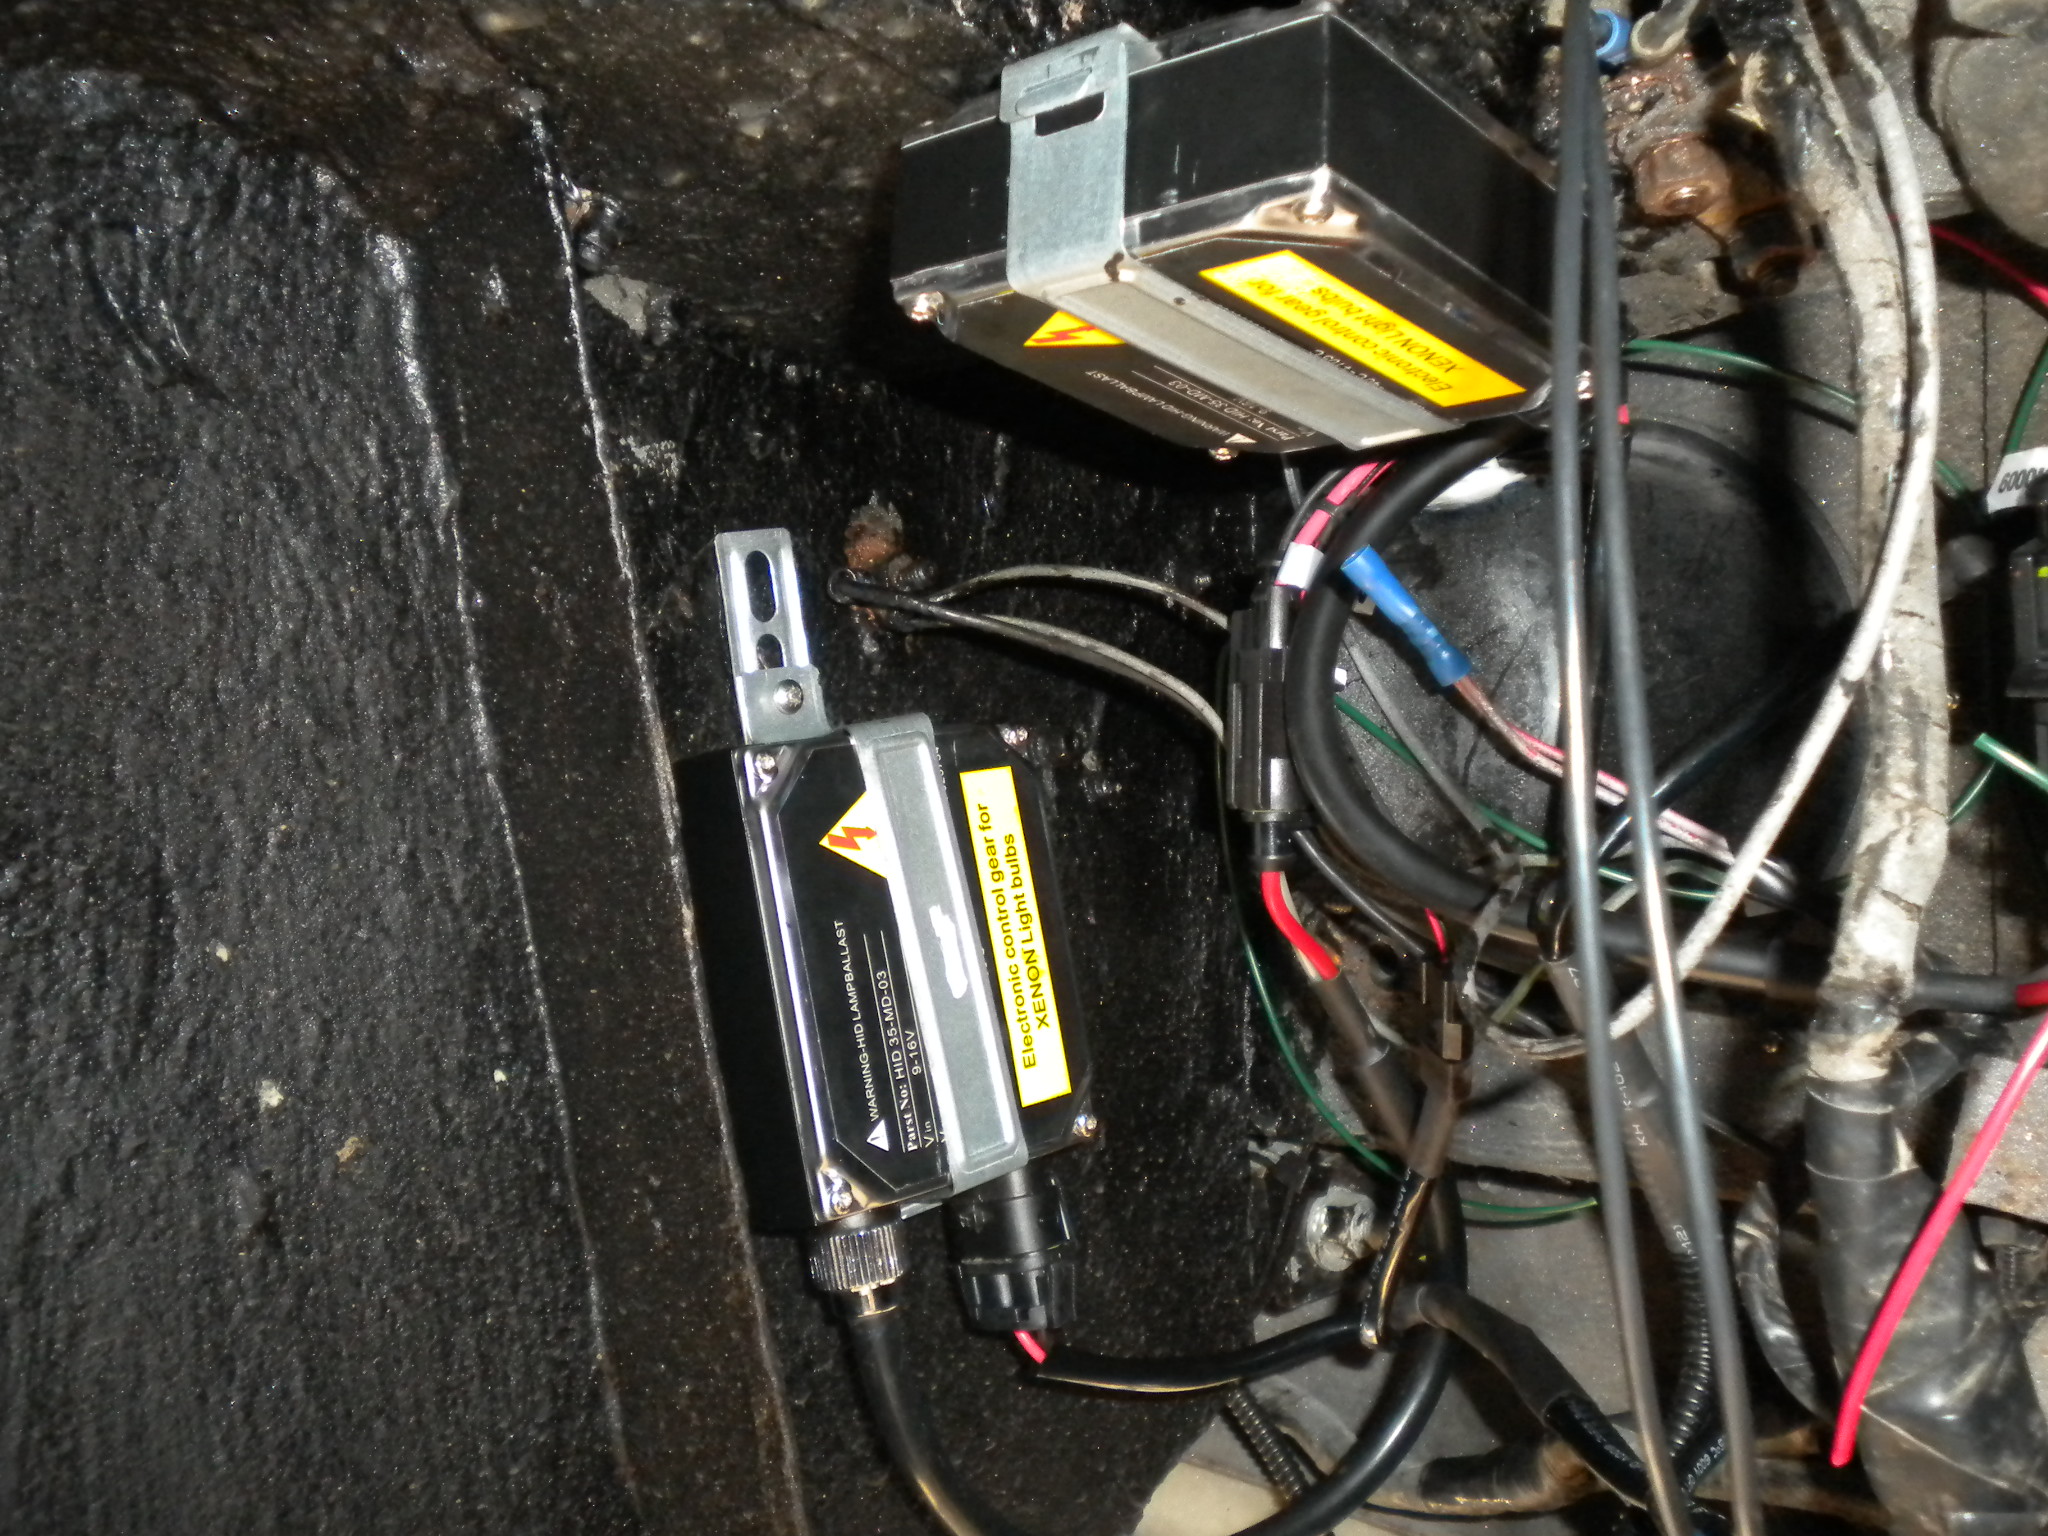
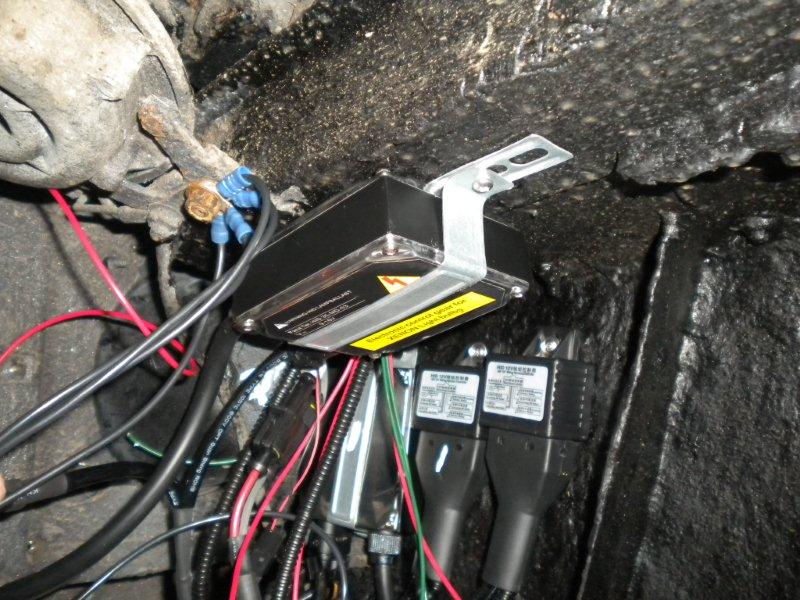
The kits comprised the discharge unit, which generates the high voltage
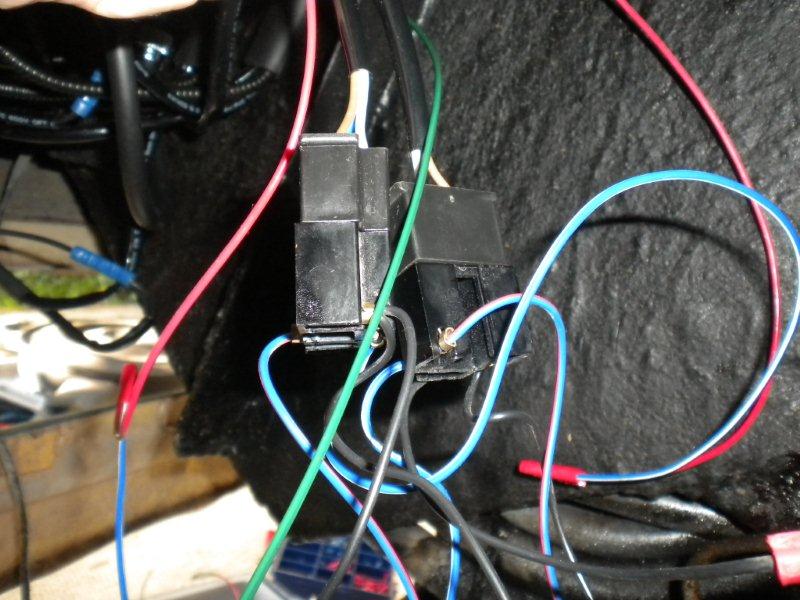
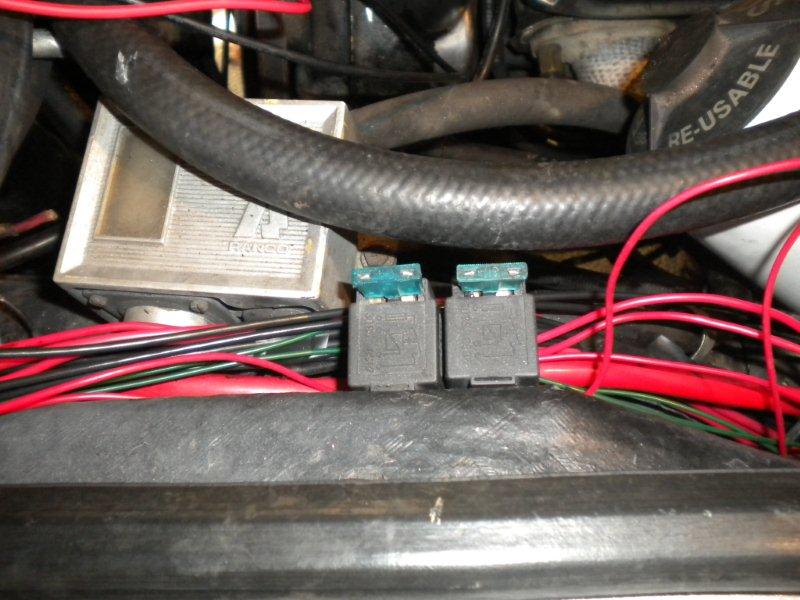
A relay which switches between dipped and main beams
These relays had sockets which connected to the existing headlight bulb plug so when you switch from dipped to main it activated the relay
And brackets for securing the discharge units, which I mounted behind the splash plates under the wings (the leads from the discharge units are quite short so they need to be near the headlights)
I re-sued the heavy duty relays I had previously fitted
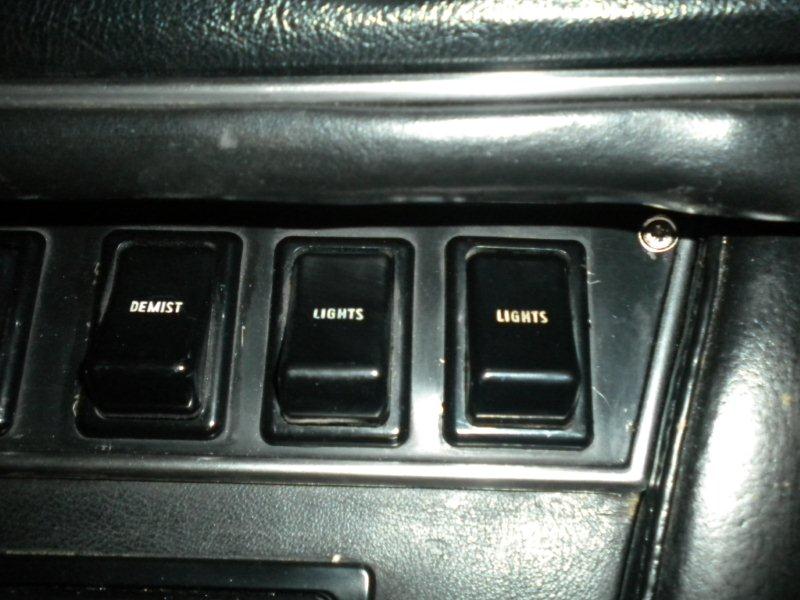
And the additional light switch on the dash
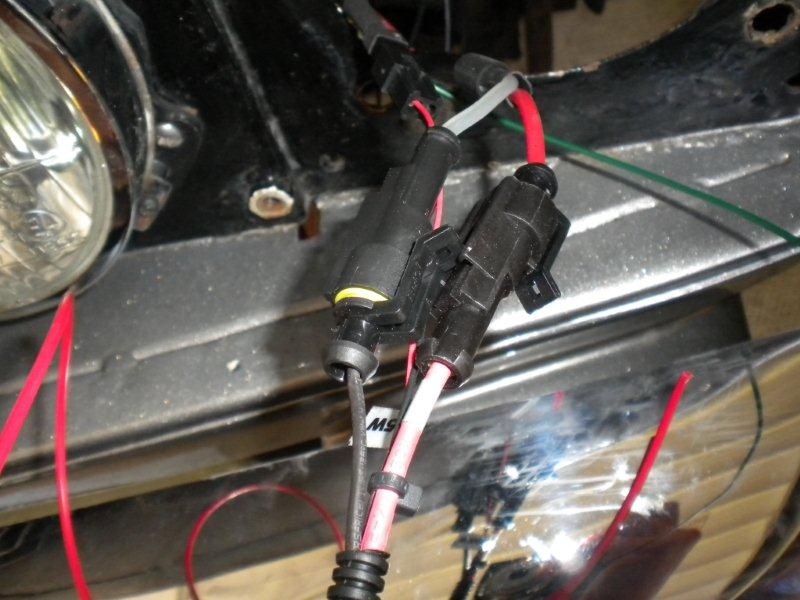
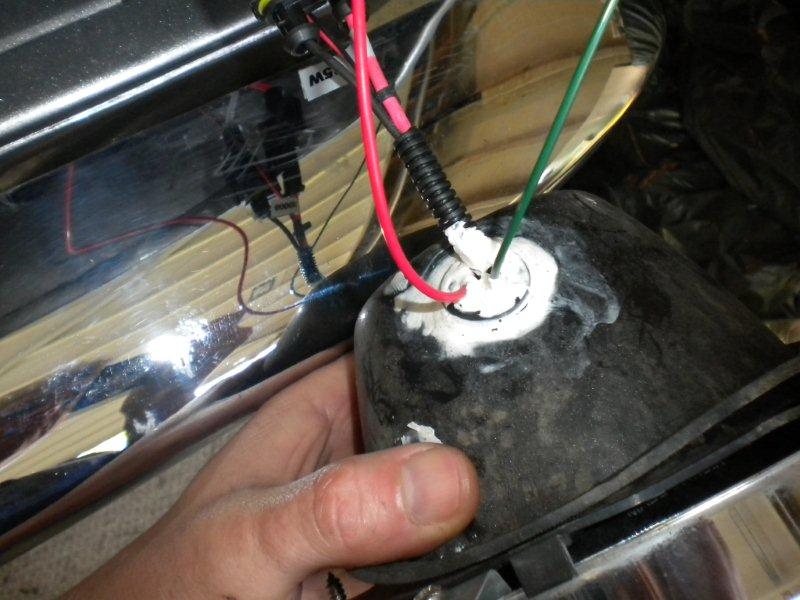
You need to enlarge the hole in the headlight pod to get the larger plugs through, so I sealed them with silicon afterwards to stop water getting in.
I did everything temporary to make sure it was all going to work. I can then loom it all properly one it is proven successful
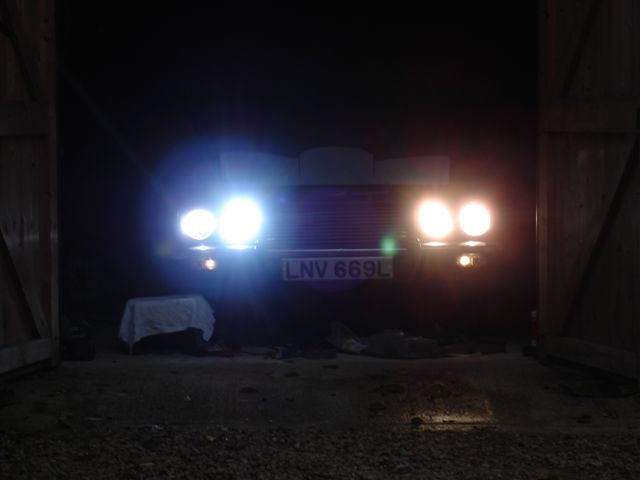
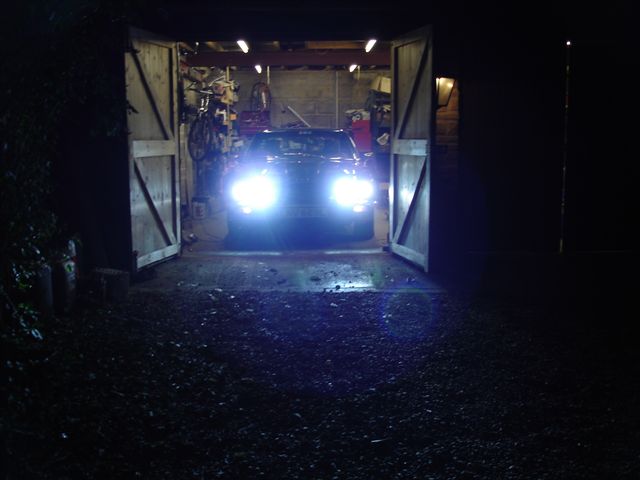
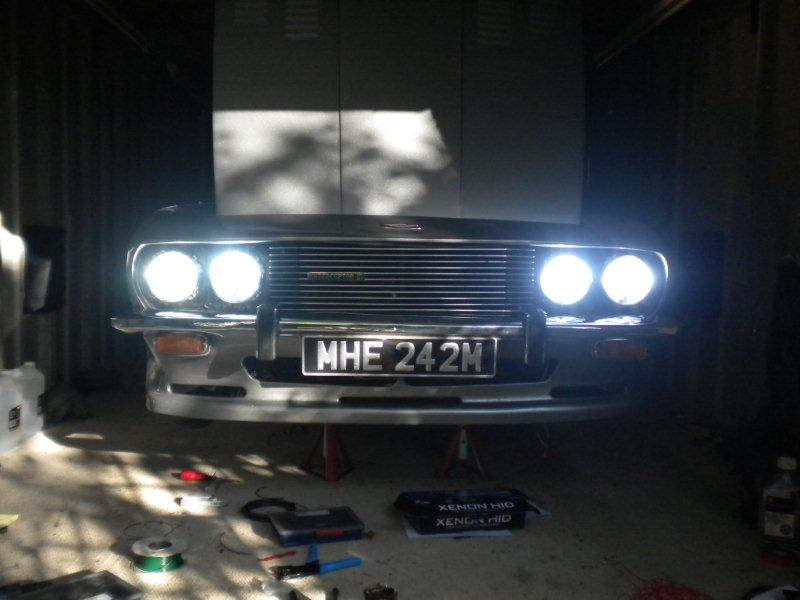
Commissioning could then begin. Dipped beam
Double dipped
Double main
Just a case of looming up the wiring and taking out at night to check the light output on double dip and main, but after seeing Steve's single dip version, it should be pretty good!
|
|
|