|
|
|
Jensen Monday Club |
|
|
|
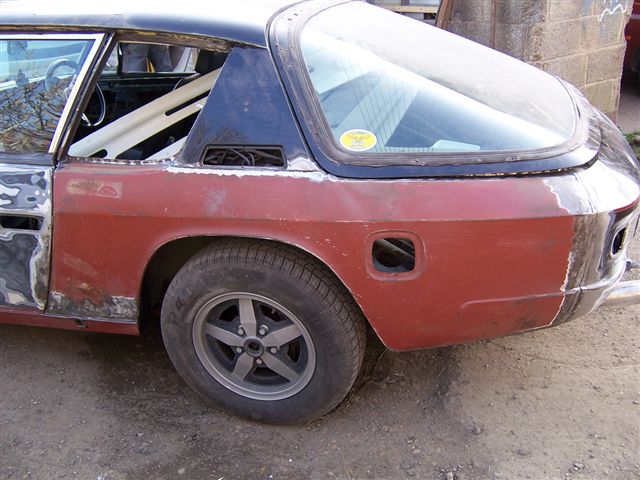
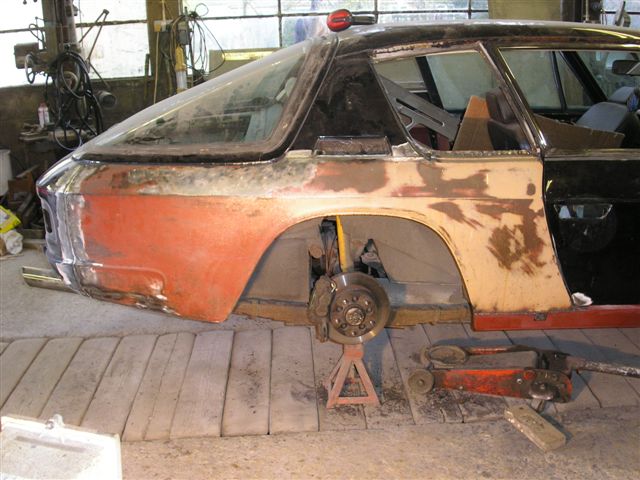
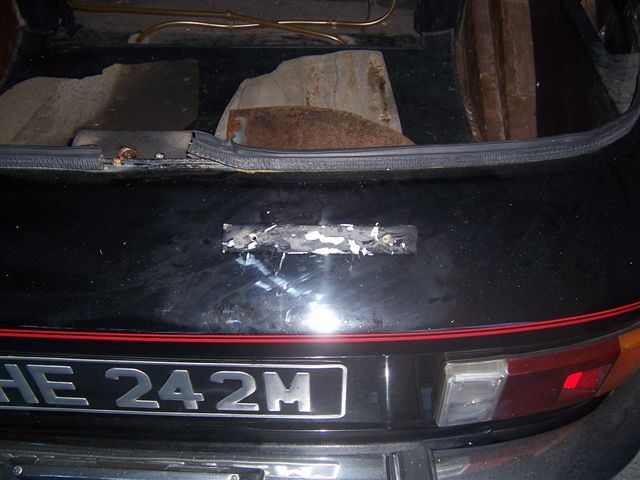
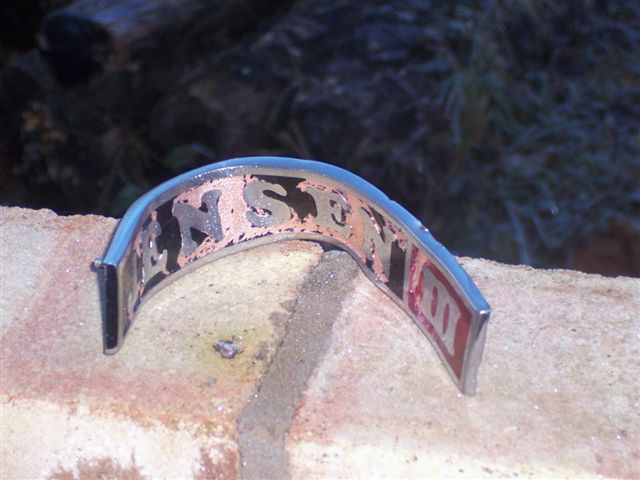
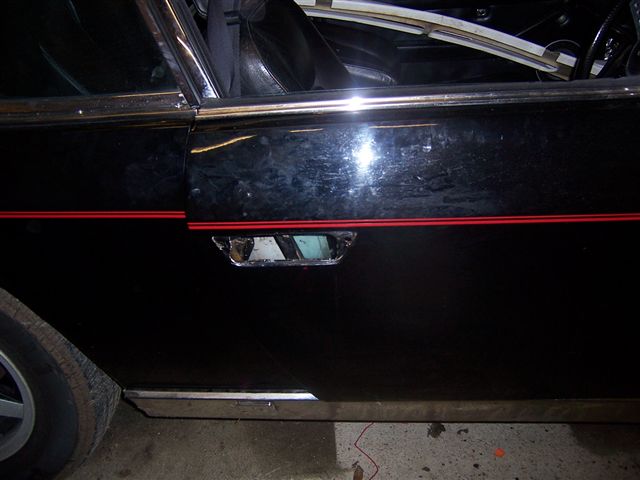
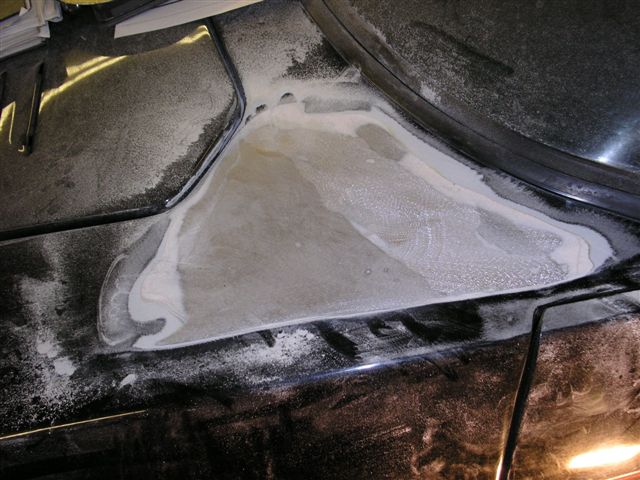
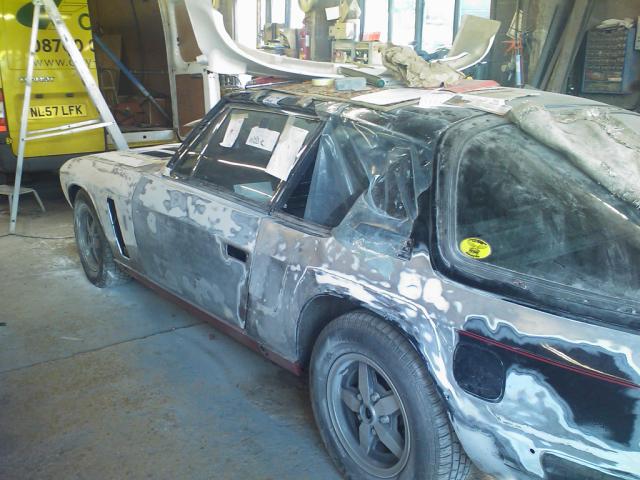
As most of the mechanical work has now been completed (I say most as it never really stops, does it?), it was time to get the body work sorted out. The bonnet has never really fitted well, and the doors and rear wings were starting to bubble, so time for some new metal and TLC. It was also time for a colour change. I loved the car in black when it was clean and polished, but that was about 4 minutes a year. Living on a farm, and the colour black in general is not easy to keep a car looking clean and tidy. It also shows every scratch and ripple in the metalwork. I spent a year looking at colours. I never realised that most car colours were so uninspired and even boring. I considered all sorts, including Audi "Solar Orange", but discounted them on grounds of taste, or sheer horror. In the end I settled for MG XPower Grey. It has a very slight pearlescence, which doesn't cause a colour change, but adds a depth to the colour. A date was arranged for the car to go to the body shop, and the work to strip the car began at Steve Payne's place. Removal of the rear Jensen Badge
The aftermath of the battle to remove the Jensen badge
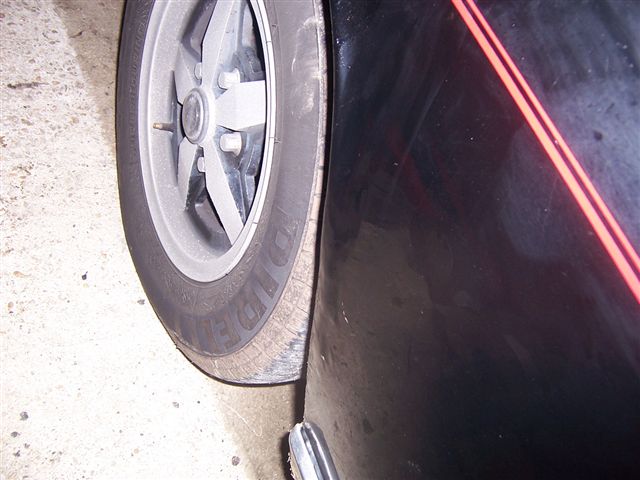
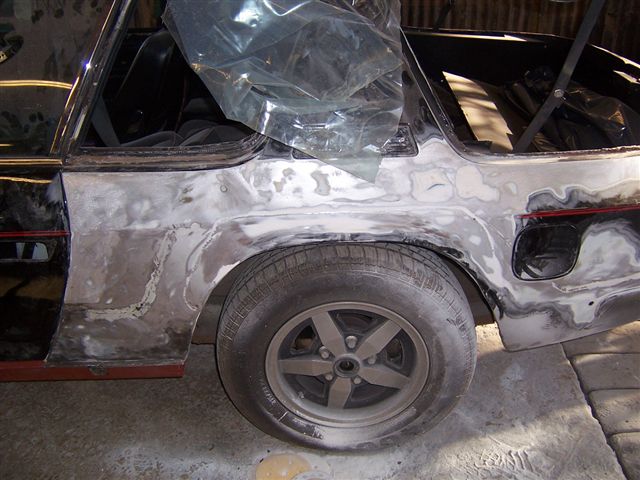
Bubbling rear wheel arch
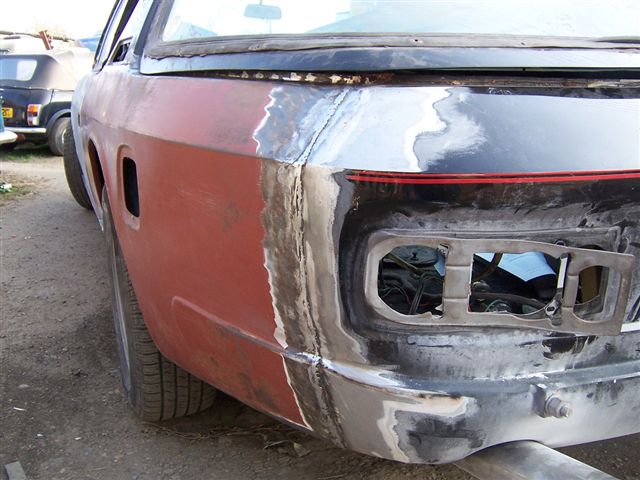
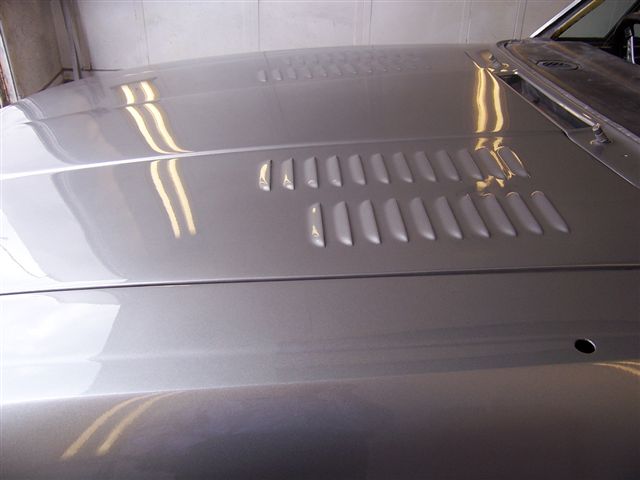
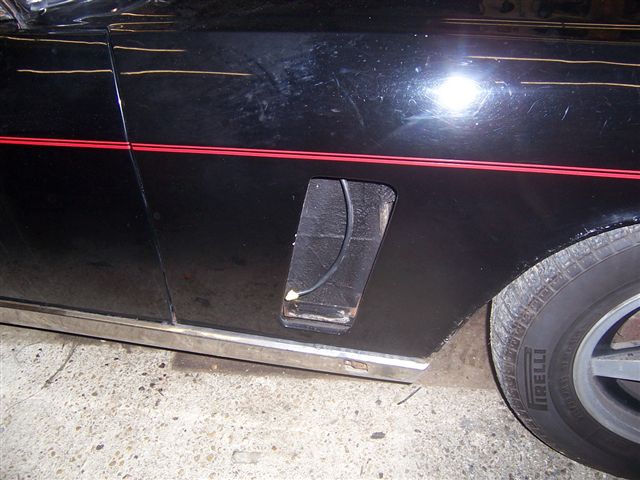
Wing vents removed
Front Bumper and headlight surrounds removed
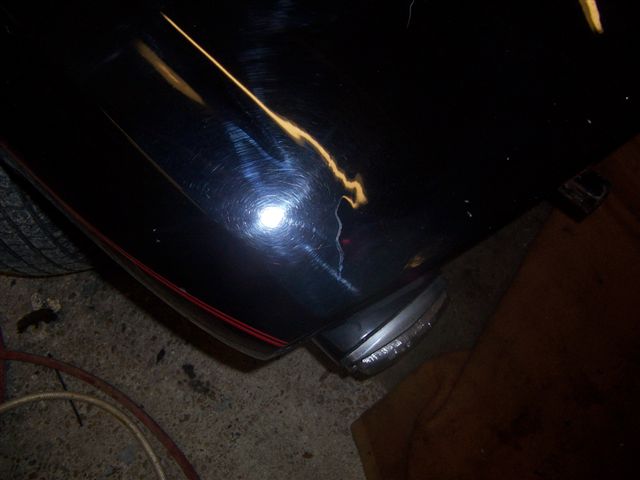
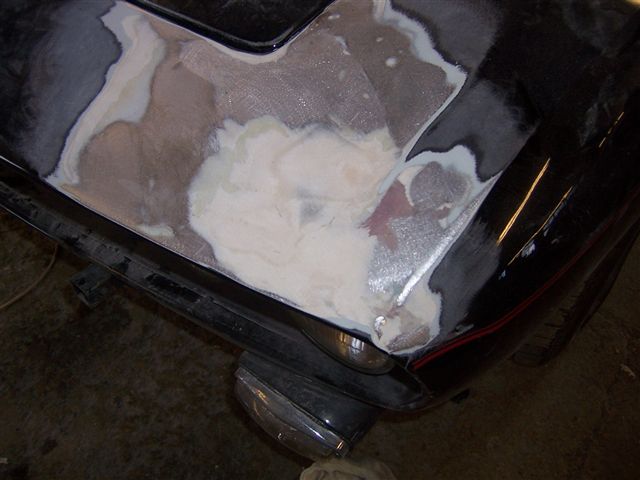
Cracks in the paint on the front wings you usually get on Interceptors
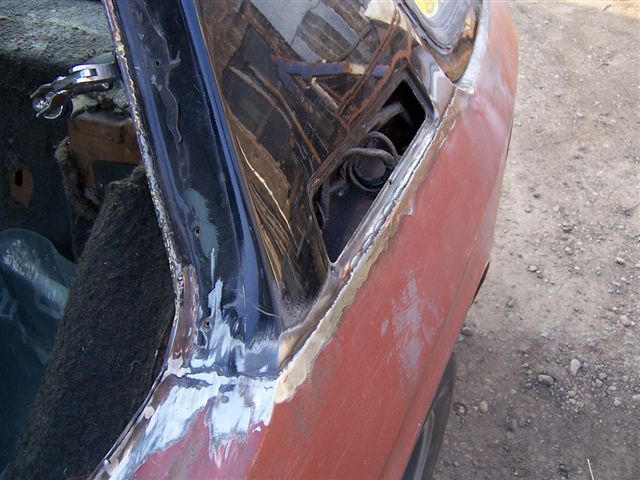
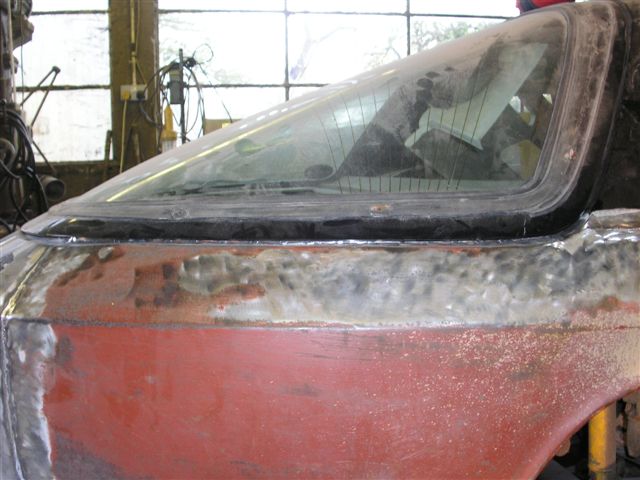
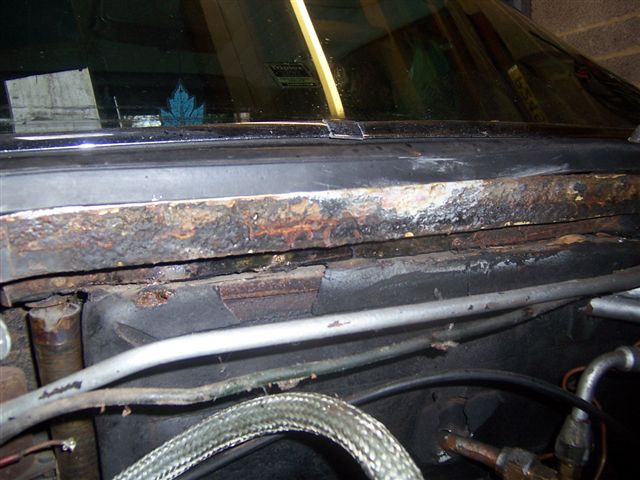
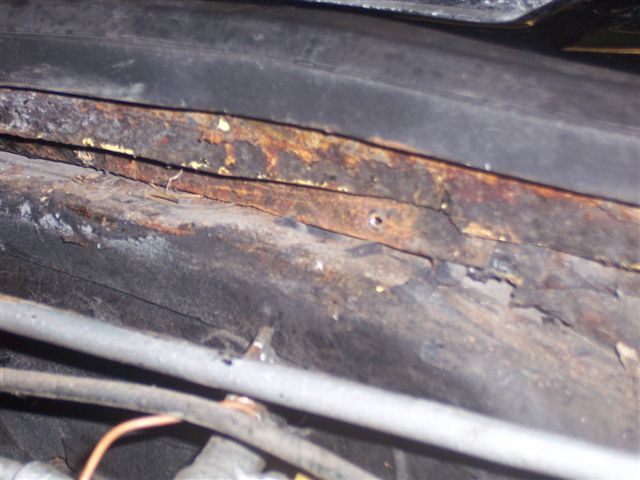
Lead loading bubbling under windscreen surround
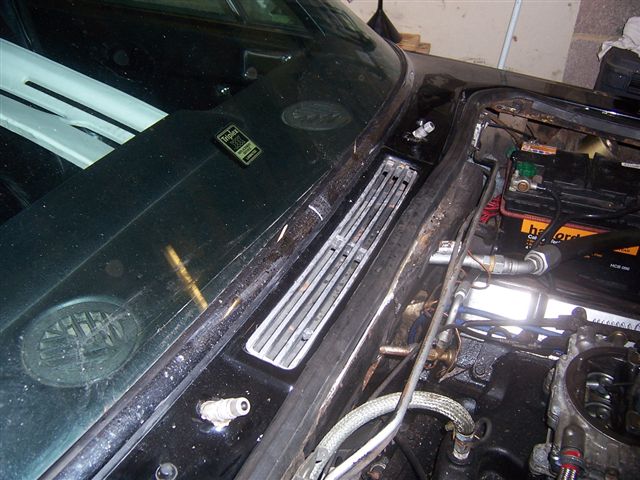
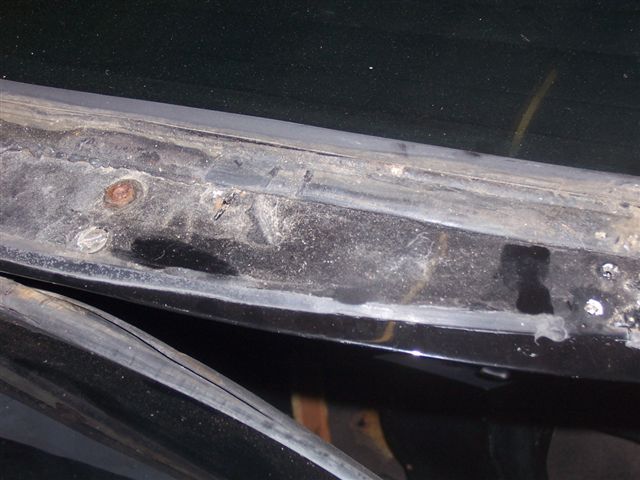
Removal of vent under windscreen
First remove heat shielding from around heater
This reveals a metal plate held in place by self tapping screws (should be 5 in total). This then gives you access to 2 8mm nuts at the end of the vent.
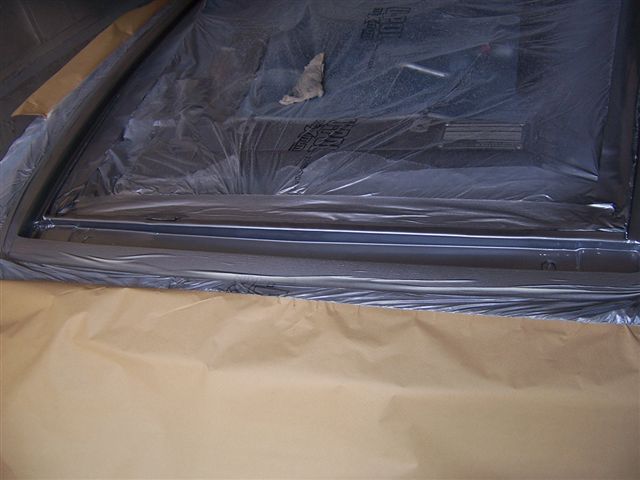
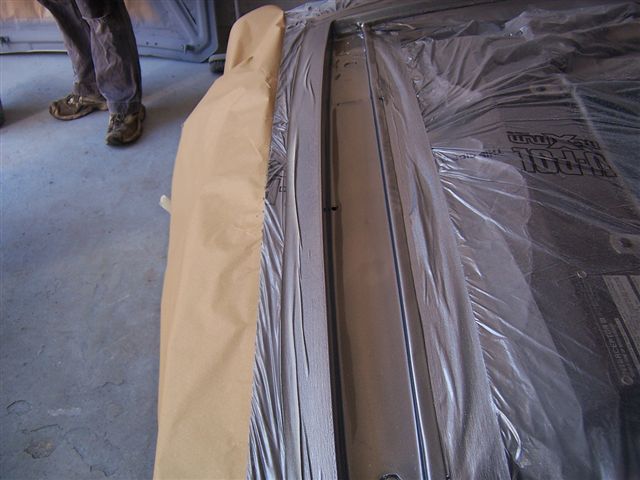
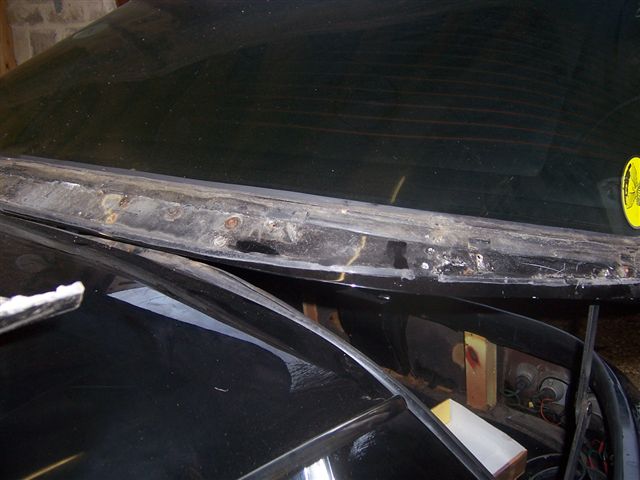
Removal of the stainless steel rear window surround. BE CAREFUL with this as the fixing bolts that hold it in place were hand fitted for each car. Mine had been located with masking tape so they didn't move, but if they are not and the do move it will ne a nightmare to reposition them.
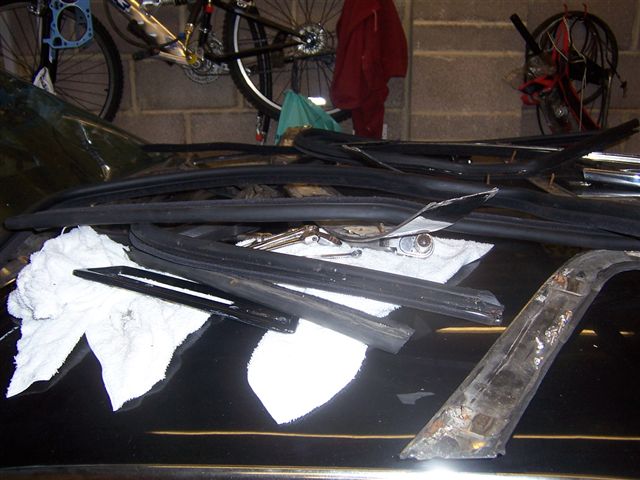
Rear surround a seal removed
Window seals and chrome surrounds removed.
Door handles removed
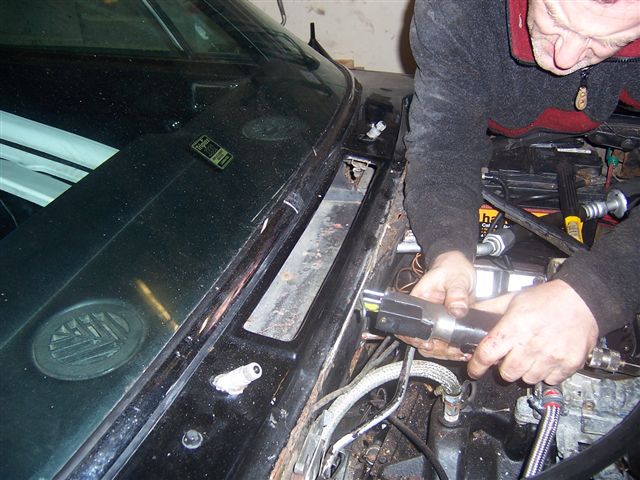
Steve Payne removing my door mirror with an air saw. Too bloody idle to look for a spanner :0)
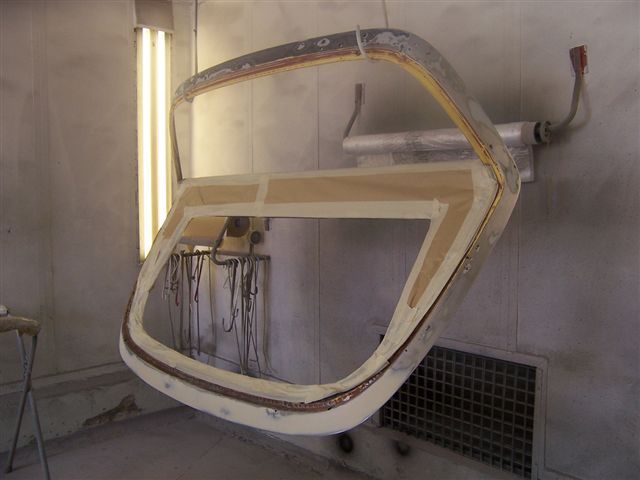
And so in it's very sorry looking state, it's went to the paint shop. I had decided I needed some new bolts to hold the stainless steel rear window surround, and that a new rear hatch seal was in order, so I ordered them from Andy Brooke's at Appleyard's.
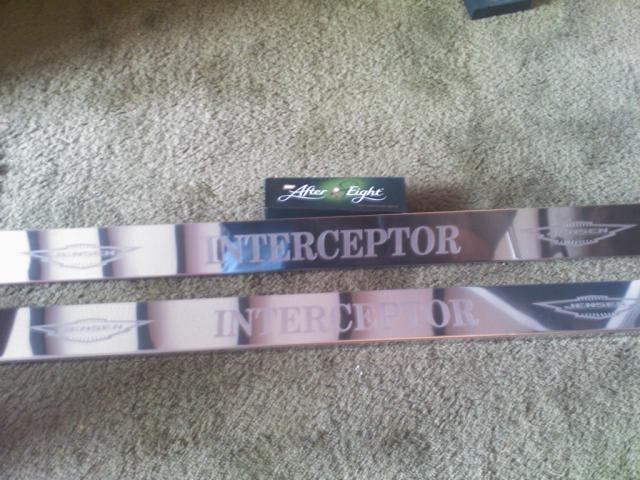
Being the super smooth salesman that he is, he persuaded me I need these beauties as well...
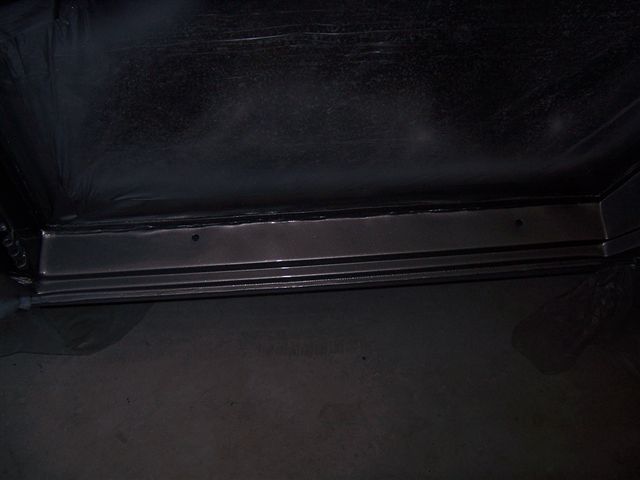
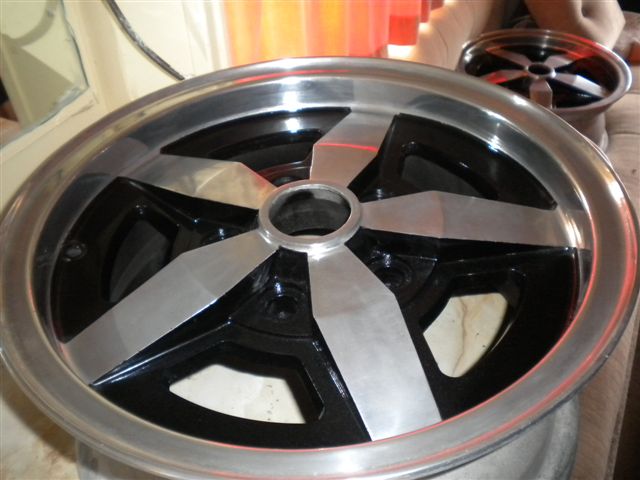
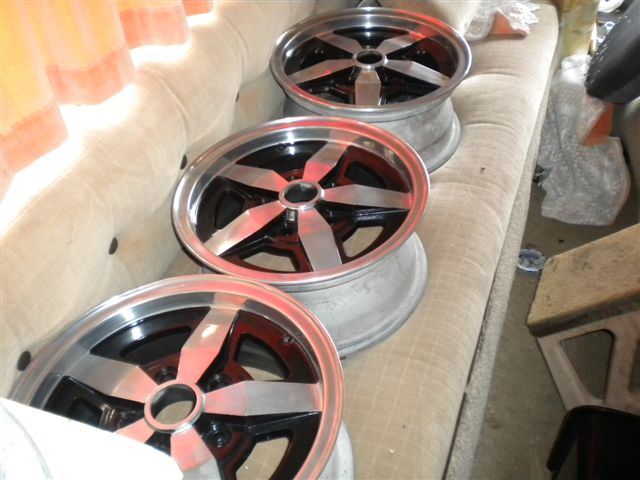
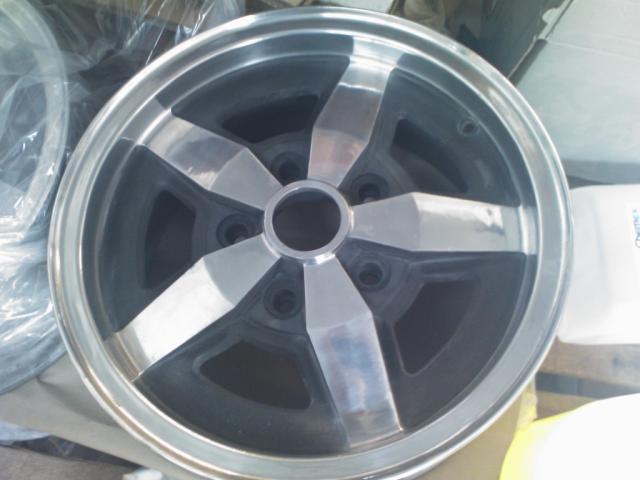
Inspired by the super bling kick plates, I sent my wheels and bright work to the polishers. Wheels after a good polish
Bright work looking good
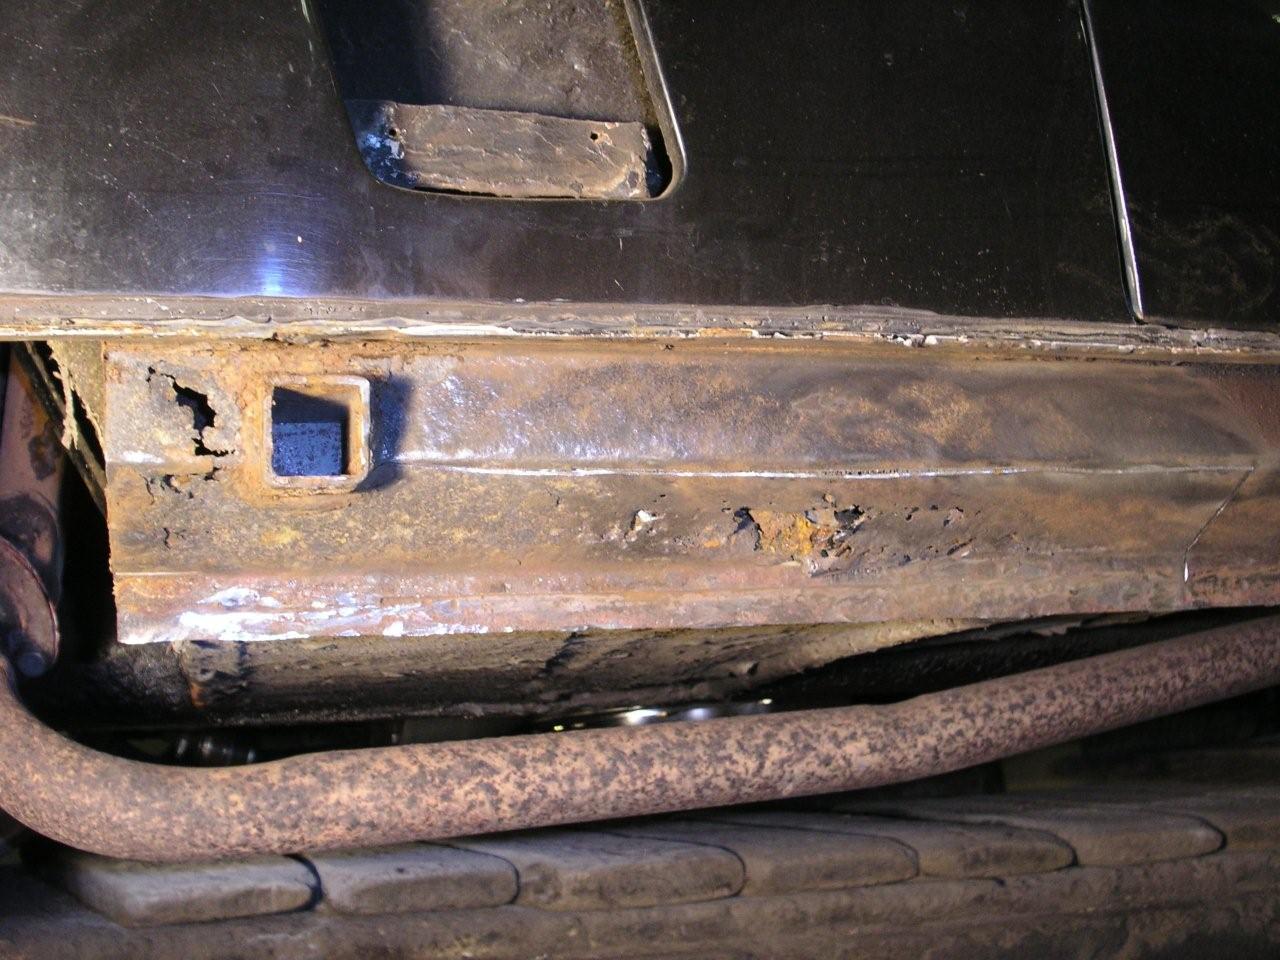
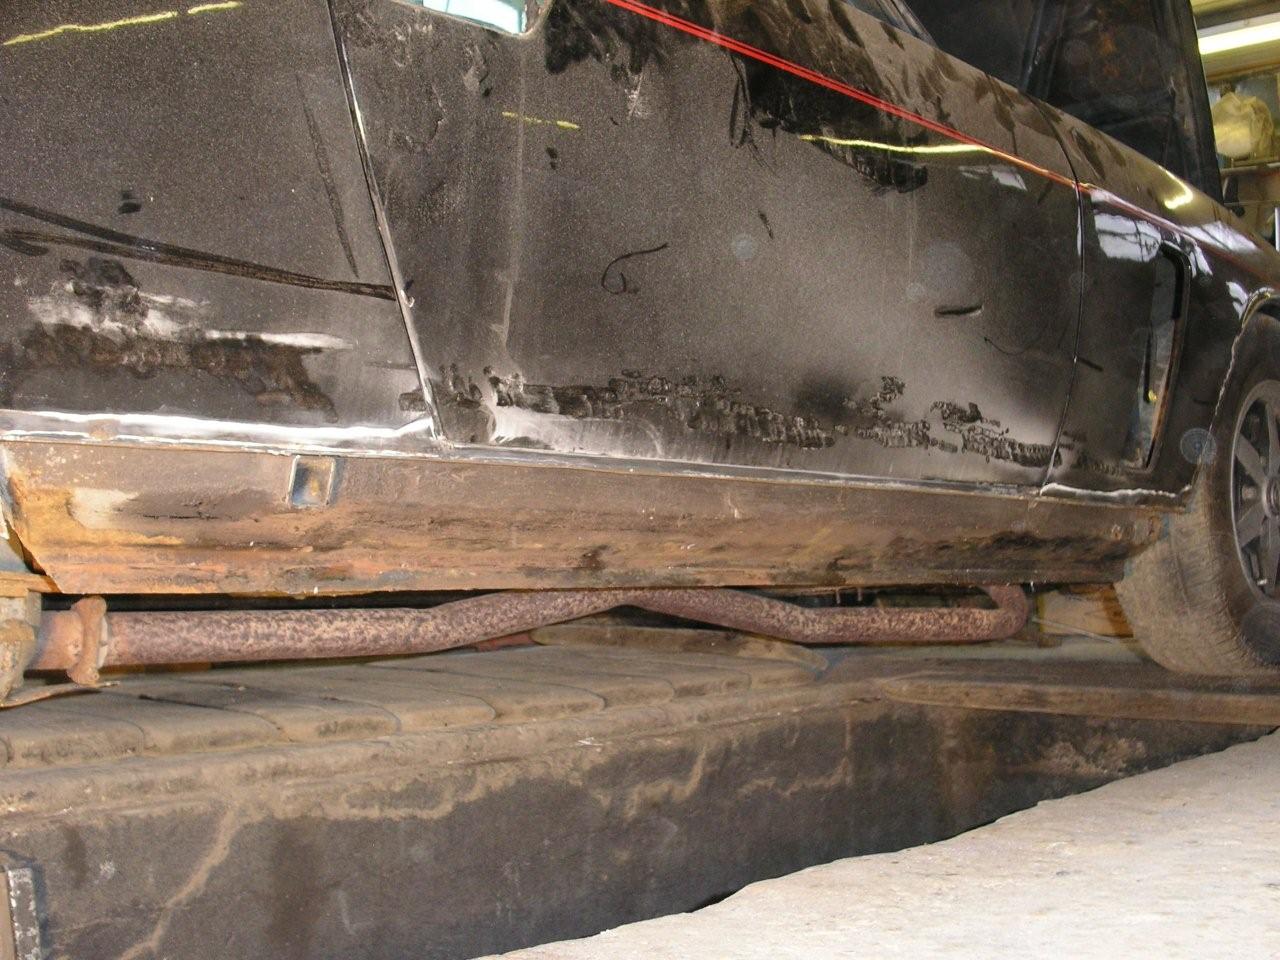
The concours crew won't know what hit 'em... The first pictures arrived today from the body shop. When we stripped the car of it's stainless steel sill covers we found the outer sills to be rotten. I ordered some new ones from Andy Brooke, but I have been dreading the old ones being taken off and finding the inners being rotten as well as it involves major surgery. I saw Steve Payne's car with the inner sills removed when he had his car done, and I honestly though the car would never see the road again there was so much of the car missing...
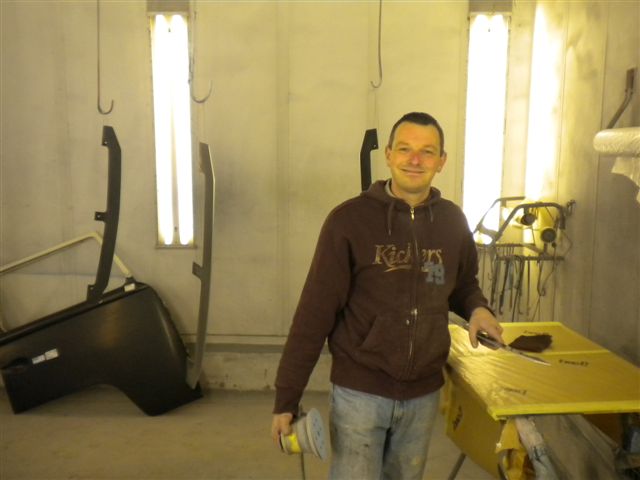
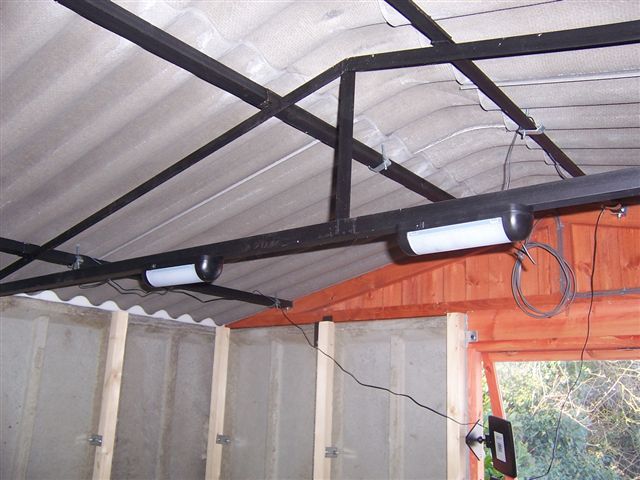
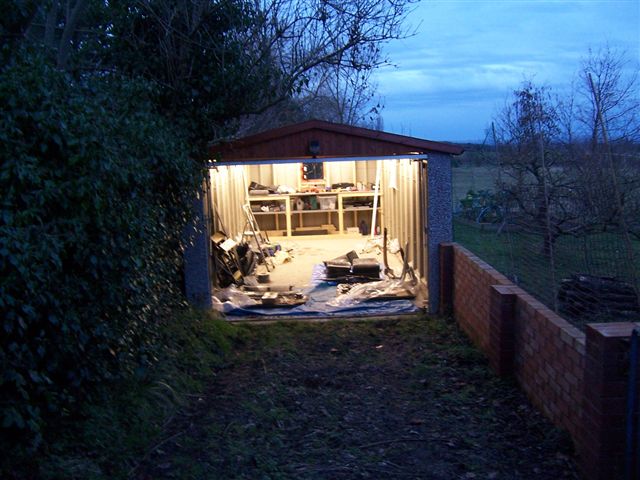
And now, a short interlude... I recently had a new garage built, and it seemed a good time while the car was in the body shop to get some work benches built, and some lighting and power installed. Chris Miller braved the sub zero temperatures of the worst UK weather for 18 years to come over and get stuck in.
I had previously been using re-chargeable solar lights to work by. Not great as they are only meant for small areas, but were magnetic and attached themselves under the bonnet and wheel arches very well.
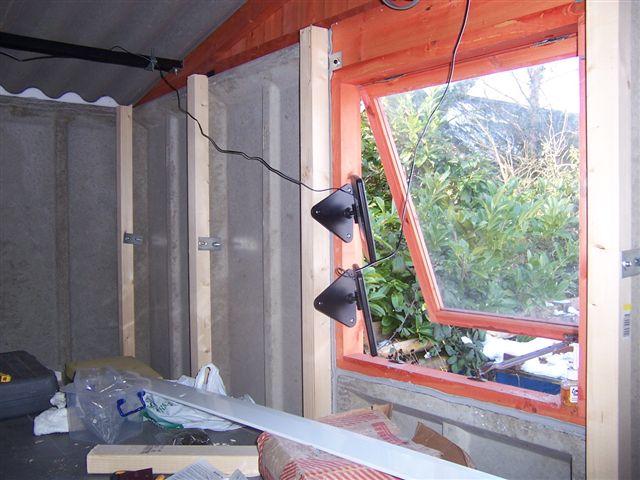
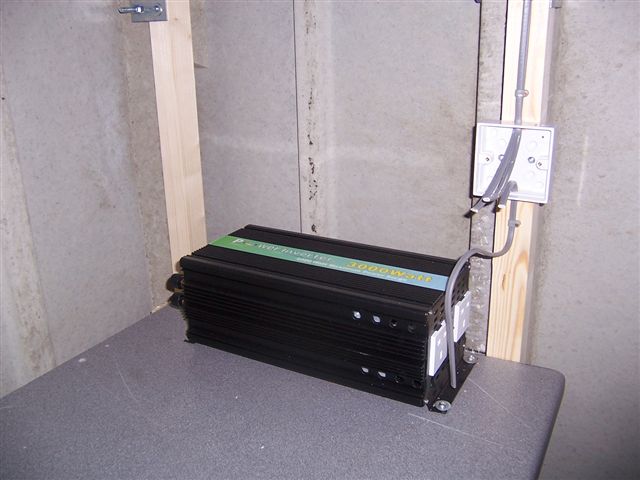
This had given me an idea for getting lighting and power into the garage. The problem has always been that the garage is away from the house. The biggest problem has been that it is the opposite side of the road from my cottage, so it would mean trying to get a cable under the road. I had priced up getting a mains power supply to the garage, but as we are rural, the mains comes in via overhead lines, and was prohibitively expensive. The solar power gave me an idea and I did a bit of digging around. I found this inverter (an inverter takes 12v DC and converts in into 240v AC. We had used smaller ones on the trip to Istanbul to charge the camera batteries and power the laptop while we were driving along)
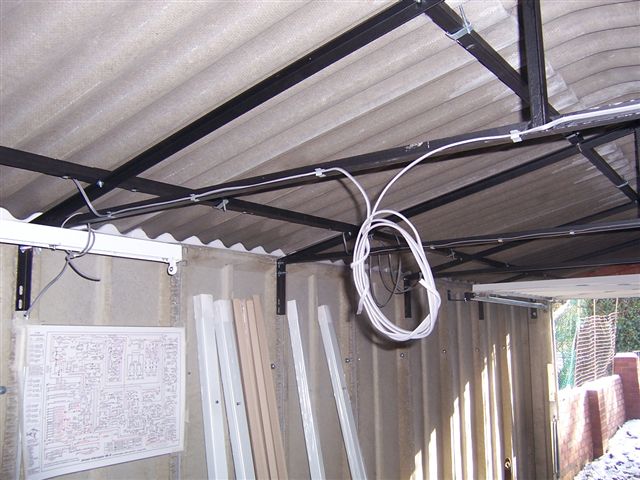
This unit can provide 3000 watts (13amps) continuously, and 6000 watts (26amps) for short periods. By using a heavy duty 12v battery charged by a solar panel, I could use this inverter to create 240 volt mains power to run lighting a power tools. So I started wiring the place.
And now back to the restoration...
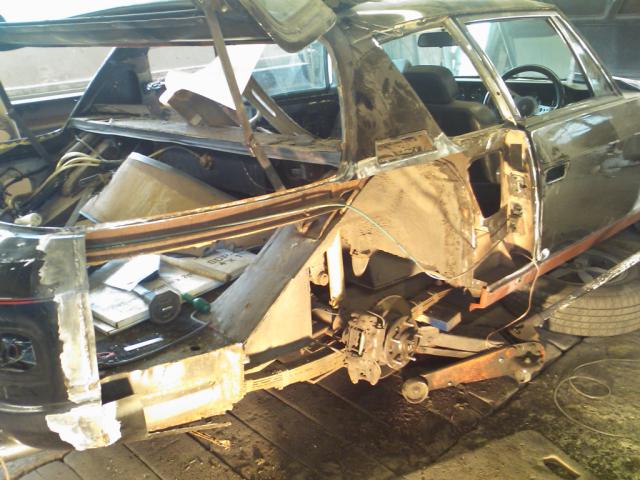
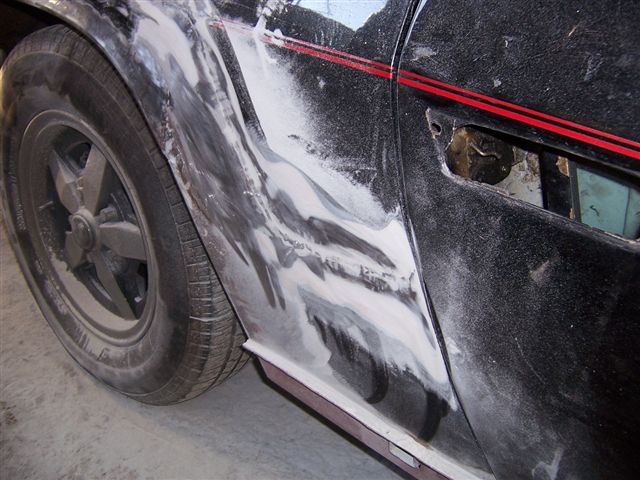
I received some new pictures of the investigation work going on with the car. It has revealed more old repairs, and given us an idea of what needs doing.
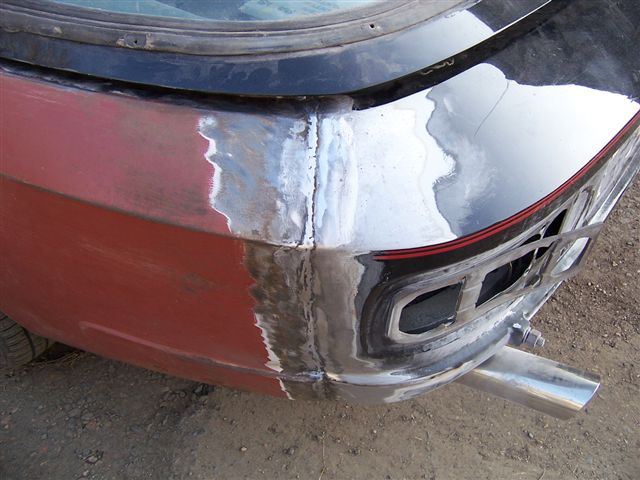
2 previous repairs to the rear wheel arch. A full repair panel (the line that goes all the way to the door) and a 2nd section added later (the line that starts just above the sill).
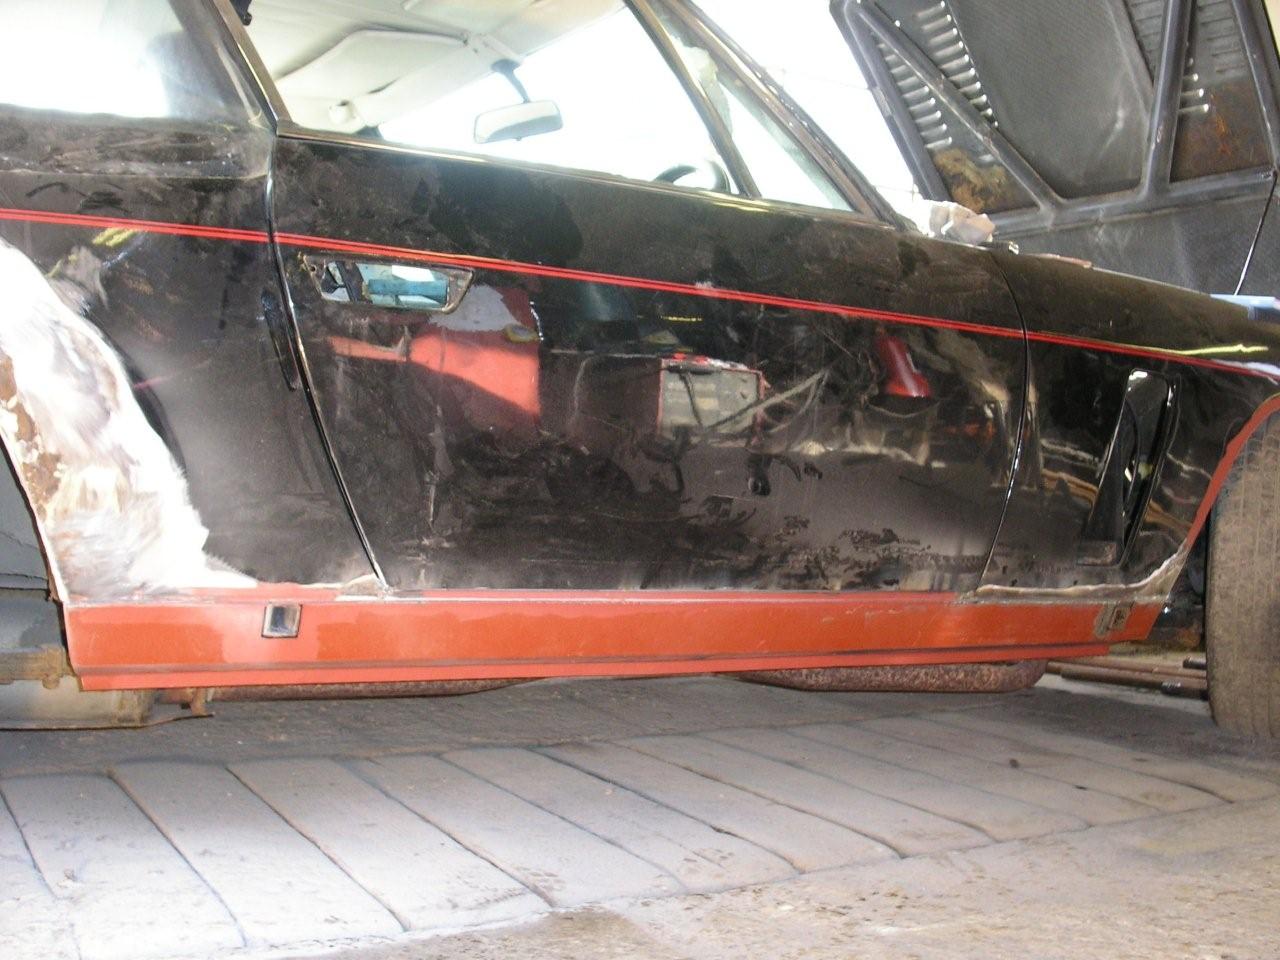
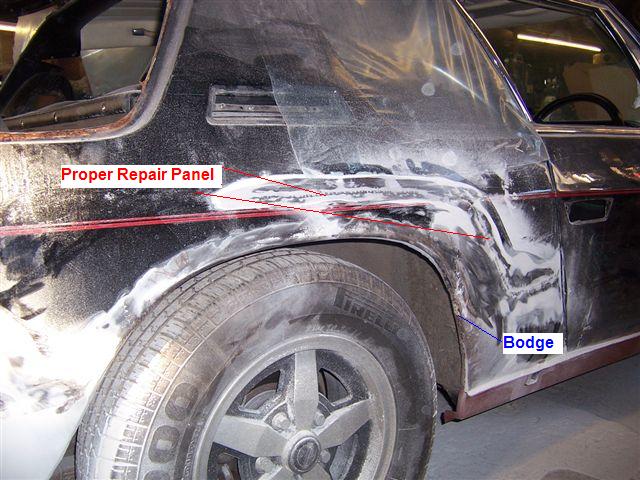
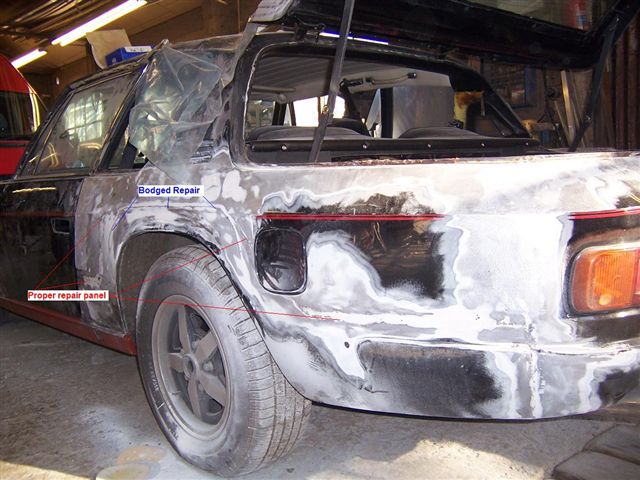
Tim, the owners of the body shop, asked me to come and have a look as he had done more investigation work. It revealed the bodges the last body shop I had used...
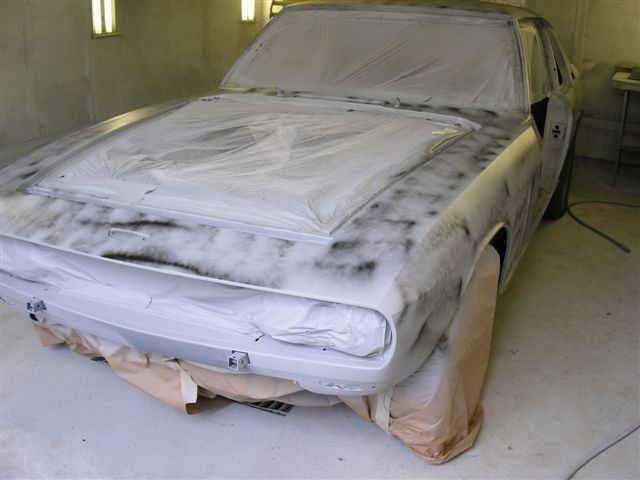
Other than the bodges being annoying, it was generally pretty good at the rear, but I decided to have all new panels from door to door at the rear, so a visit from the plasma cutter was booked in... The news was better at the front, with all the bubbling being filler lifting rather than bad metal. When the car had changed from it's original yellow to black, it has received a full bare metal restoration to a very high standard. So much so it has lasted over 25 years. All the metal in the front of the car is in good order, so other than removing the "rippling" that you get in older cars, the front of the car is sound.
Now we know how much new metal needs to go into the car, the new panels can be sourced, welded in, and the preparation for painting can get underway. And meanwhile, the solar power project is underway, and there was light!
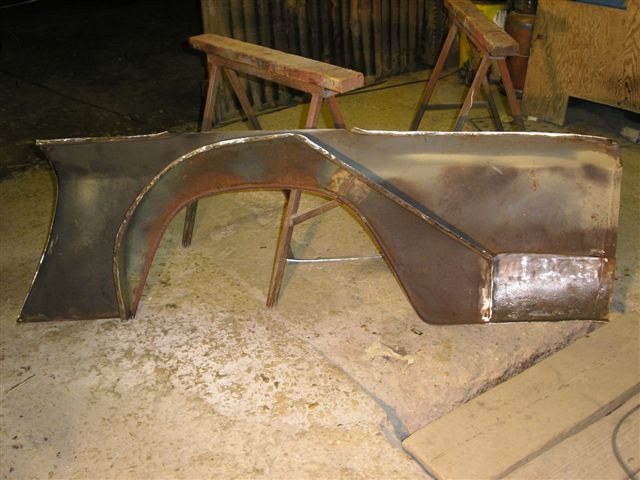
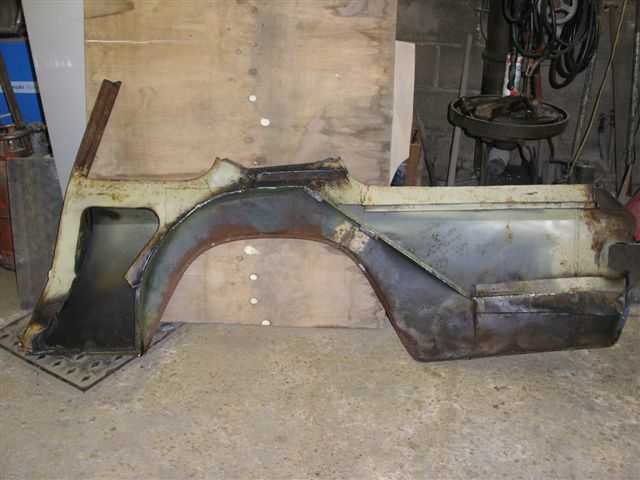
Operation "New Metal" was now underway, and Tim from the body work shop sent me these pictures of the panels that were going to replace the patched up ones in the rear of my car.
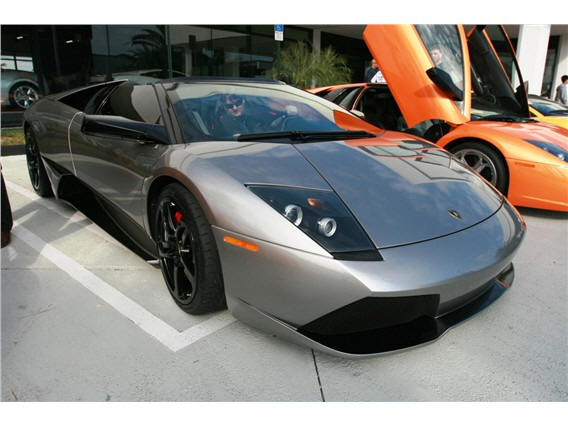
This was going to involve cutting out both rear wings from the door posts to the rear lights, and welding in these good replacements. Gulp... So how much of a debate do you think a fairly rational person can have over the colour grey? Well if your blowing your hard earned on paint work, lot's. I had decided on MG X-Power grey, but then over the last couple of weeks I kept seeing Saab's in an even better metallic grey. A trip to my local Saab dealer revealed it was "Steel Grey", and so the choice was made. Until Chris Miller rang like a kid in a sweet shop, with his nose pressed against a Lamborghini dealers window. "Grigio Telestio" he cried. Grigio is Italian for grey, and telestio seems to be a fashion chain and satellite. Chris waxed lyrical about looking like "Laser cut from liquid mercury", and other such fantastic imagery. So armed with this, I went to see how the car was coming on.
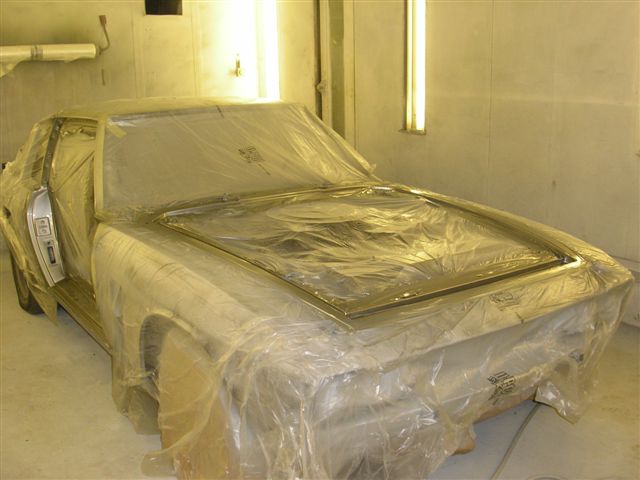
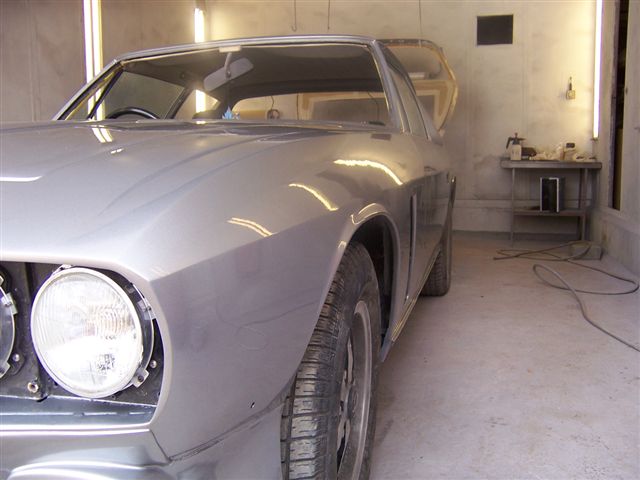
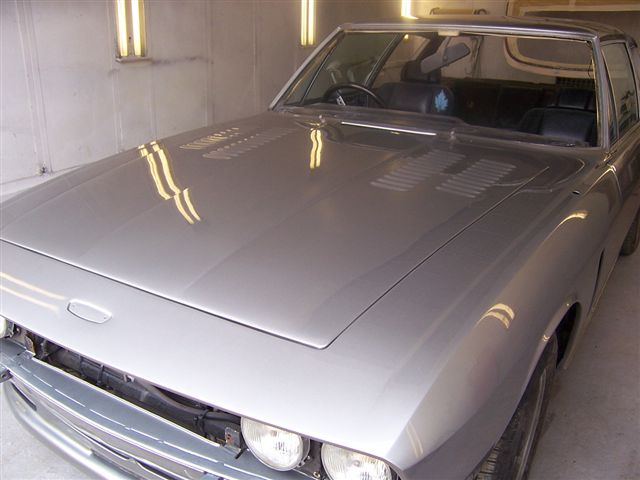
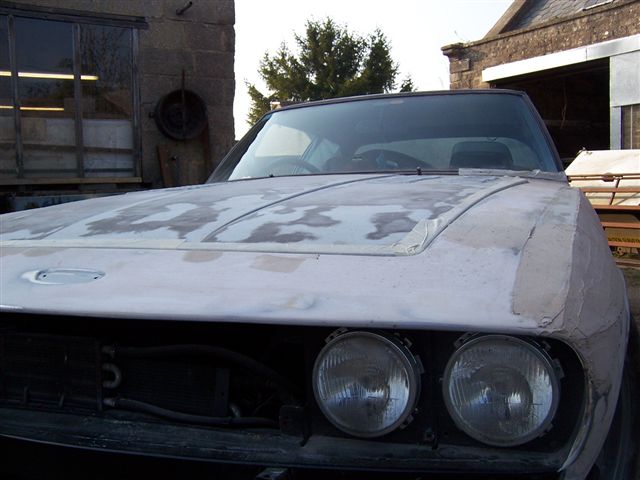
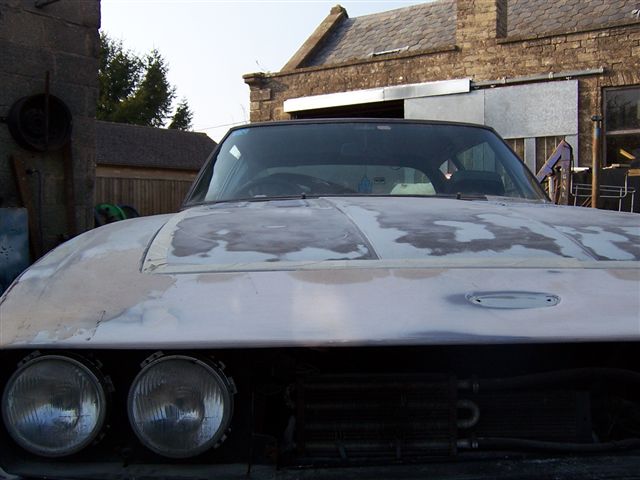
I was amazed how well the bonnet now lined up with the rest of the car. It was a really poor fit before, and now it actually looked liked it belonged to the vehicle.
I mentioned the possible new paint colour, and out came the paint samples booklet. We took it outside and bent it over the rear wing of a Daimler Majestic they are restoring so we could see how it looked over contours, and how it reacted to light. In some lights the Telestio looked a little too dark, but I could see where Chris was coming from. But then I spotted "Lamborghini "Grigio Antares", or titanium grey. This was lighter, and I thought very similar to an Aston Martin Vanquish I had passed earlier in the day, and much admired.
How much like is "very much" as it turns out the Aston colour is Grigio Antares. So, decision was made, and work pressed ahead.
Tim from the body shop sent me the latest batch of pictures. YE GODS!
Not only has he done this, but the lunatic is going to do the same to the other side!!!!! I rang Tim to see how the work was coming on, and to my surprise he said the new panel was fitted, and was asking about shut line gaps, etc. My sources had told me a MK3 that had come 3rd in Gold class concours was visiting near the body shop by coincidence, so I popped around to the shop to see my car and to pick up Tim so he could photograph the concours car to see the shut lines and panel gaps so he knew what to aim for. TOP BODY WORK TIP. If you have a new rear wing fitted FIT THE BOWL BEFORE PAINTING THE CAR! The hole in the new panel turned out to be 10mm (3/8") SMALLER than it needs to be.
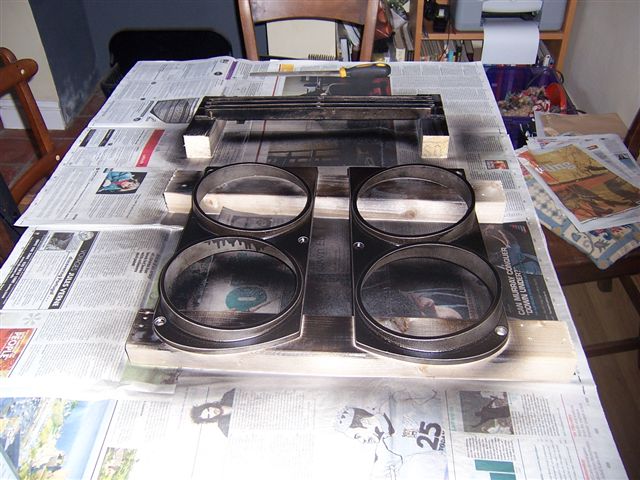
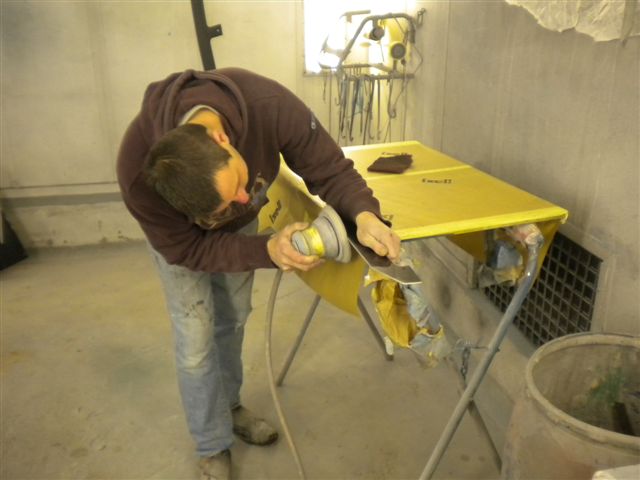
Meanwhile... I had taken out the grille, wing vents, etc for cleaning and painting. Steve Payne has a small grit blasting cabinet in his garage, which I used to remove the old paint from the vents etc. This left them spotlessly clean and ready for paint.
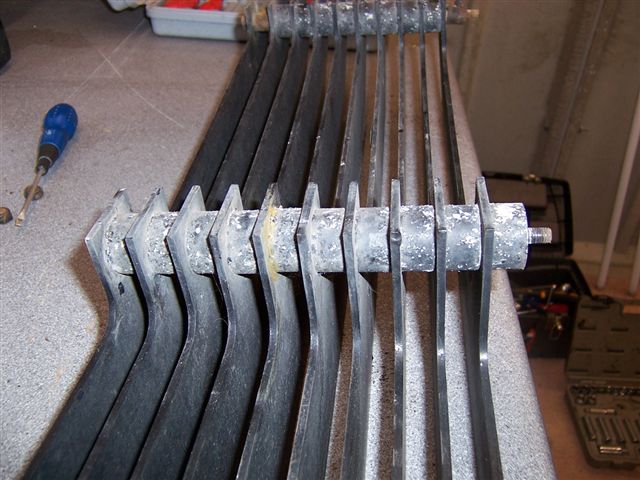
The secret is to paint them, then use a file to remove the black paint from the areas that are meant to be silver. Next, the grille needed to be stripped down, so I set to it. Warning! This section is not a 5 minute job, and will probably result in breakages, so don't start it the day before you are going to a show!!
The threaded rods that run through the grille are mild steel, and these had corroded with the aluminium spacers. This meant some snapped off rather than undoing.
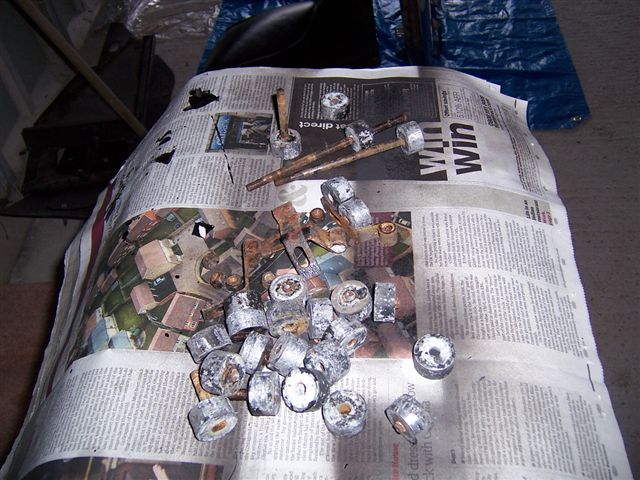
You will end up with this sorry collection...
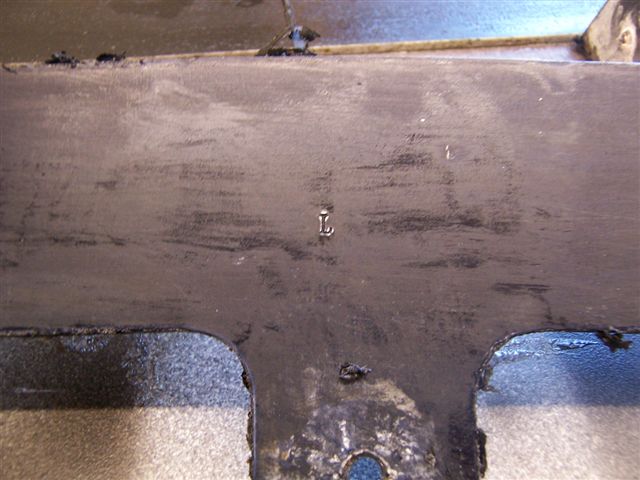
All of the sections are of different sizes and shapes
But Jensen very kindly letter stamped each one
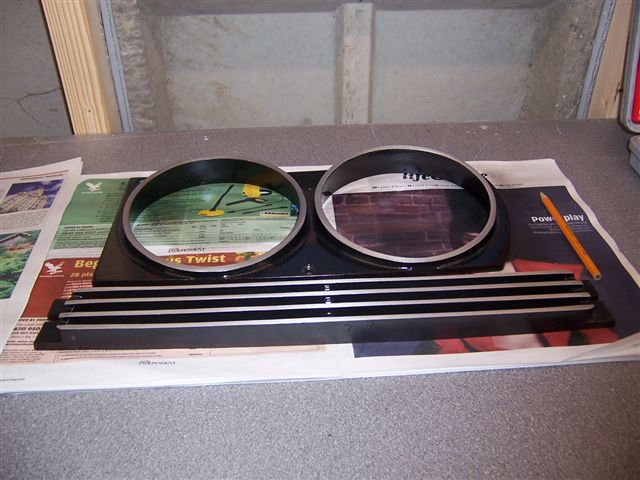
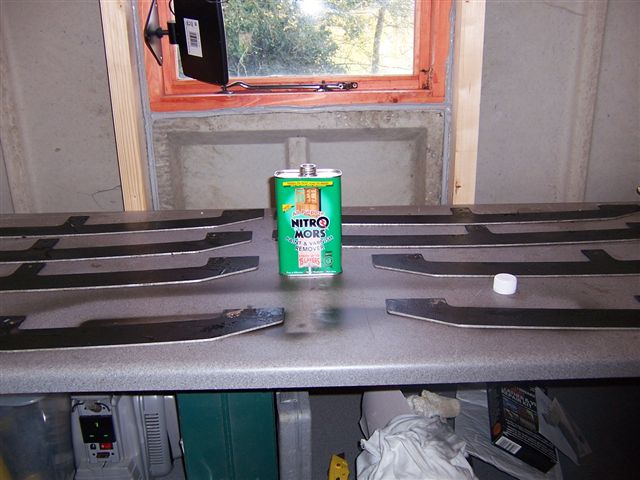
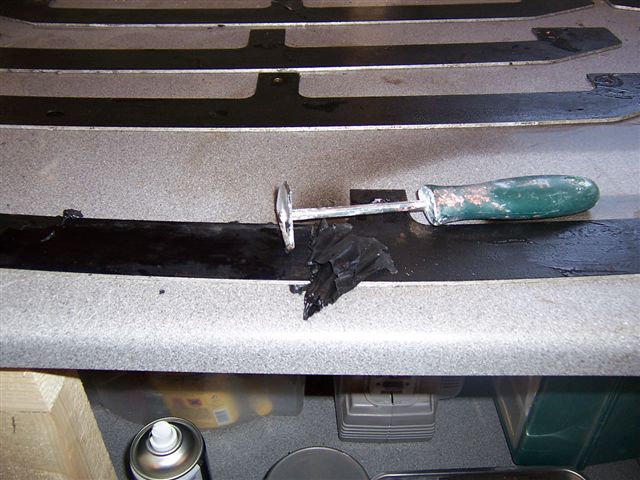
Once all the sections are apart I tried to grit blast them, but Steve's cabinet was too small, so plan B was called into action.
This very quickly removed the old paint and left a nice flat surface to paint on to.
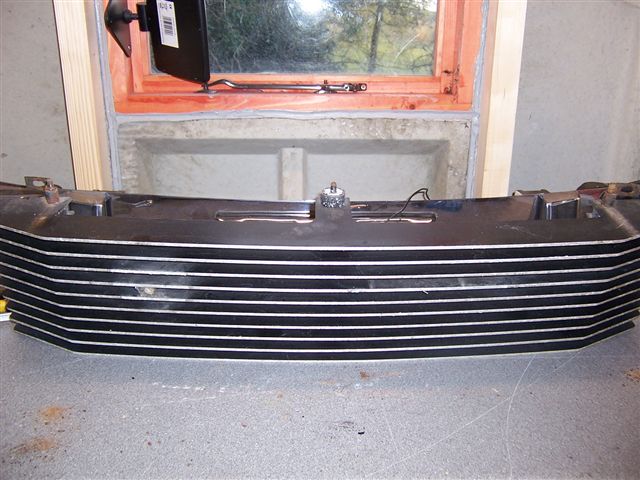
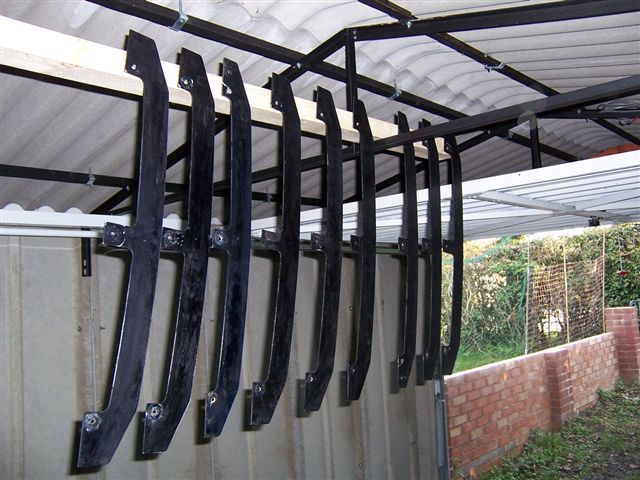
One they were cleaned up, they were ready for painting
I am now going to buy some stainless steel threaded rod to replace the original mild steel. It will also mean having to drill out the spacers which have broken rods still in them. These turned up today and got me worried...
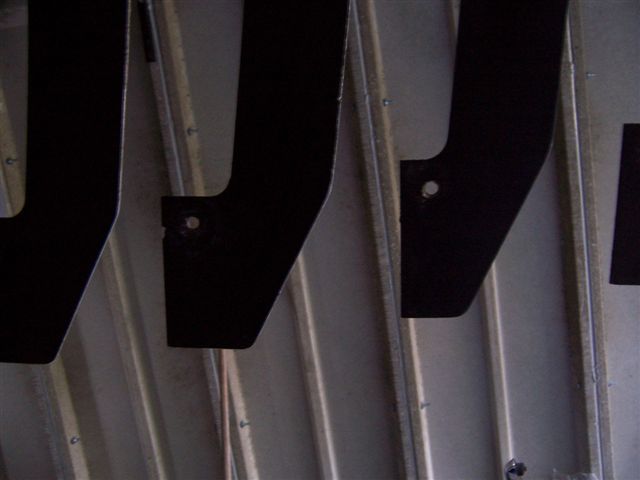
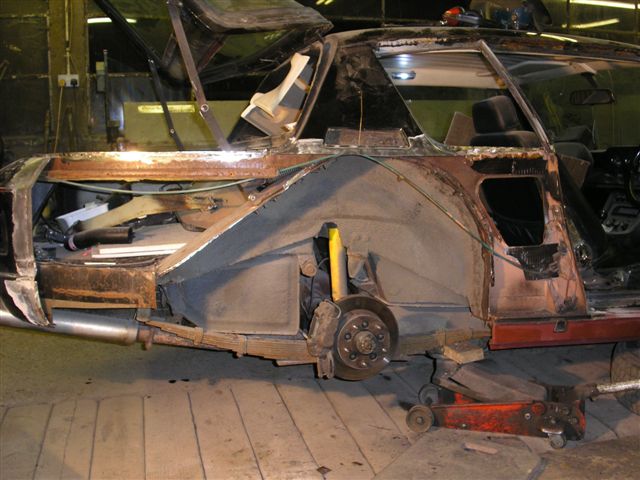
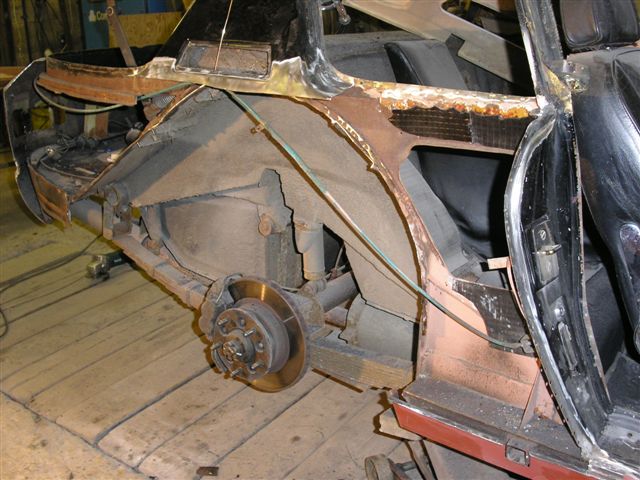
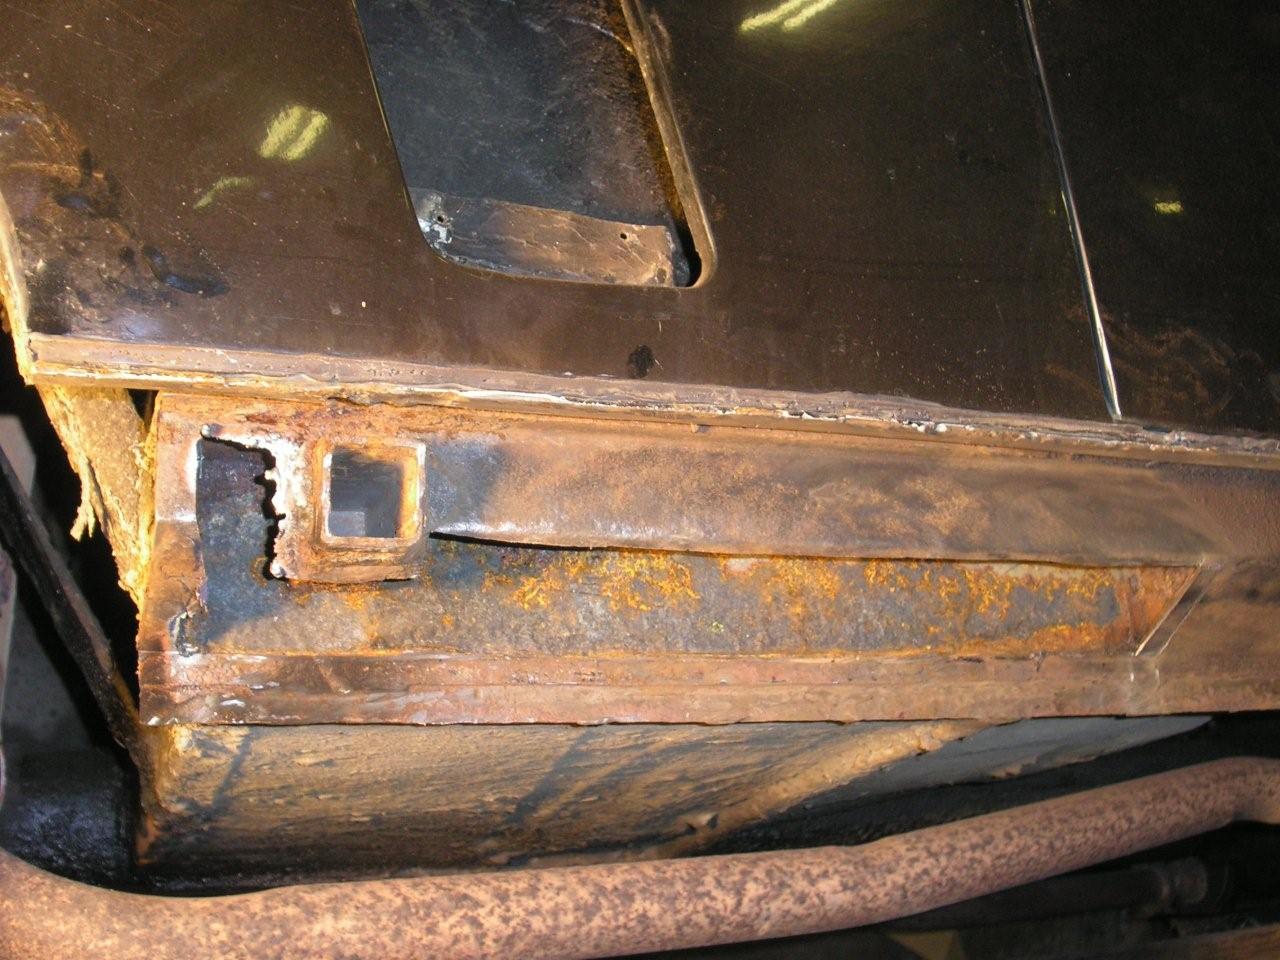
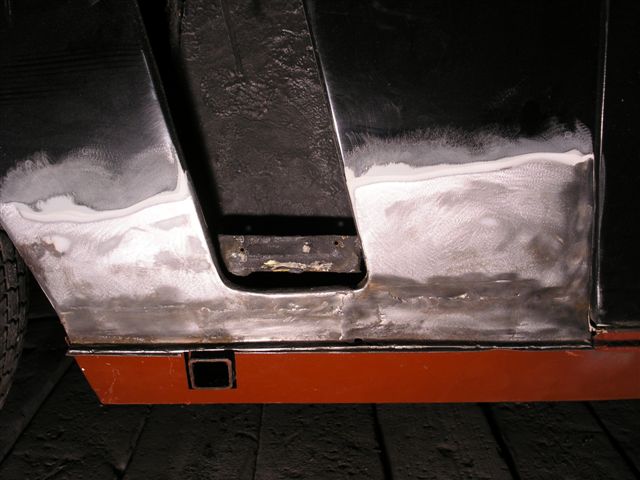
You can see how the inner wheel arch is attached to the outer skin. Mud and water can get in between there panels and this is what causes the classic corrosion of the rear wheel arches on Interceptors. This is going to be filled with cavity wax after the paint work is complete. It can't be done before as the wax will spoil the paint finish.
New panel welded in place.
The next part of the job is to remove and repair the doors and fit the new hinge pins so they open and close smoothly.... I decided my other "Jensen" needed a colour change as well, so it was time to start stripping it ready for paint.
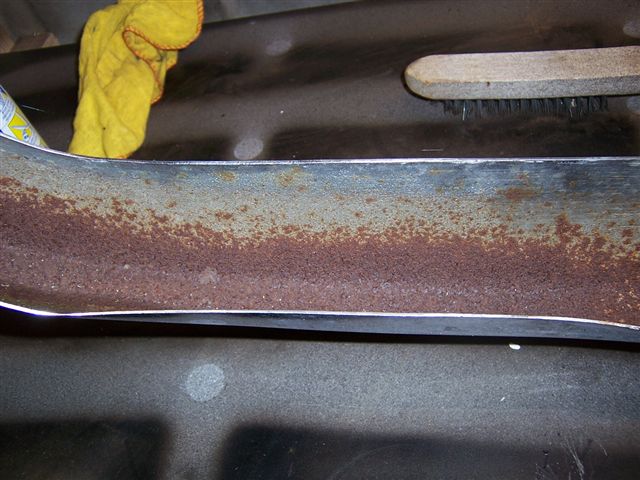
Nothing to report at the moment as the paint sprayer was only just back from holiday, so I took the opportunity to refurbish the inside of the bumpers.
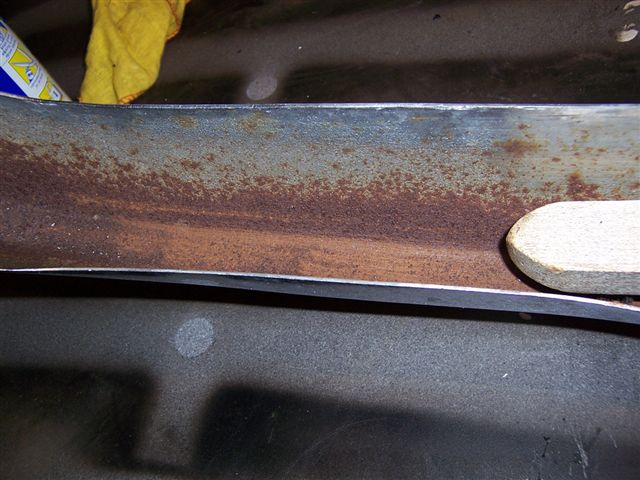
I gave the flat sections a good rub down with a wire brush
The wire brush was no use on the curved and tricky areas, so I used a kitchen scourer which was just as effective as the brush
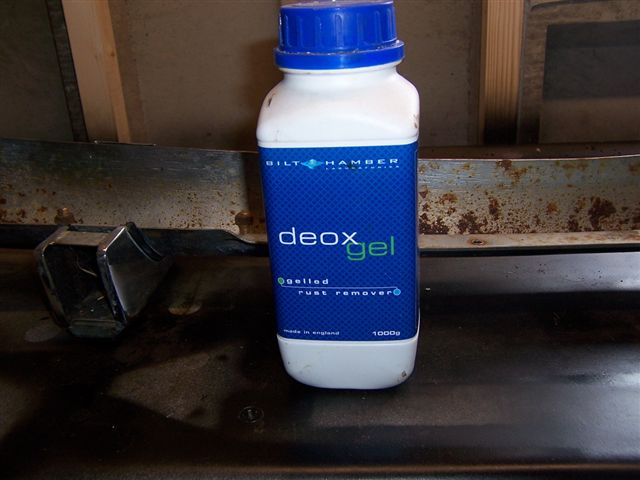
Chris Miller put me on to Bilt Hamber anti corrosion products which I have been using and have been very impressed with. I gave the inside of the bumpers 2 coats with Deox Gel to kill any corrosion.
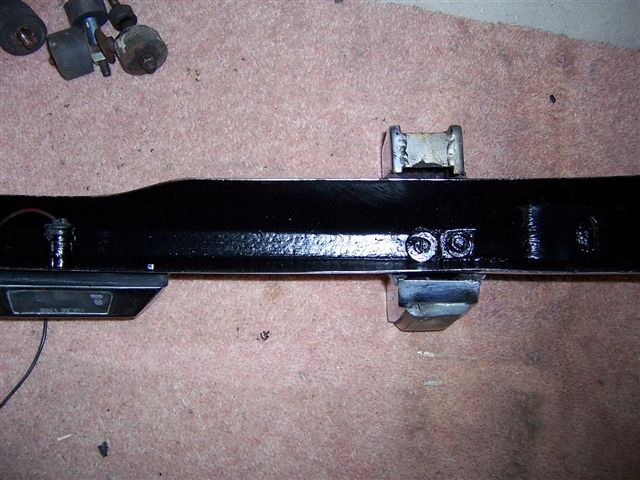
After I was happy all the rust was treated I gave the insides a few coats of satin black Hammerite. Don't just paint over rust with this as the corrosion will just continue under the paint.
The finished item.
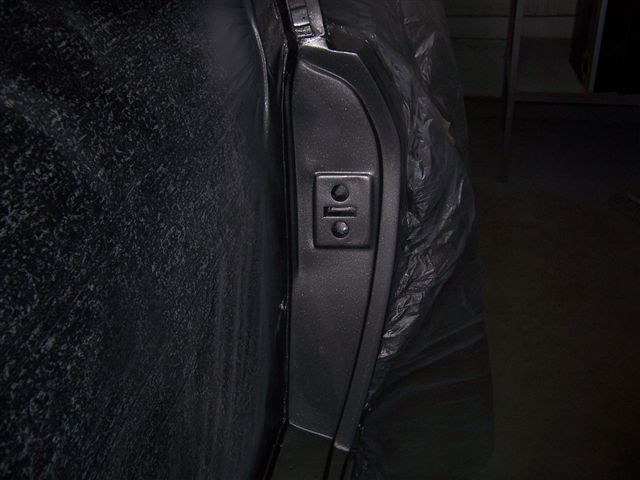
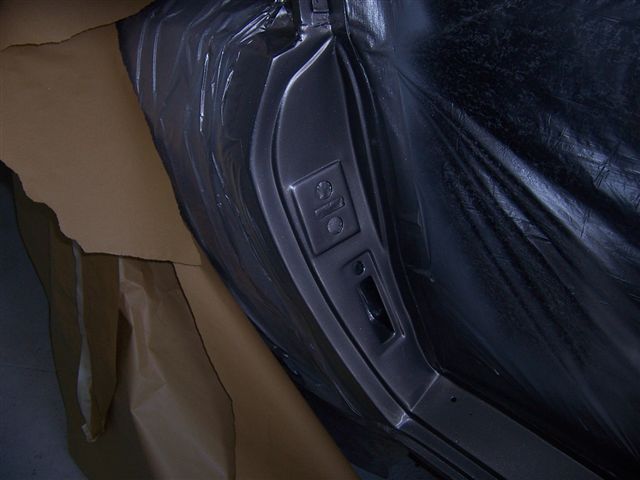
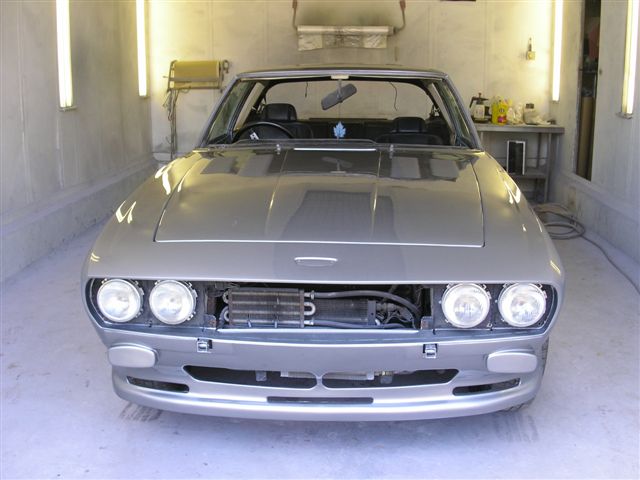
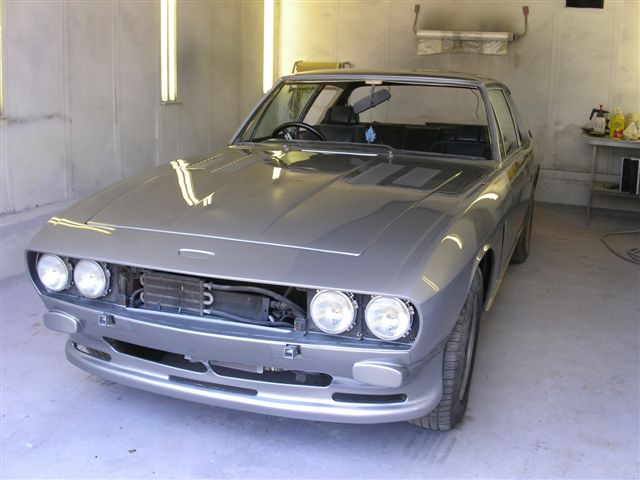
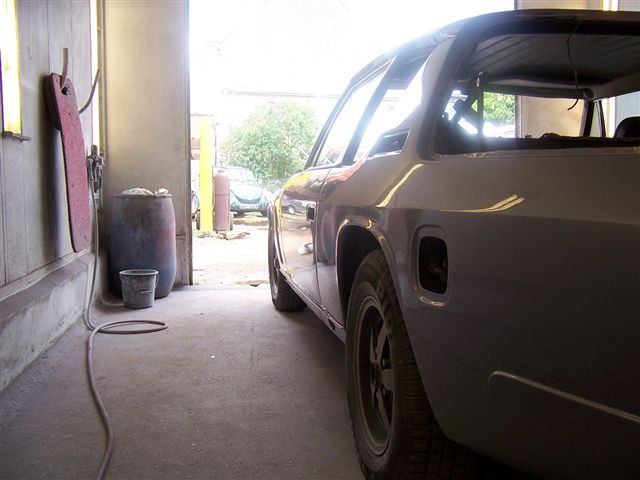
Well, were into the end game now, and Tim from the body shop sent me these pictures, and asked me to come over to finalise things and make sure I was happy with the colour.
So armed with my camera I went for a look.
Due to the light and the weak flash on my camera, the pictures have come out a little dark.
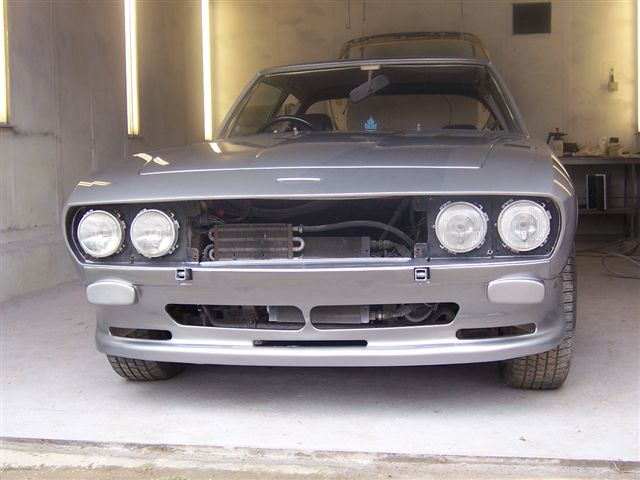
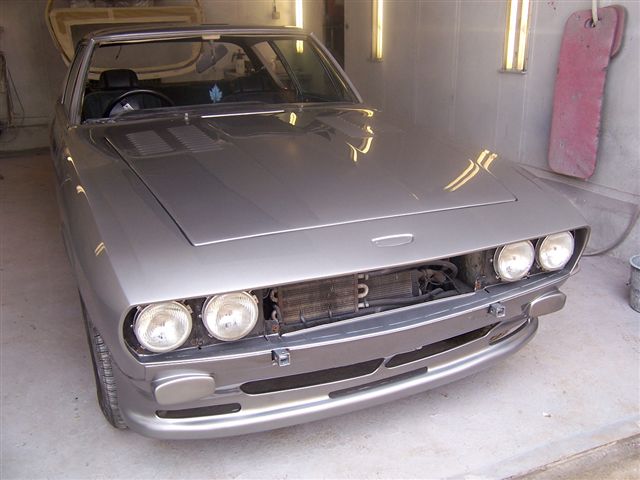
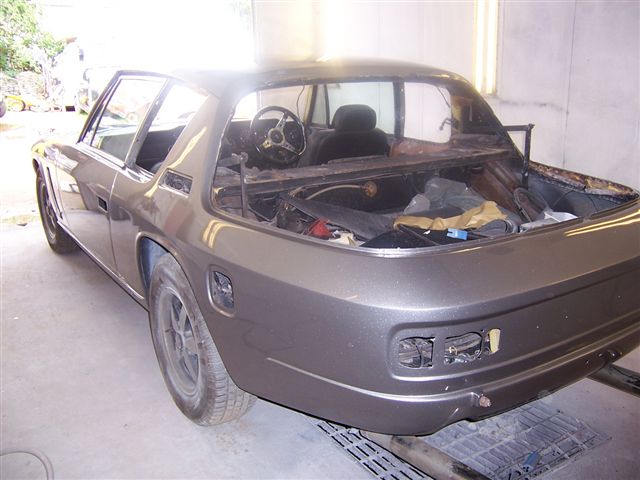
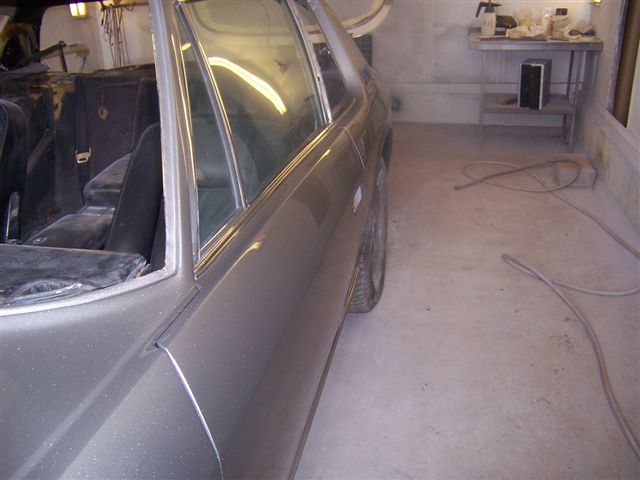
Well, it's taken 6 months, but here we are, painted. They have not worked on the car continuously, but it's been a long old slog, and it's nice to see the end result. I am really pleased with the colour. Just as well as it's got to last a loooooooooooong time :0) It's difficult to get an accurate impression of the colour with the camera, but to me any way, it suits the car, and is beautifully applied. They got the paint manufacturer in to advise on it's application to ensure it was just so.
On a technical note, the door shut gaps were set a 5mm, which were the gaps we measured on a car that had only done 37,000 miles from new, and other than a little cosmetic paint, had not received any body work repairs. I took this to mean that 5mm was the factory standard, and did my car the same. The window fitter refitted the windscreen and rear hatch glass, but the coachline guy was ill, so it will be a return visit to get the hand paint the coachlines. So after all that it will be the big push to refit all the trim... As a post script to getting your car restored, I would suggest the following:
Good luck! Update: It has been a long slog since the car left the body shop. I got side tracked with other projects on the car, new steering rack, new steering column, new rear brake callipers, extensive rewiring, extensive sound proofing, etc, etc, so it has taken me quite some time to get the car back to the body shop for completion. In typical fashion, the day I picked to go to the body shop it snowed big time.
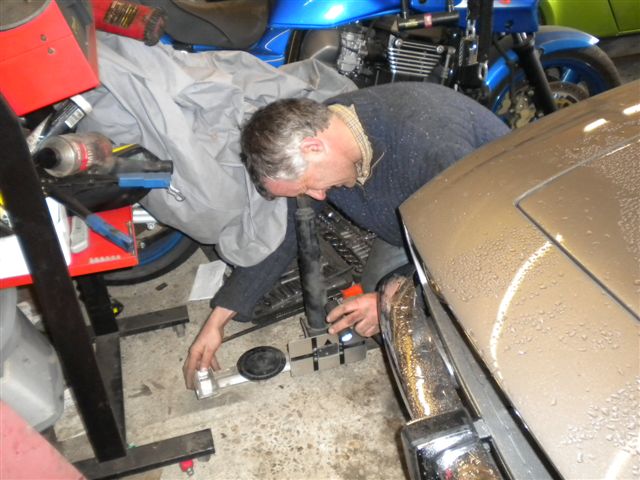
I needed to get the tracking done as I has fitted the new steering rack, so we did it in Steve Payne's garage before going to the body shop.
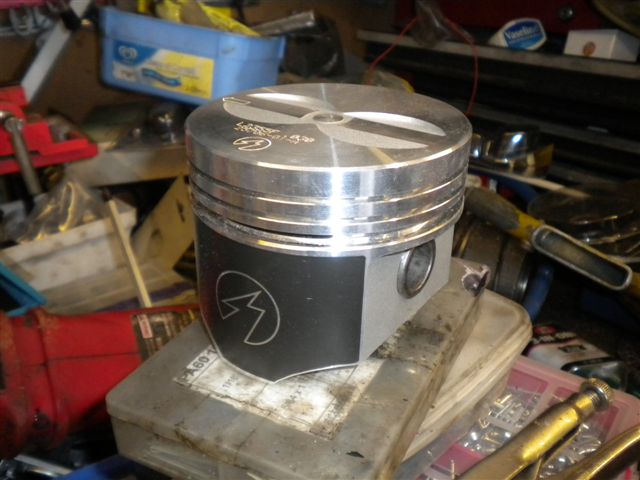
One a slightly different note, I have picked up some brand new hypereutectic pistons on e-bay for £150. The price also included the piston rings, and a set of Mopar Performance push rods. Steve was not impressed as a/. he had paid £500 for his when he built his engine, b/. he had spotted them on e-bay and tipped me off!
I had asked the body shop to paint my newly polished wheels and front grille. I had tried to paint the grille myself, and has encountered blistering of the paint no matter what I tired. Speaking to other Jensen owners who had tried to paint their grilles, they had experienced the same problem, so whatever Jensen had painted them with was pretty unpleasant. Simon the paint sprayer finishing off the grille in the paint booth.
The body shop experienced the same problems with the wheels, and eventually we had to use black tinted primer and a gloss lacquer as they were the only things which would not react.
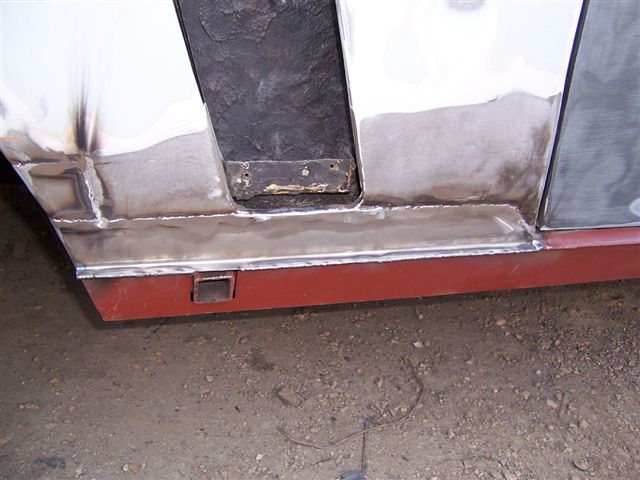
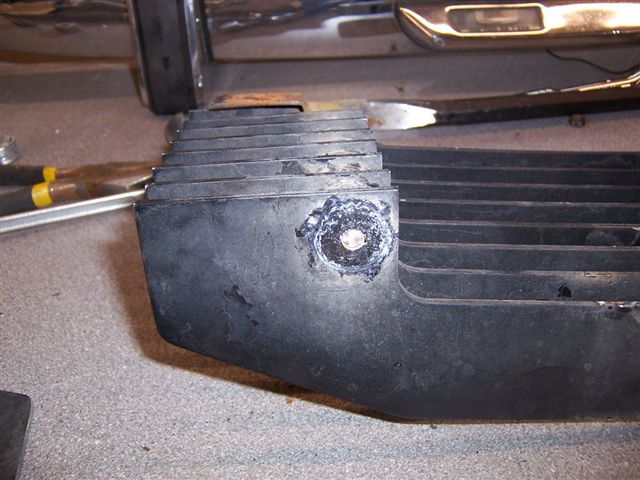
I had scratched the drivers door during the refit, and had to cut the hole for the fuel filler bowl, so Simon painted those for me as well while it was back in the shop.
Once the painting was done, it was corrosion protection time. I used the body shops high pressure air line and cavity wax injection spray gun. Each sill got 1 gallon of Wax-oil. This involved drilling holes to allow the spray nozzle to get into the inner and outer sills.
The next step was the new wheel arches and inner arches.
|
|
|


.JPG)
.JPG)